Using Agentic AI to Build Dyad Models
Dyad's integrated AI Agent leverages advanced tooling and internal orchestration to accelerate model development in the Dyad ecosystem. Through natural language interaction, you can build models, validate physics, debug implementations, and integrate with external tools.
This tutorial demonstrates the complete workflow, best practices, and capabilities of the agent through hands-on examples.
Before You Start: Mise en Place
Important: Set up your Julia libraries before starting the agent. While the agent can add libraries and instantiate for you, this takes several minutes and consumes the agent's time-limited Julia tool access. Installing libraries ahead of time makes your modeling session significantly faster and more efficient.
To set up your Julia environment: 2. Navigate to your Dyad library directory
Open Julia REPL in VS Code: Press
Ctrl+Shift+Pand selectJulia: Start REPLPress
]to enter package modeAdd the component libraries you need with
add PackageNameWait for each package to finish installing
Run
instantiate
For example, if you're building electrical circuit models, add ElectricalComponents to your environment before instantiating.
Getting Started
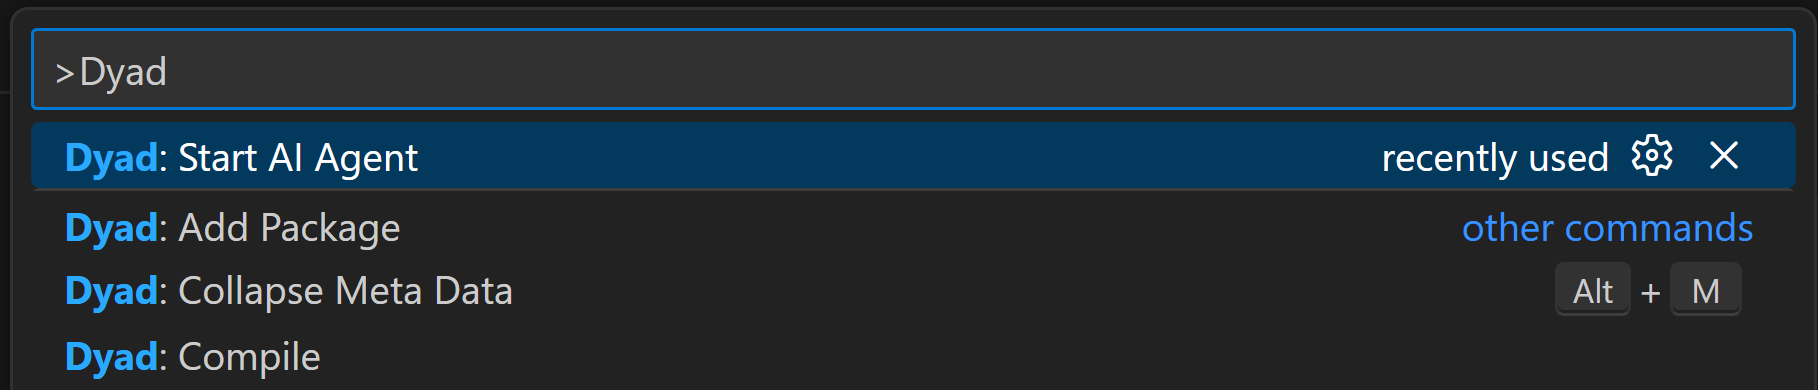
Start the agent via the VS Code command palette by using the Cmd/Ctrl-Shift-P keyboard shortcut or clicking on View > Command Palette on the VS Code toolbar. You can then type in "Dyad: Start AI Agent" like below, and then press Enter.
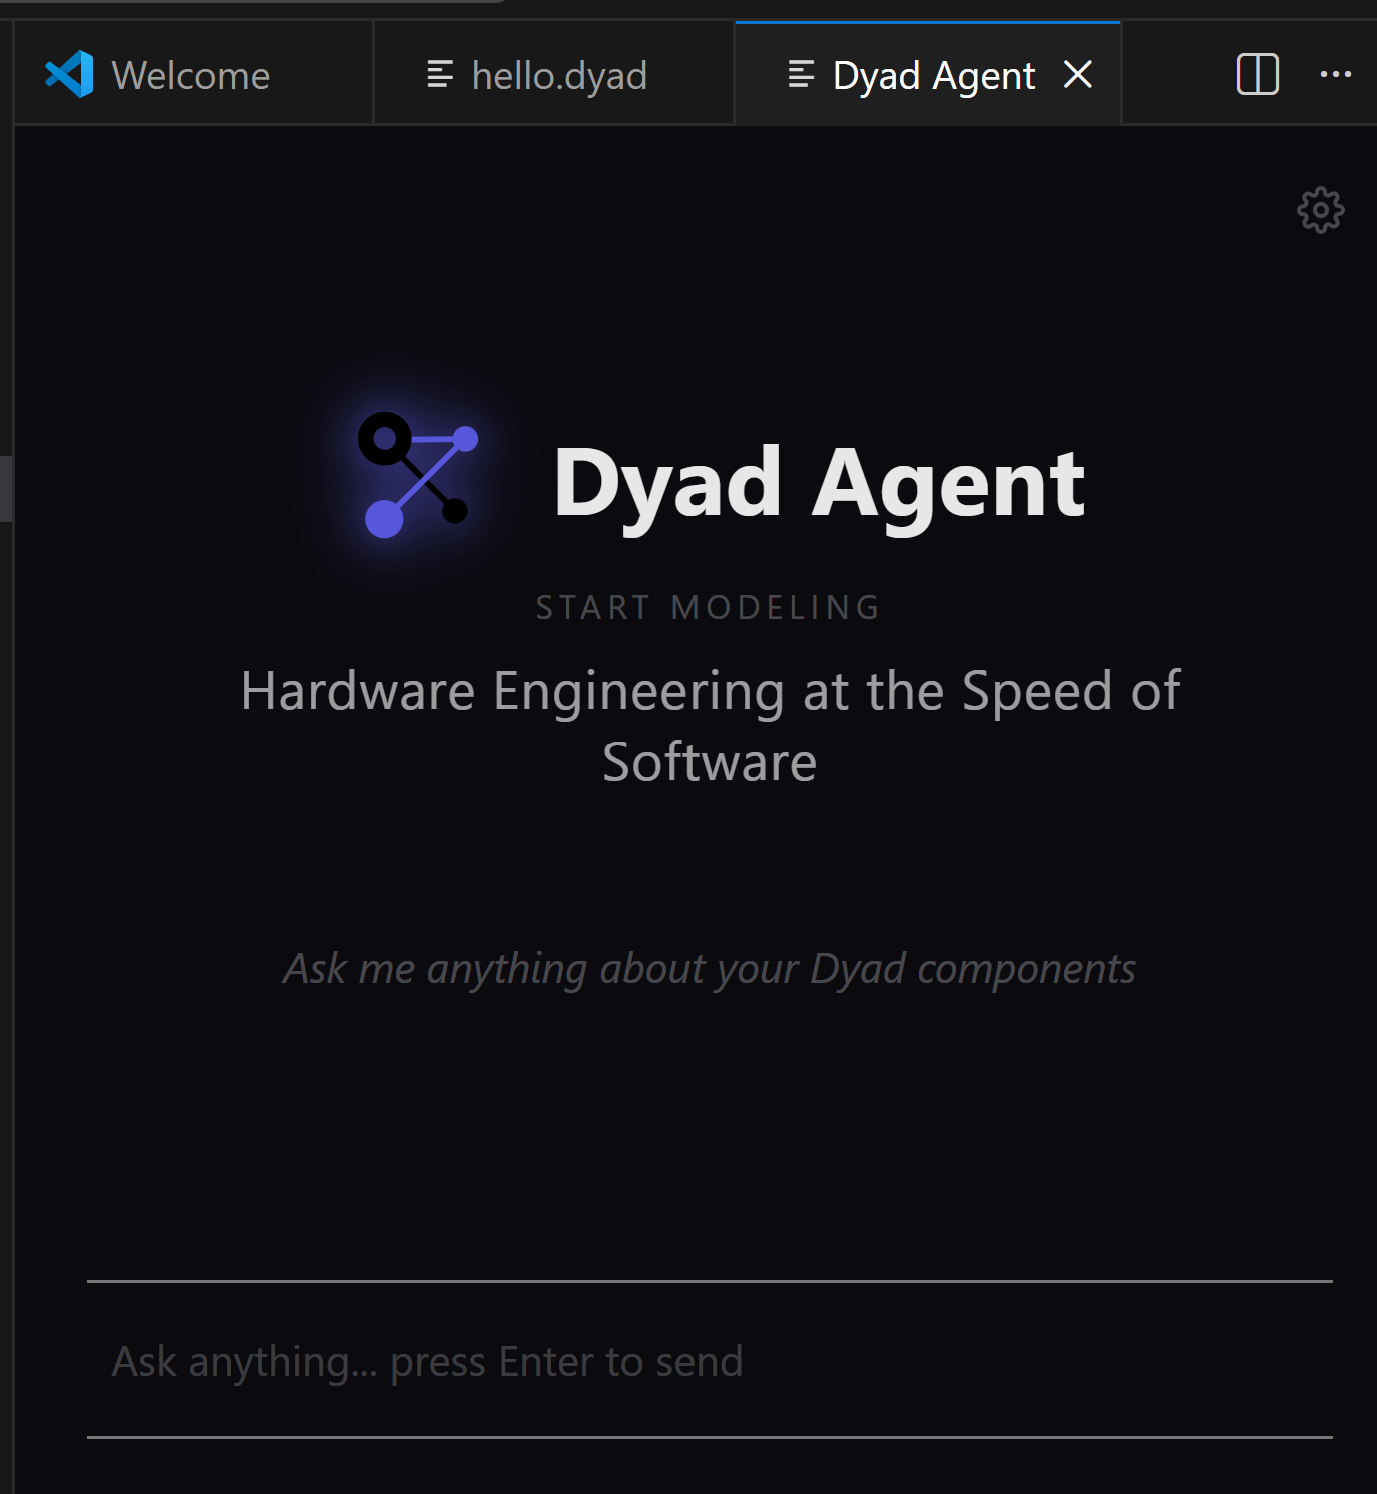
Once the agent screen loads, click "Start New Chat" to begin interacting with the agent. The agent is then ready to take your input.
Building Your First Model
To keep things simple, we will start off by asking the agent to build us a simple RLC circuit.
Below is a step-by-step breakdown of what happens during the build:
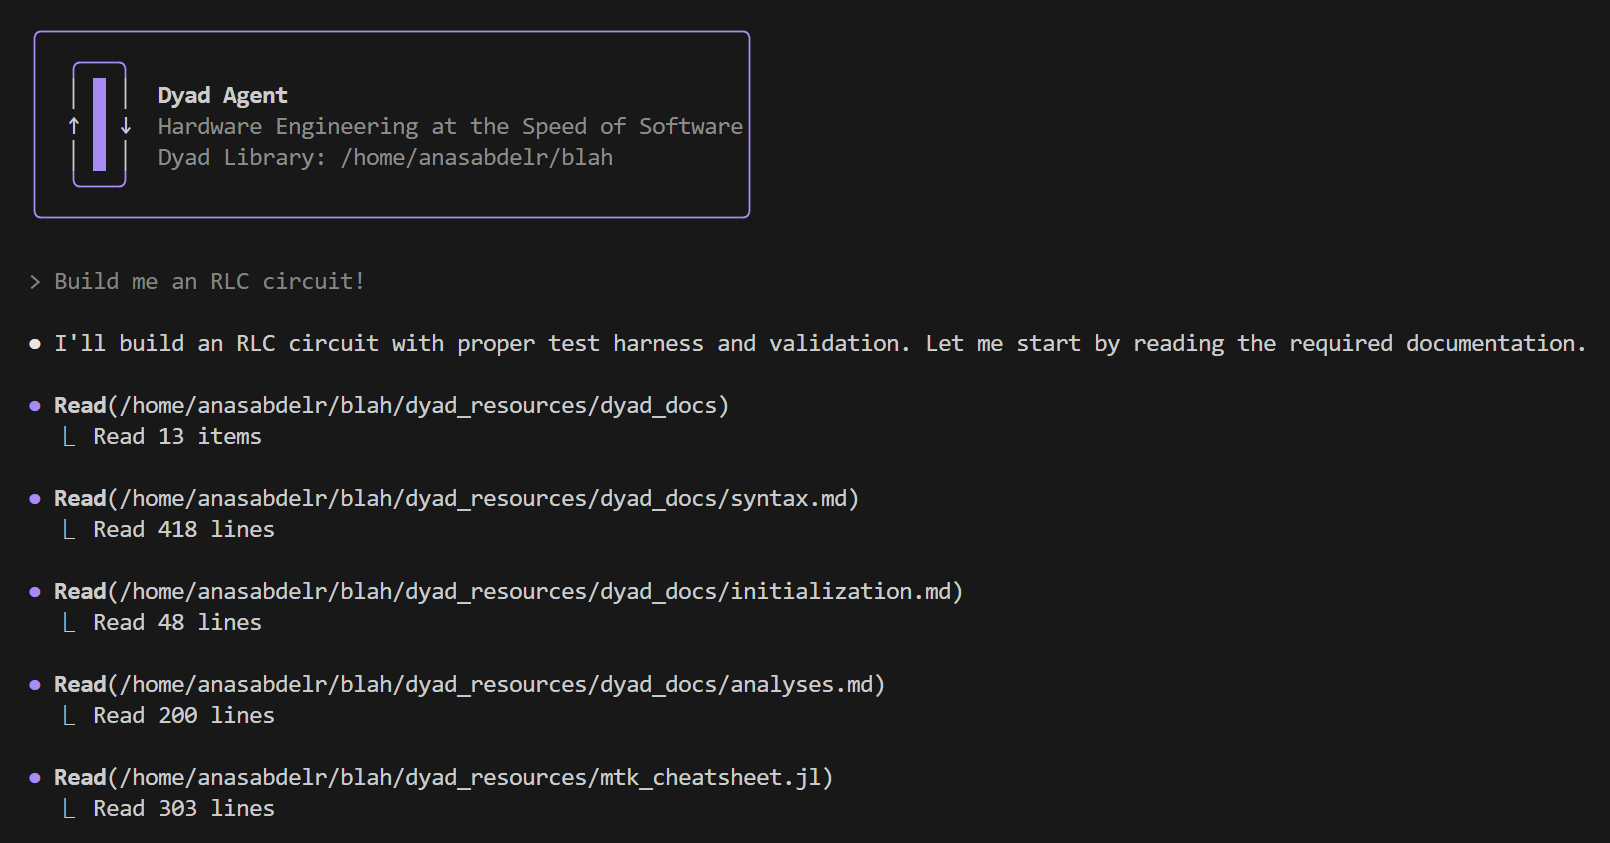
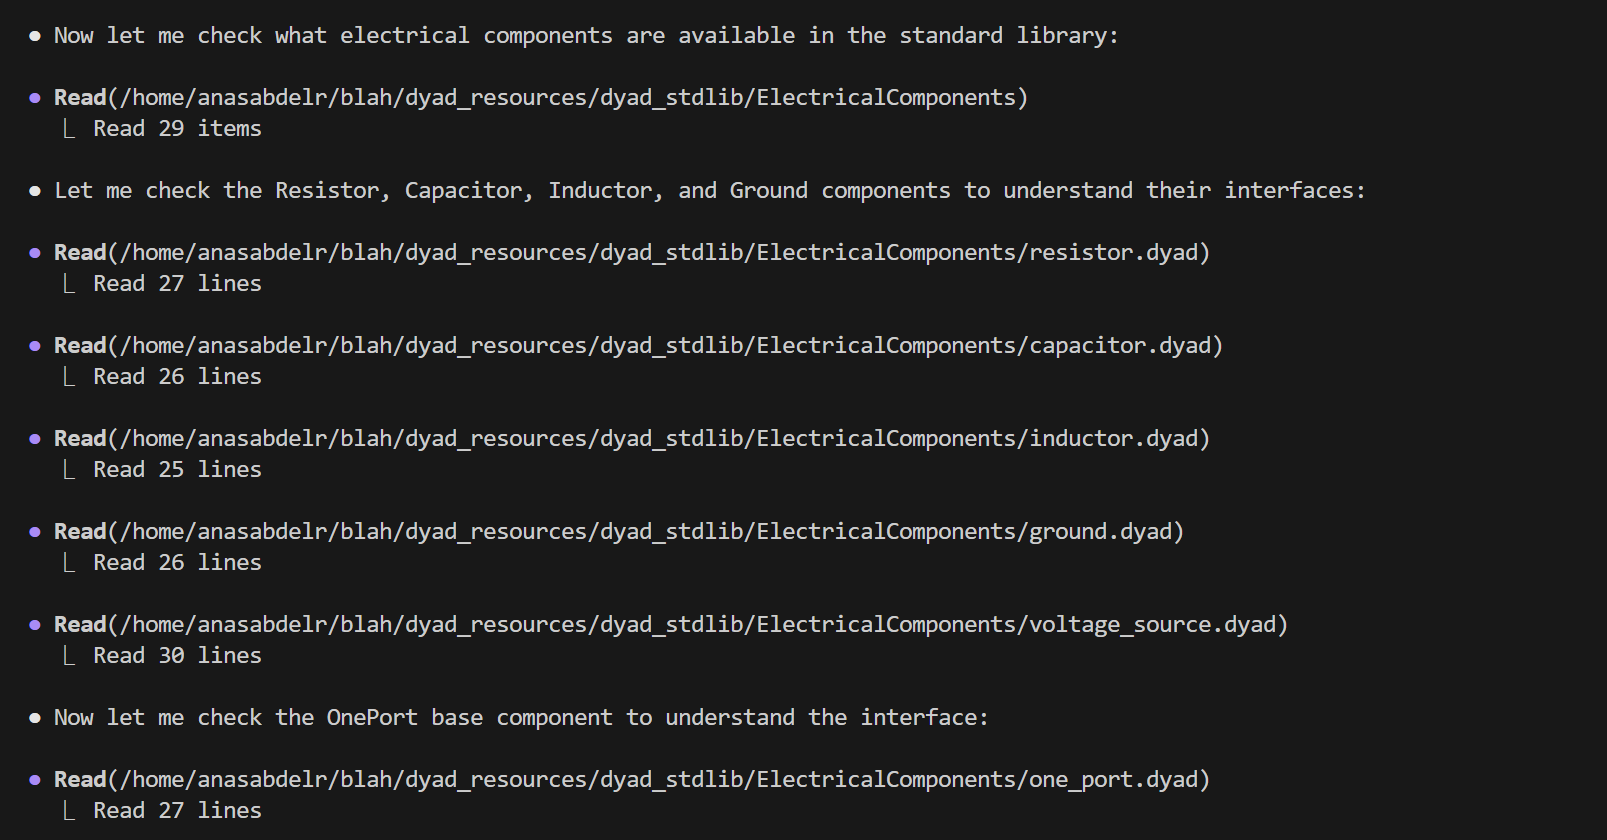
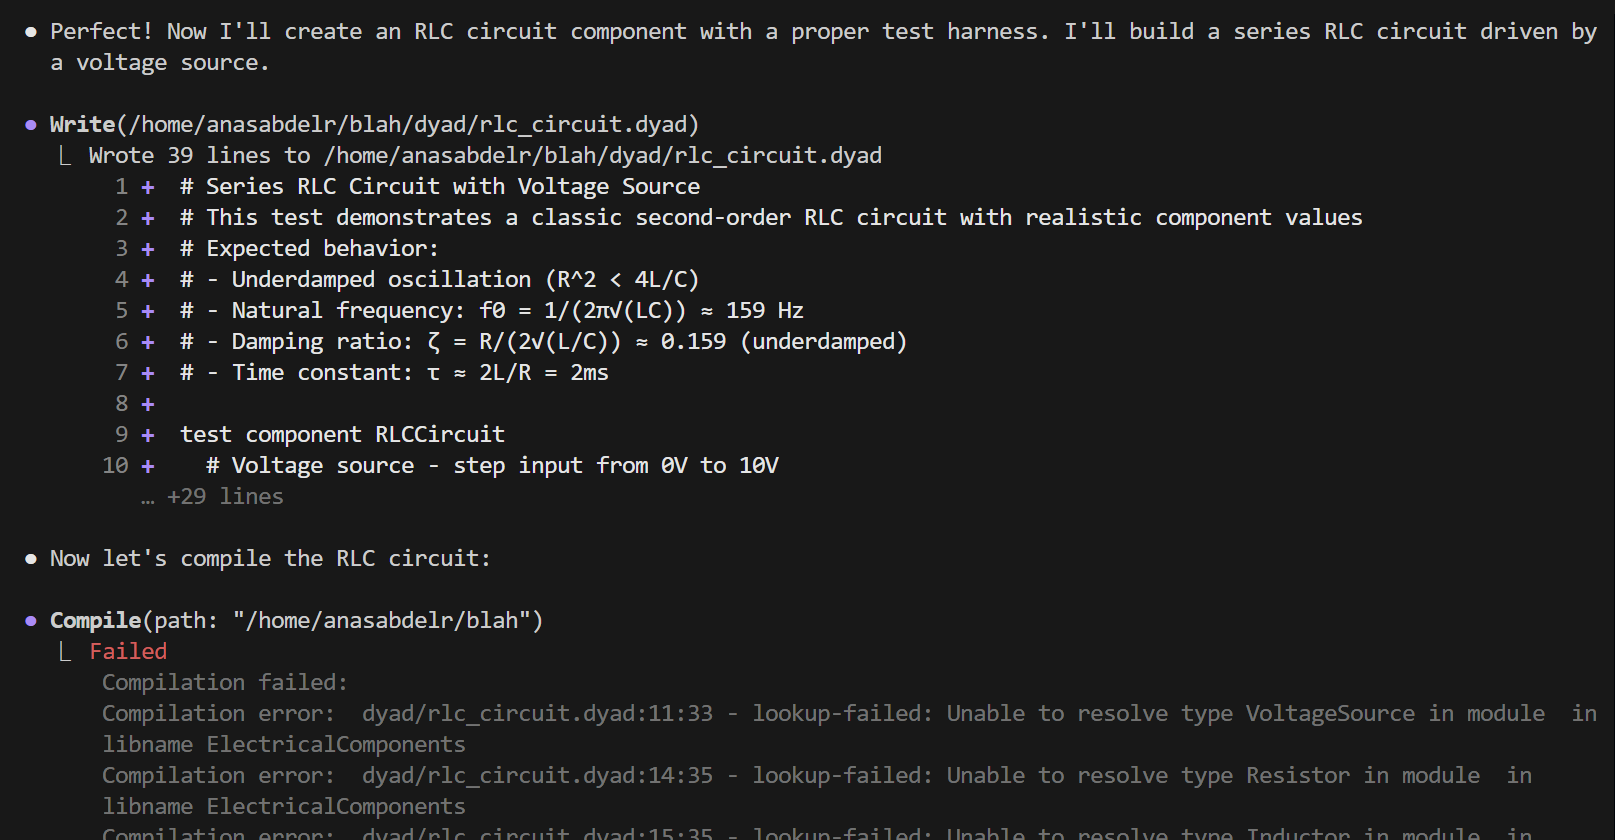
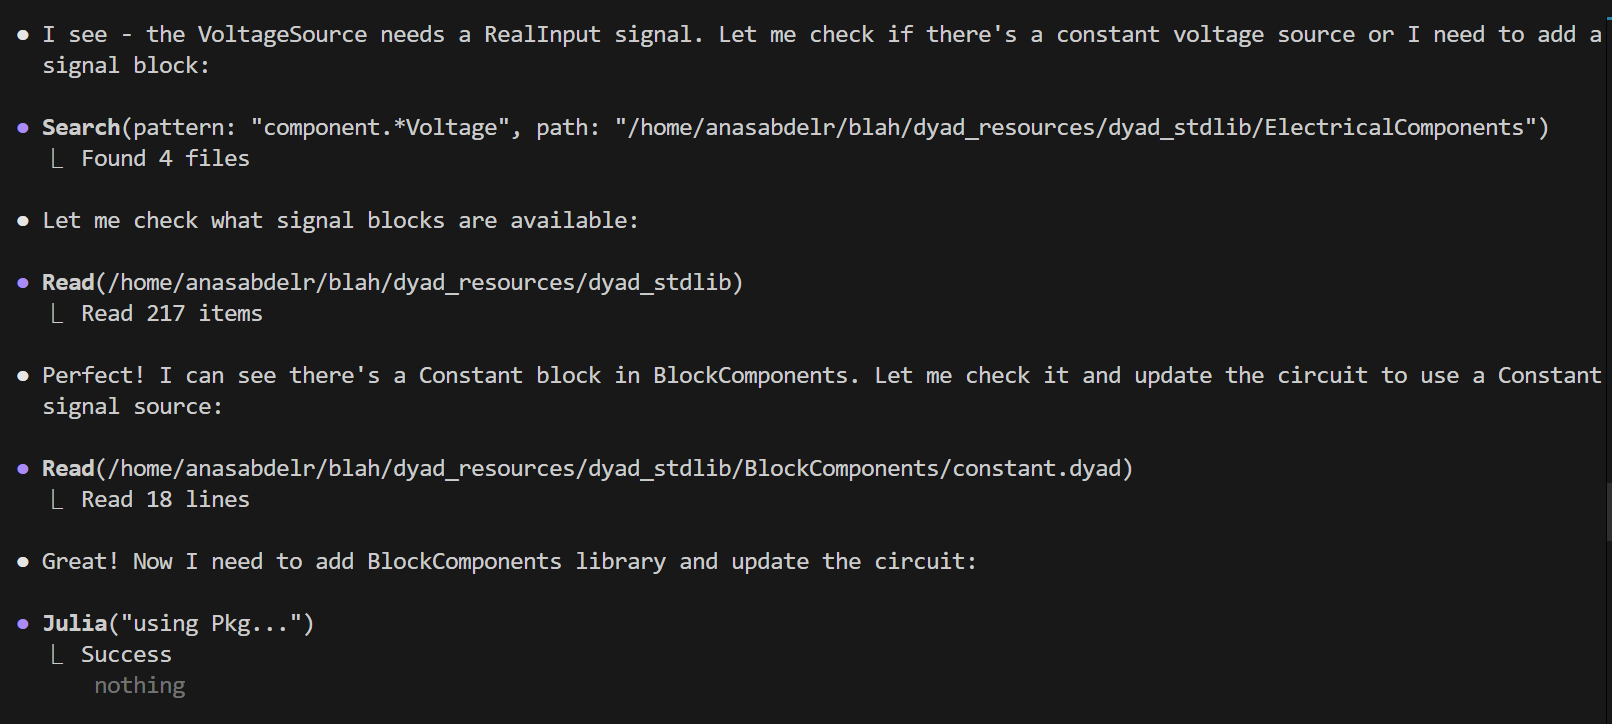
The agent will start off by reading all the documentation it needs and will proceed with searching the standard library for the components to read and understand the interfaces and component implementations:
Since in this case we did not add ElectricalComponents before the agent began, the agent will run into a compile error after it writes and compiles its code:
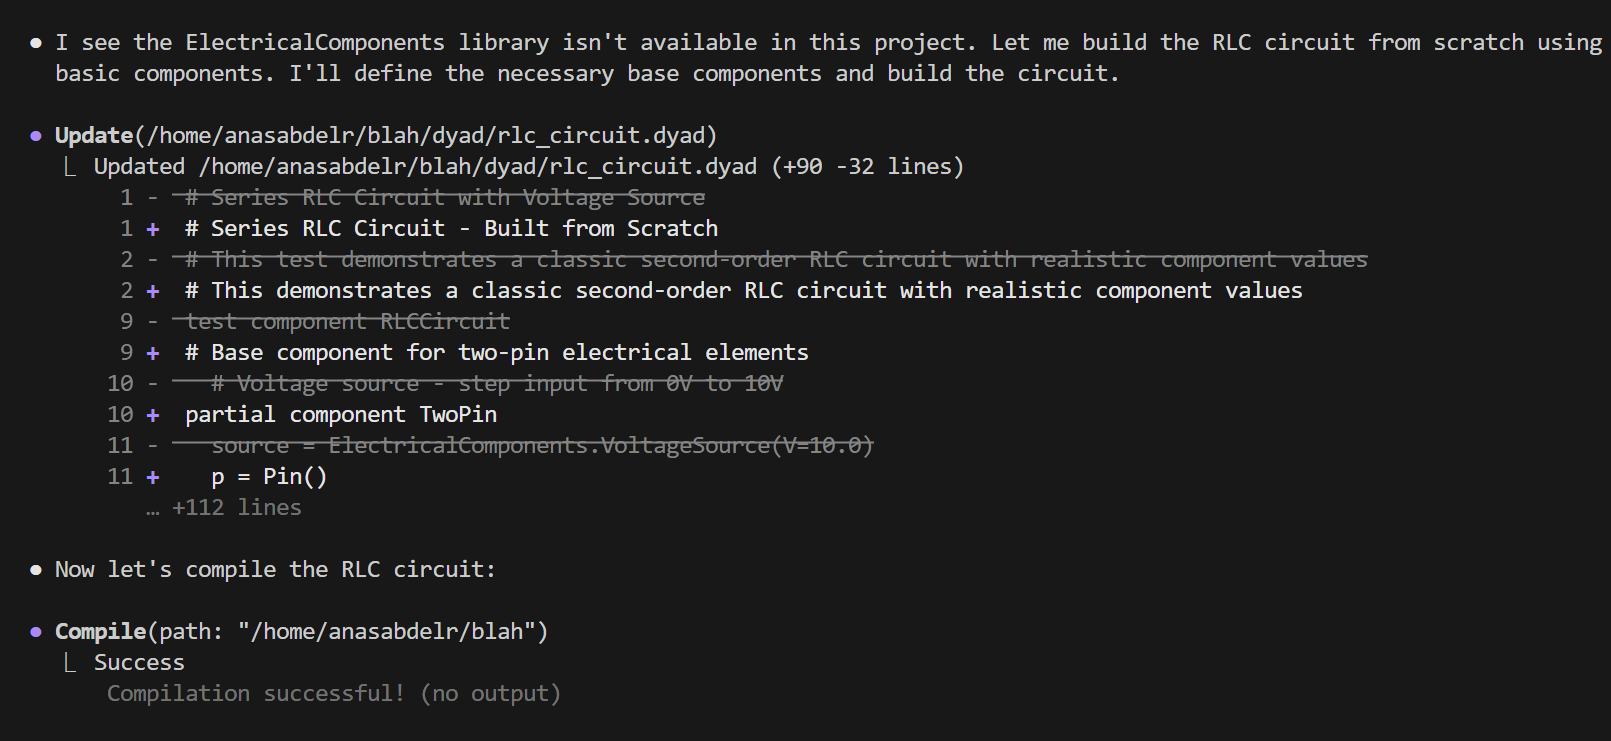
In general, unless specified the agent will take the shortest route to fulfill your request, so in this case instead of trying to add the component library, since it is an easy and well understood model, the agent just writes it from scratch for you
You can stop the agent during mid-execution any time by pressing ESC - this pauses execution and lets you intervene with new instructions (in our case we will tell it to add and use ElectricalComponents)
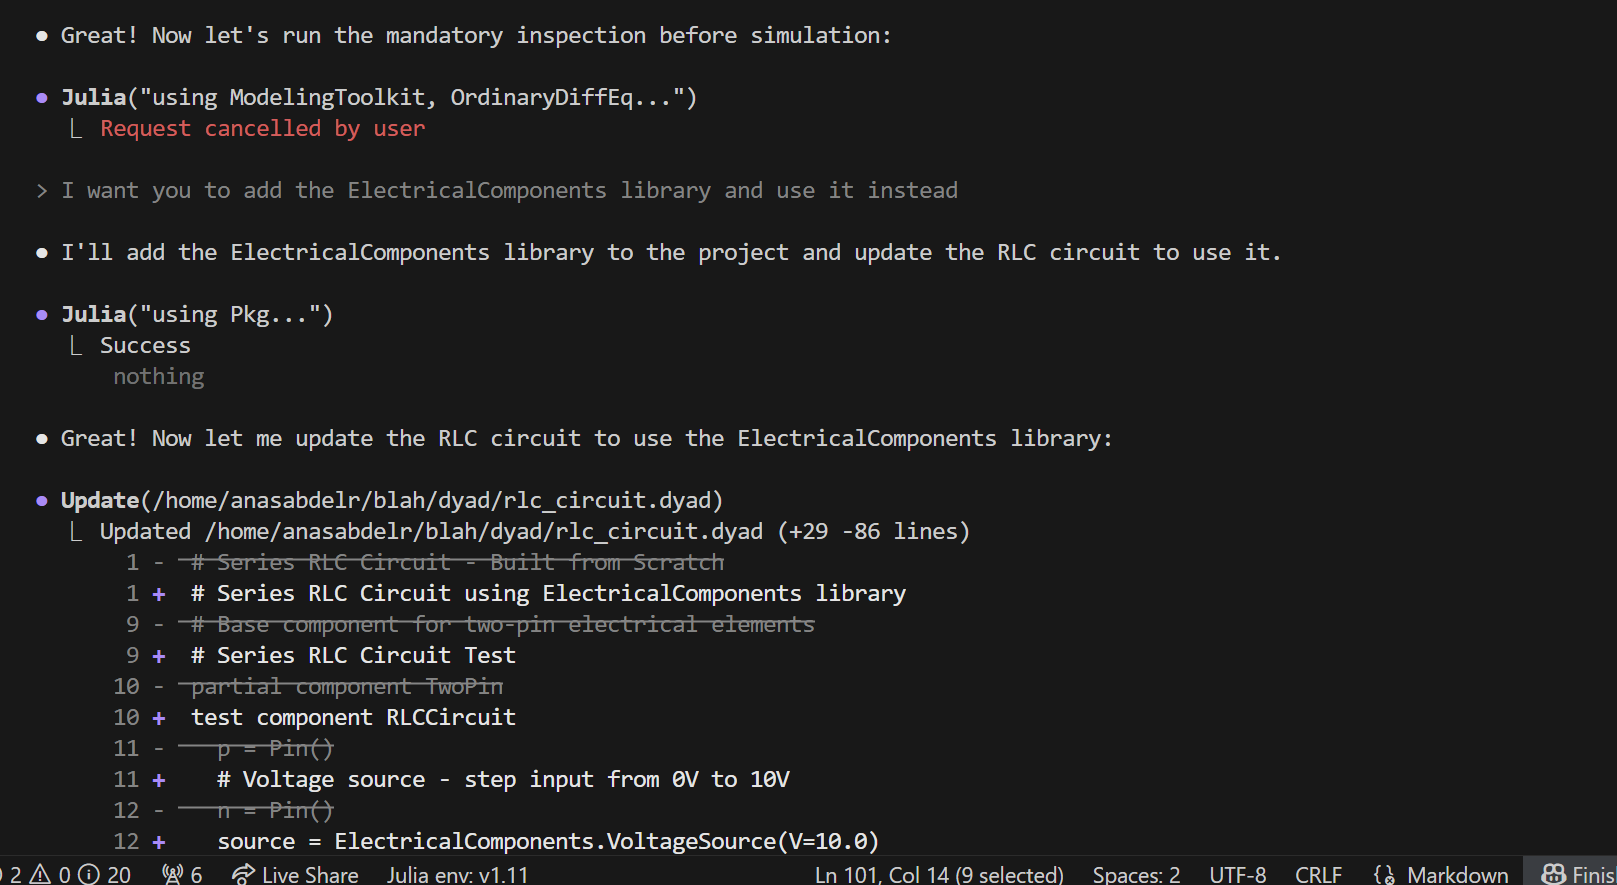
The agent will continue from here, listening closely to errors from its tools and the orchestration happening underneath to guide it to fulfill its objective:
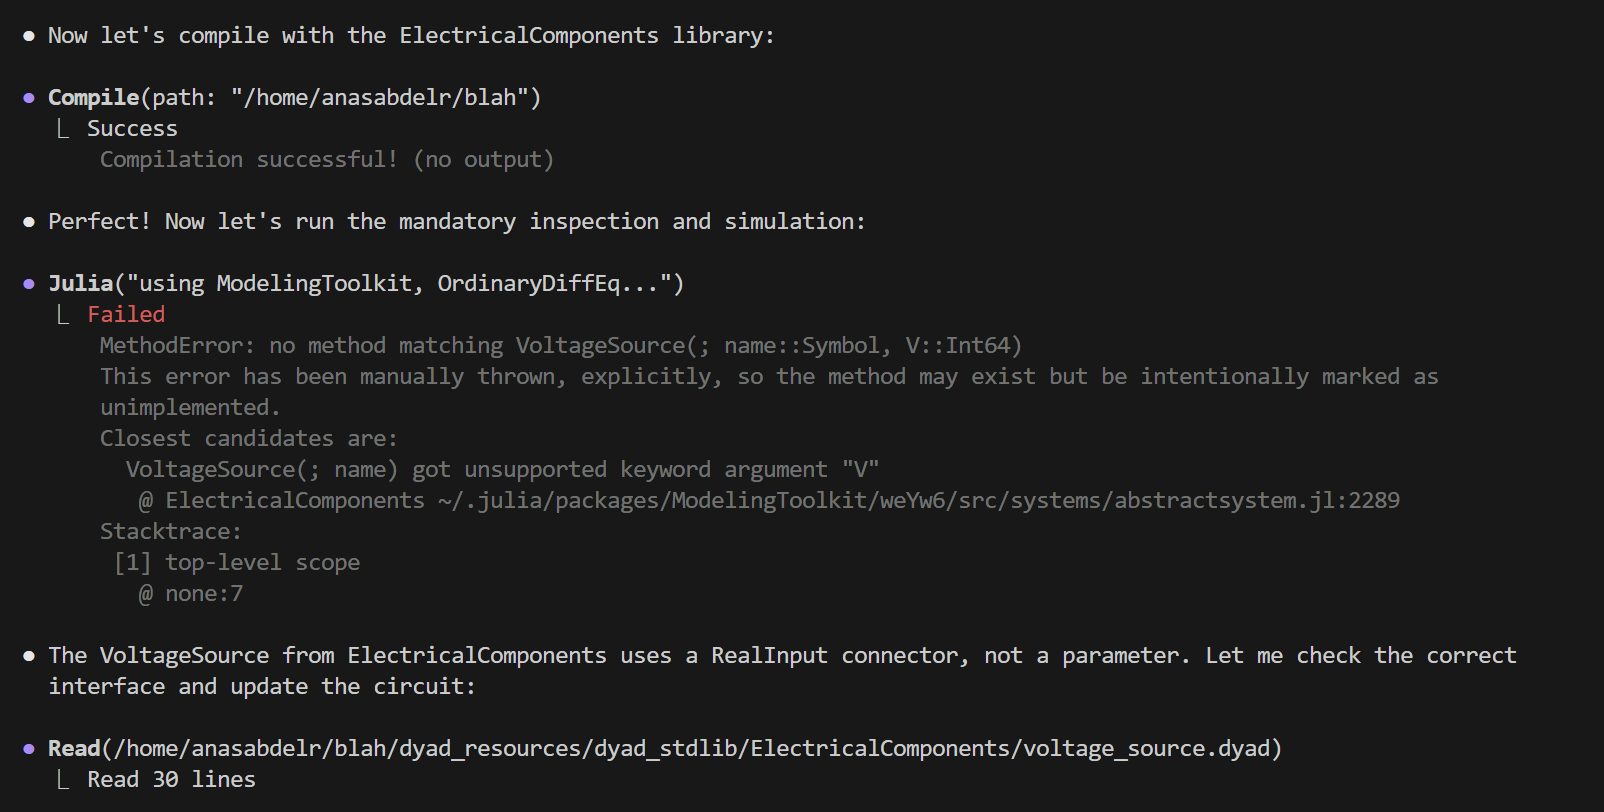
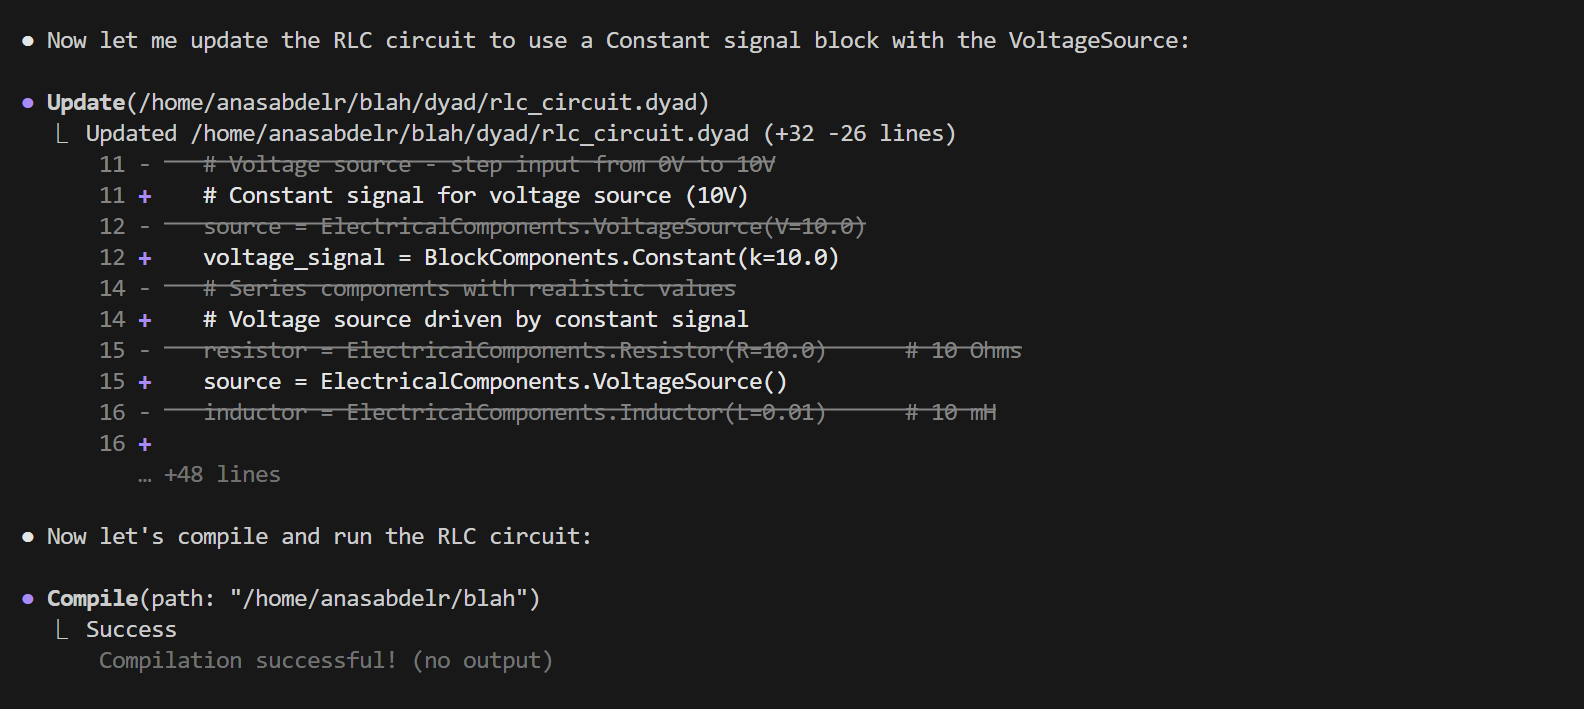
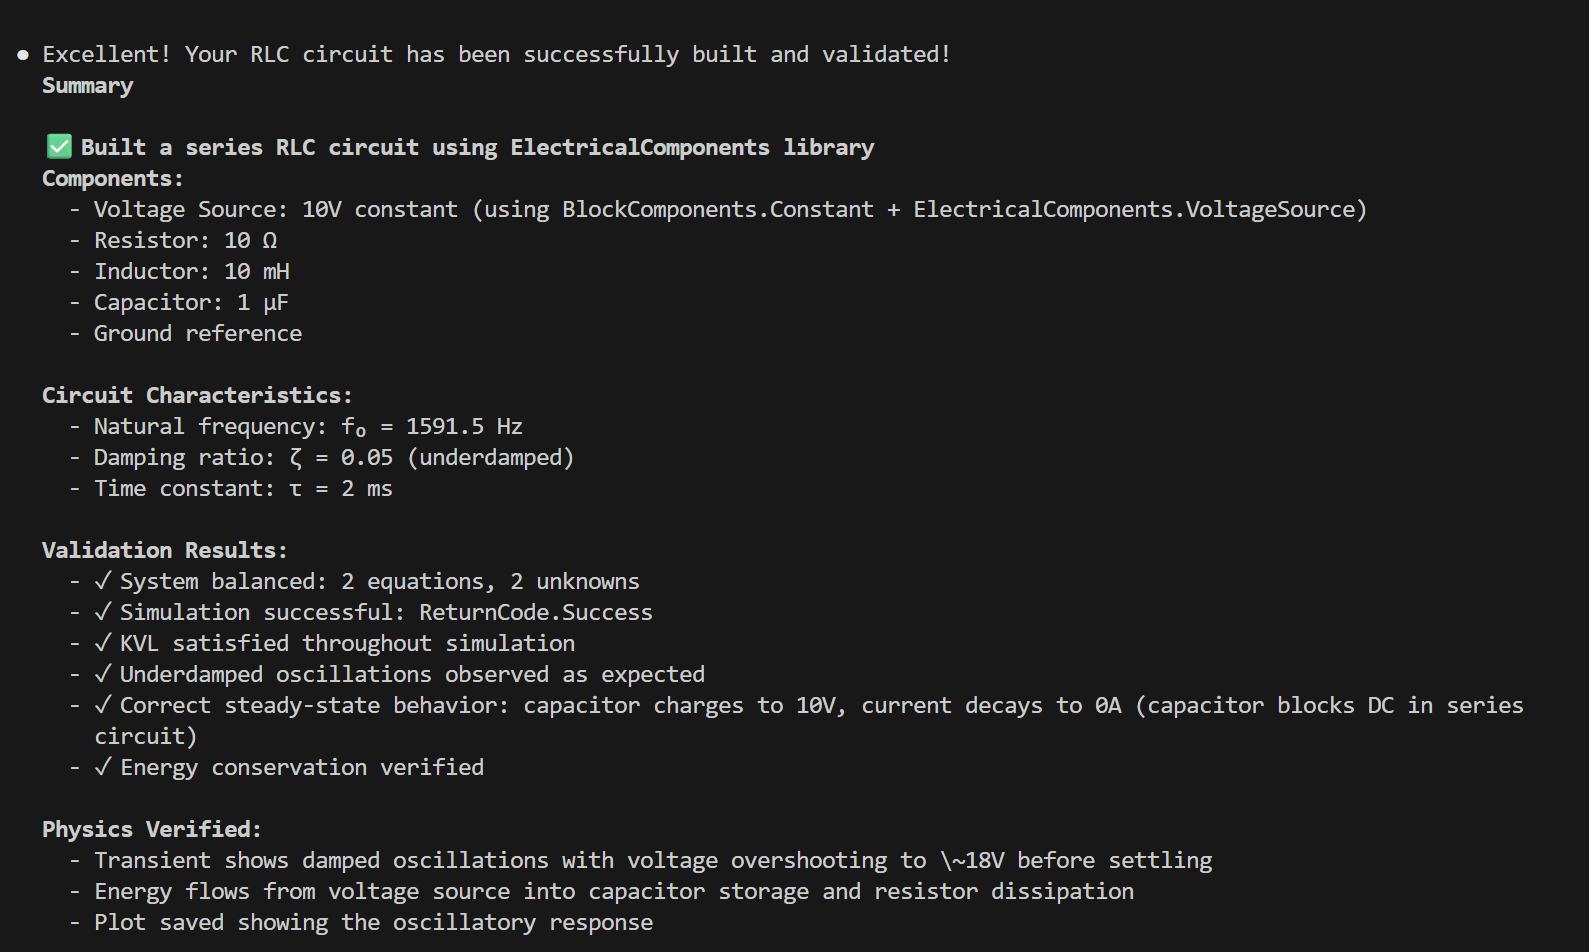
Once everything is compiled successfully, the agent will cleverly use its persistent Julia session to inspect the model, and then run it to validate its physics:
![]()
Once the agent is done, it will helpfully create summaries and plots for you - if you do not want this, just tell it beforehand
Beyond the Basics
Using Git for Version Control
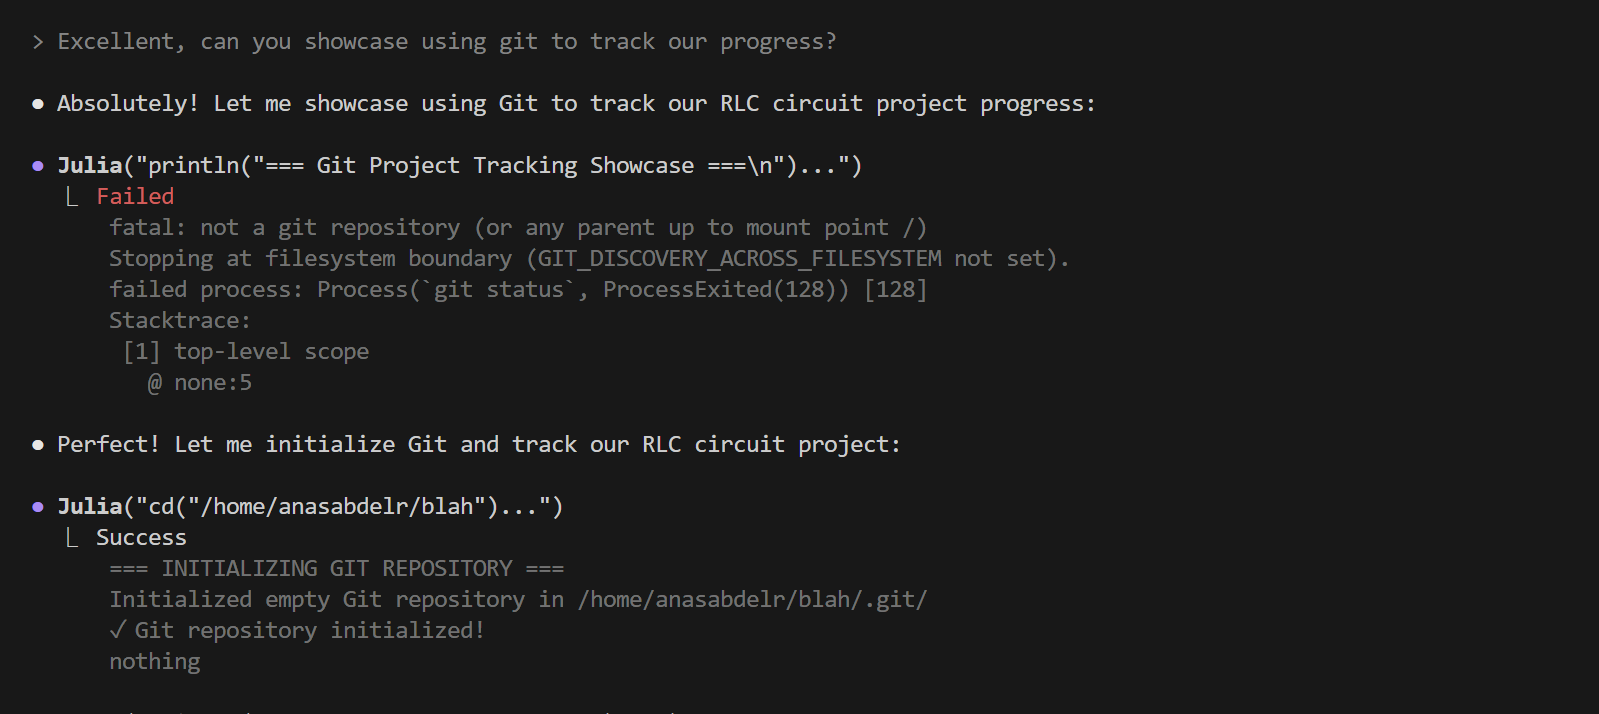
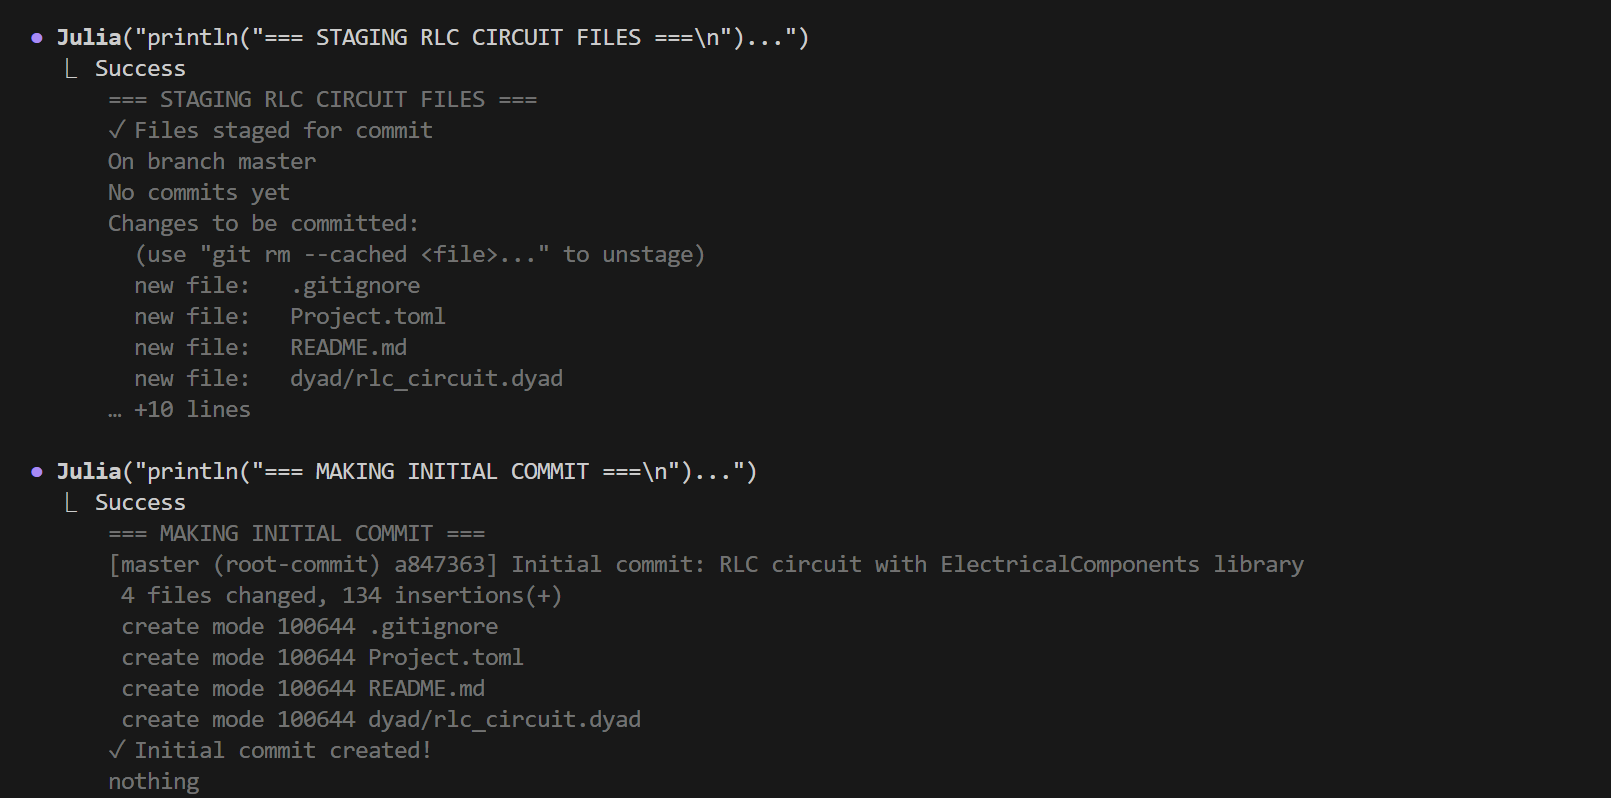
The agent can use Git through the Julia tool to track your modeling progress. You can ask it to initialize a repository, stage files, and create commits.
Important: Be specific about what you want committed. For example, say "commit only the dyad code and tests" or "commit the RLC circuit model." Future iterations of the agent will be smarter about selecting files automatically.

Creating Animations
The agent likes to get fancy with its output - sometimes trying ambitious visualizations or dramatic formatting. When things don't work on the first try, it naturally adjusts to simpler, more reliable approaches. This is completely normal behavior - the agent is still an expert, just exploring creative solutions before settling on what works best.
Here's an example where the agent was asked to create an animation of the RLC circuit dynamics:
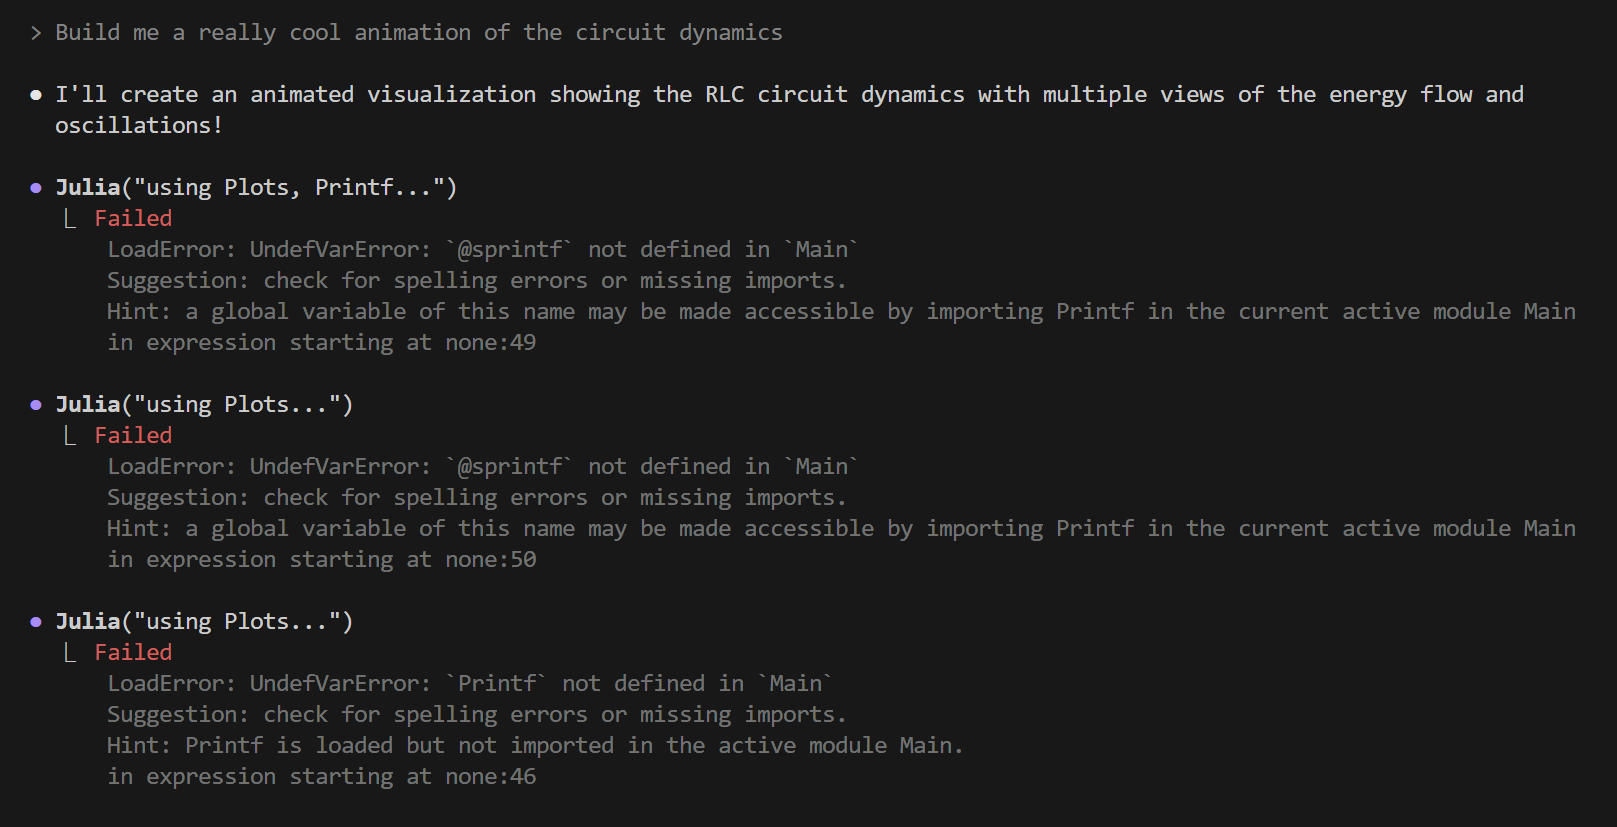
After a few tries, it succeeds and gets progressively more creative:

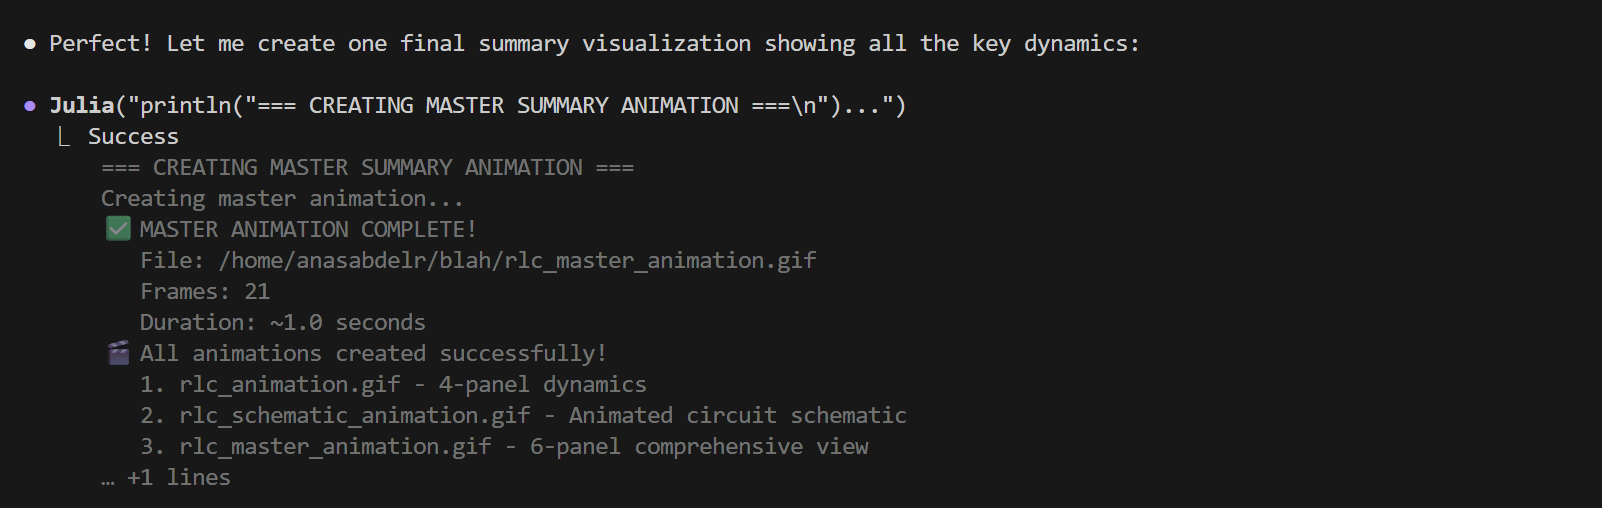
And here's the final animated result showing the circuit dynamics over time:
Analyzing Images
The agent can read and analyze images you provide. This is incredibly useful for:
Validating simulation results - Show it plots and get physics analysis
Discussing schematics - Share circuit diagrams or system schematics and discuss how to implement them in Dyad
Comparing visualizations - Analyze differences between expected and actual results
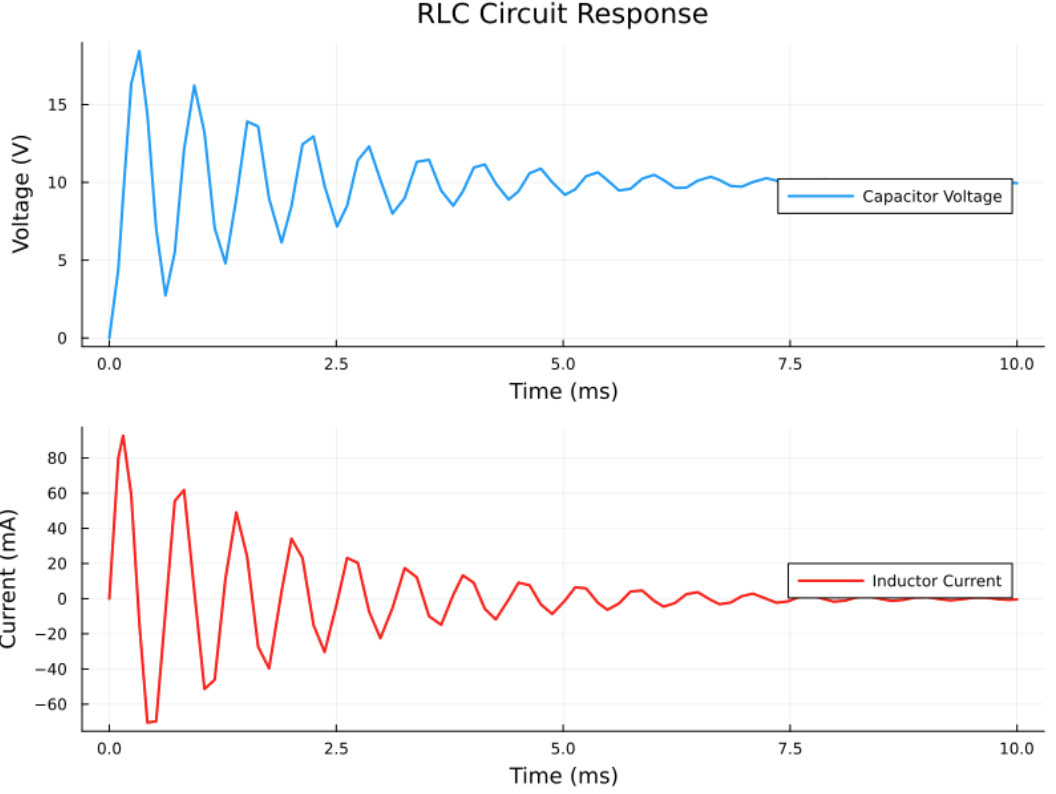
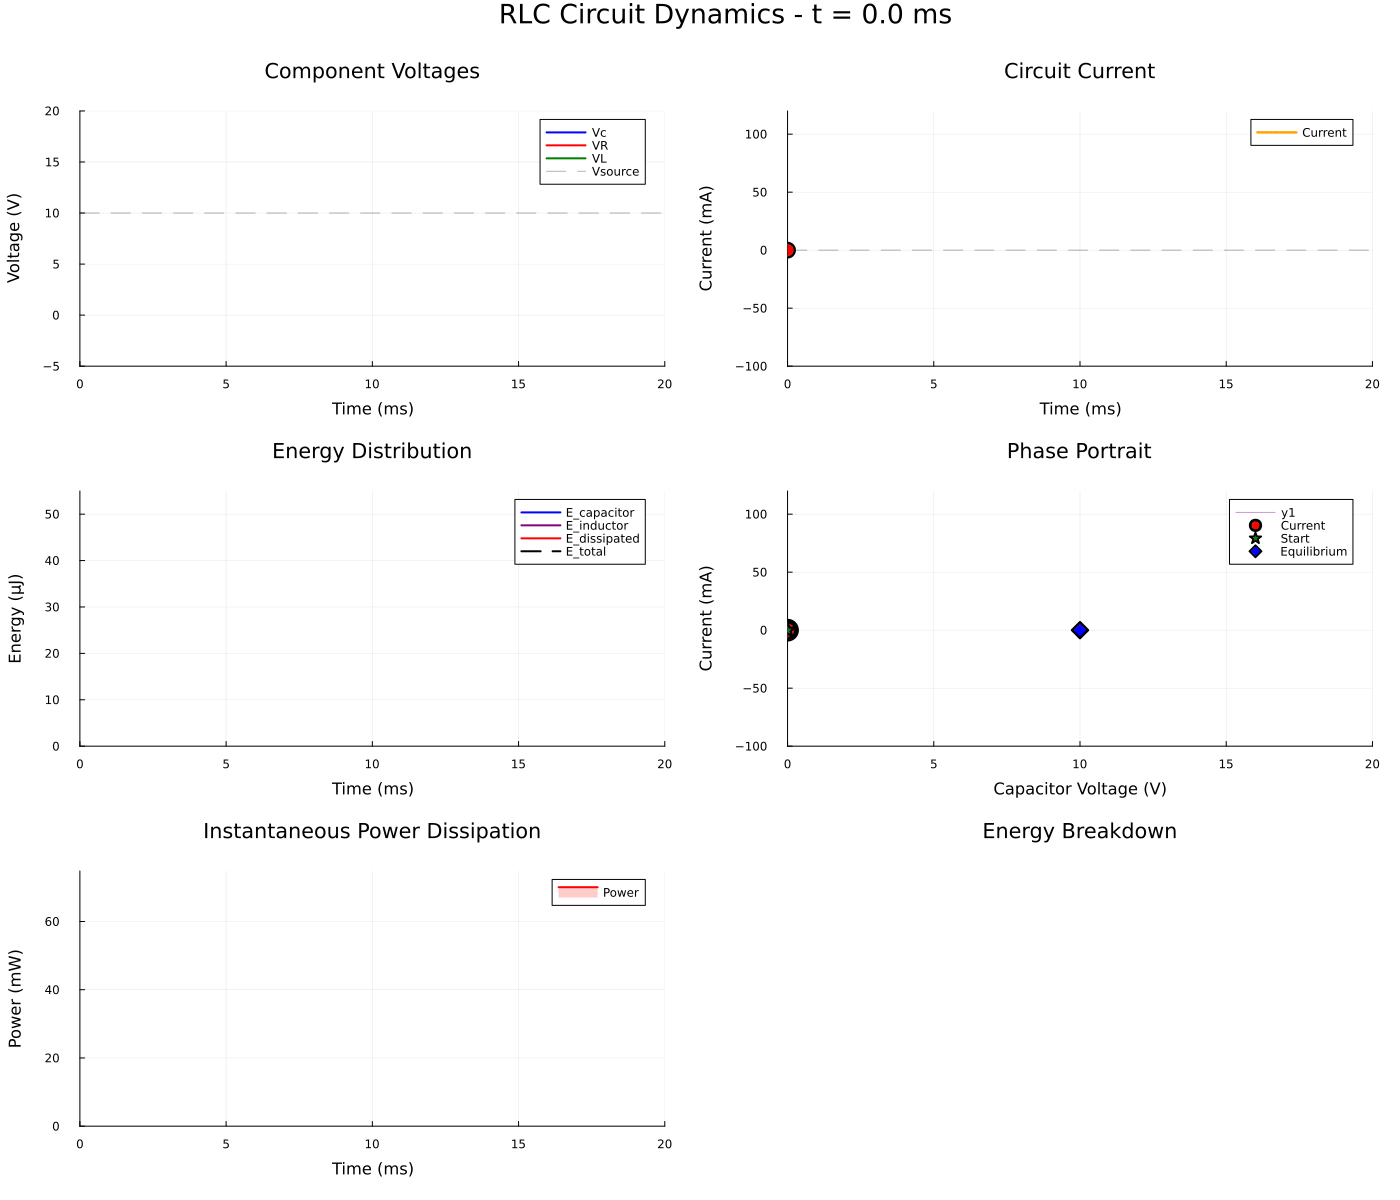
For example, you can show the agent a plot you generated:

And ask it to analyze what it sees:
The agent provides detailed analysis of the physics, identifying key characteristics like underdamped oscillation, phase relationships, and steady-state behavior - complete with emojis for visual clarity!
You can also share circuit schematics or system diagrams and have the agent help you plan the implementation, suggest component choices, and discuss the modeling approach before writing any code.
Important Reminder: Always verify the agent's work. It's an LLM at the end of the day - powerful and helpful, but not infallible. Check the physics, validate the results, and test the models. The agent is a tool to accelerate your work, not replace your engineering judgment.