Installation
To use Dyad Studio, you'll need to take care of a few prerequisites first. This section walks you through the handful of steps needed to set up Dyad Studio.
Requirements
You'll need:
A Windows (x86 only), Linux (x86 only), or Mac (Apple Silicon only) computer, with 4 CPU cores and at least 8 GB of RAM.
A recent version of Visual Studio Code (a recent version, higher than v1.108.0).
Network access to
juliahub.com, for:Access to download the Dyad software distribution.
AI usage (see the AI tutorial for more information).
Create a JuliaHub Account
You can sign up here for a JuliaHub account. You won't be charged for anything, this is required just so you can download the Julia libraries needed to compile, simulate and analyze your models.
There is no "binary" or "executable" to download or install here because the Dyad tools perform "just in time" compilation of the tools specifically for your machine and hardware.
Install Visual Studio Code
If you don't already have Visual Studio Code installed, you can download and install it from here.
Windows: One-click installer
If you're on Windows and have Visual Studio Code installed, you can install everything Dyad needs with a single installer. It installs Julia, juliaup, and the Dyad Studio extension along with its dependencies. You can re-run it later to update Dyad to the latest version. Download for Windowsdyad.msiInstalls Julia, juliaup, and the Dyad Studio extension
On Mac or Linux, follow the manual steps below.
Install the Dyad Studio Extension
If you ran the Windows installer above, the extension is already installed — skip to the walkthrough. Otherwise, from within Visual Studio Code, go to the extension section of the sidebar and search for "Dyad". This should show you the latest version of the Dyad Studio extension.
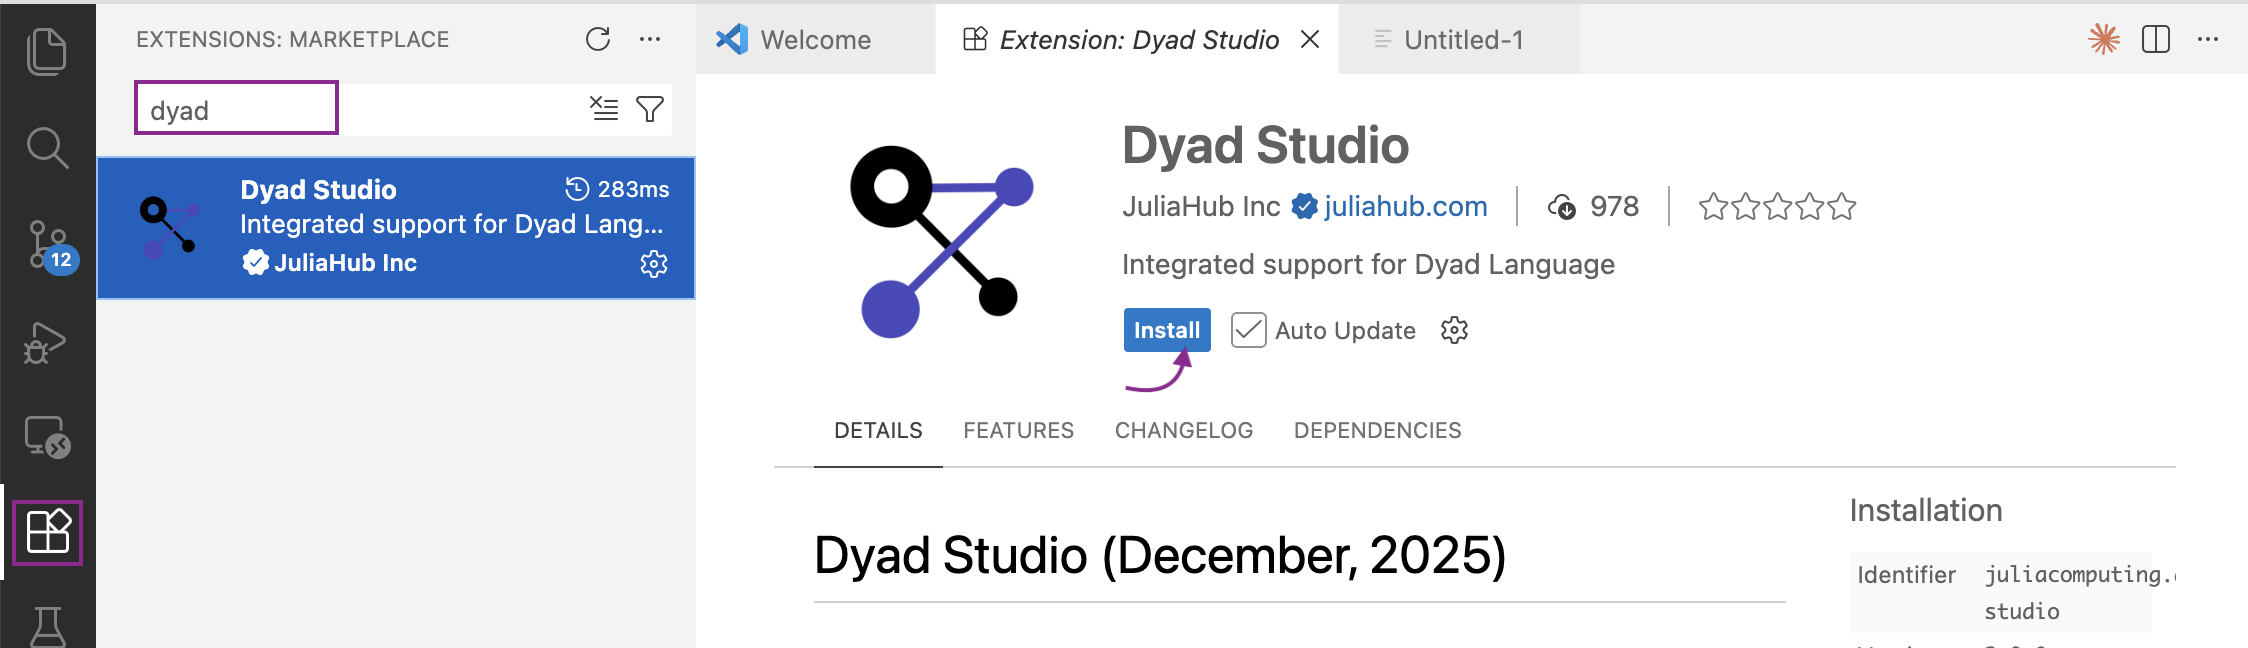
You can also find the extension in the VS Code Marketplace.
The Dyad Studio Extension also depends on both the Julia and JuliaHub Extensions for VS Code. These will automatically be installed (if they aren't already installed) when you install the Dyad Studio Extension.
Run the Dyad Installation Walkthrough
Although all the Julia parts should get auto-installed, we do provide a walkthrough to make sure that all the bits are in the right place.
Open the VS Code command palette via Shift+Ctrl+P (or Shift+Cmd+P if on Mac) and type in Walkthrough. You should see something like this: 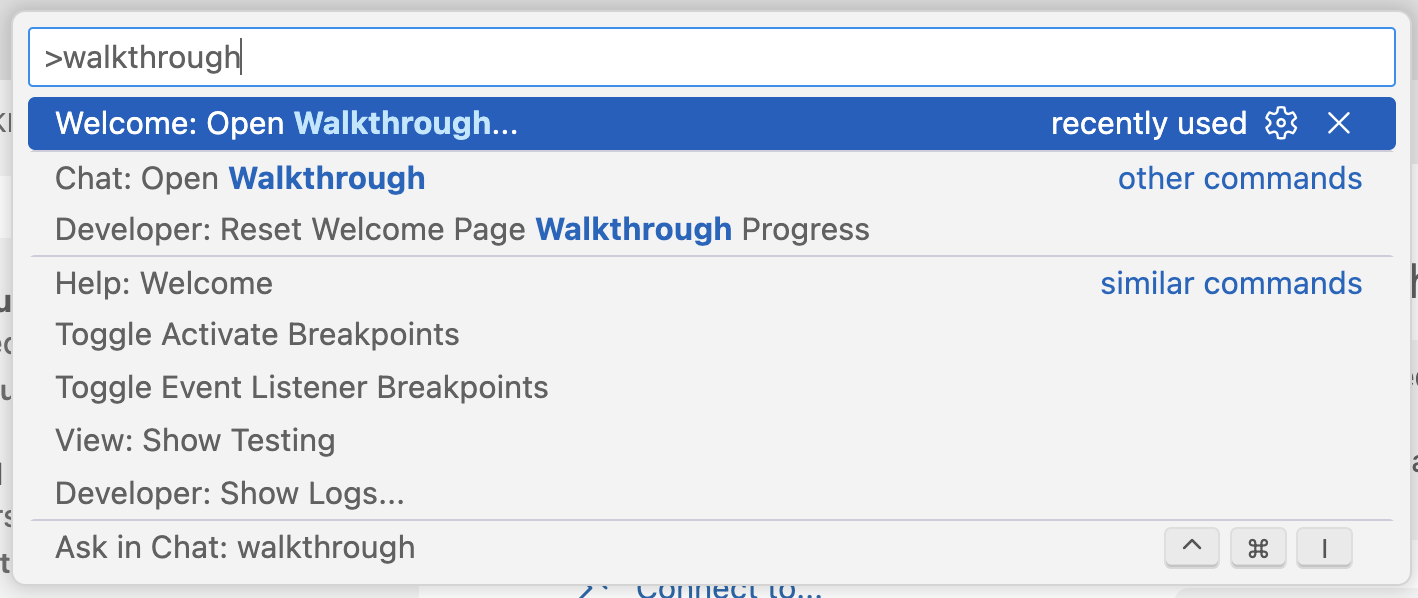
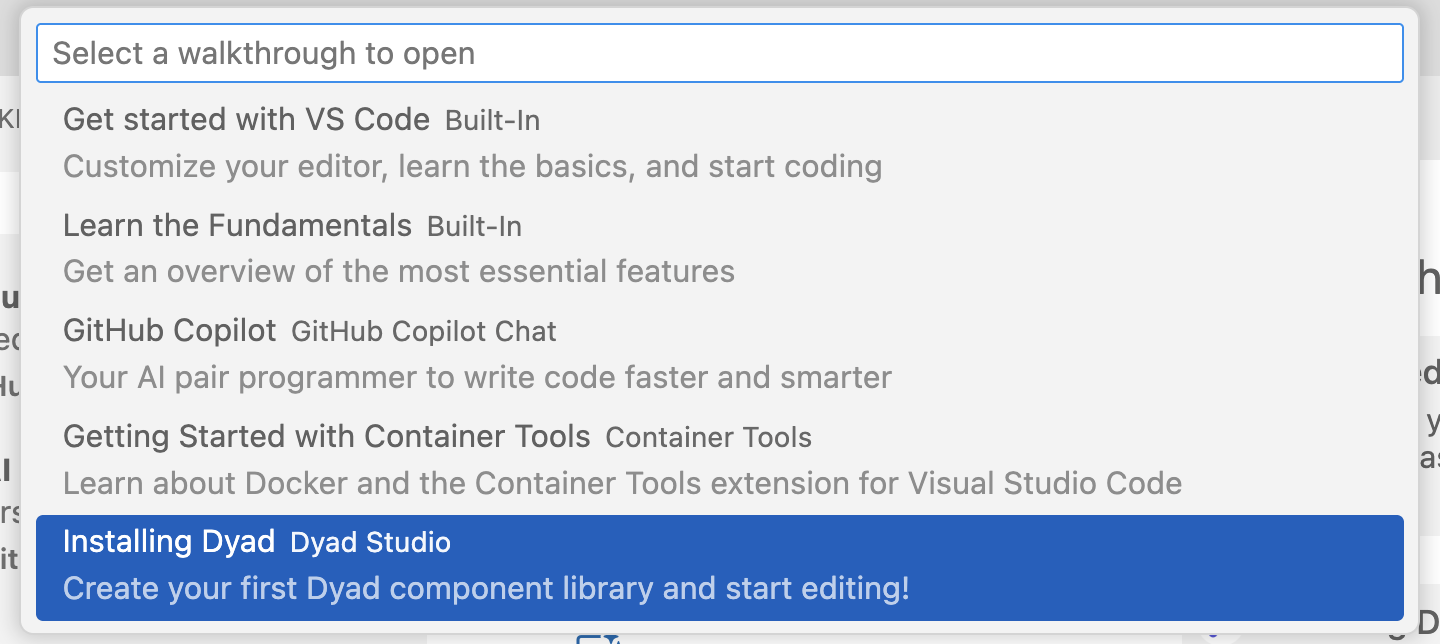
There, select the Installing Dyad walkthrough:
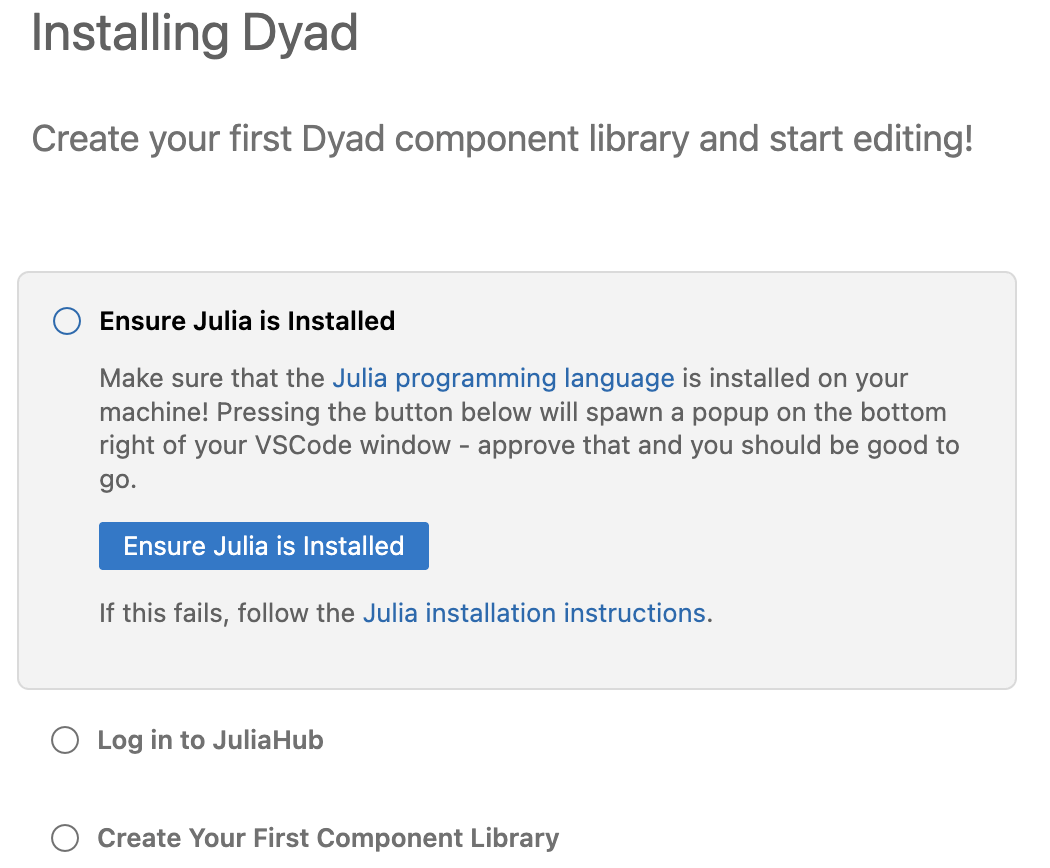
You should now see a walkthrough like the image below. Make sure all of the steps are marked complete, and then you should be good to go!
Next Steps
Once you get Dyad Studio installed, check out our Getting Started Guide for some examples of what you can do with Dyad Studio.