Hosting a Genie Application
Introduction
In this tutorial, we will demonstrate how to create and deploy a dashboard using Genie Builder for data-centric web applications.
Getting Started with Genie Builder
To use the Genie Builder login (https//:Juliahub.com). Once you are logged in successfully on the homepage you will see Projects on the left menu bar.
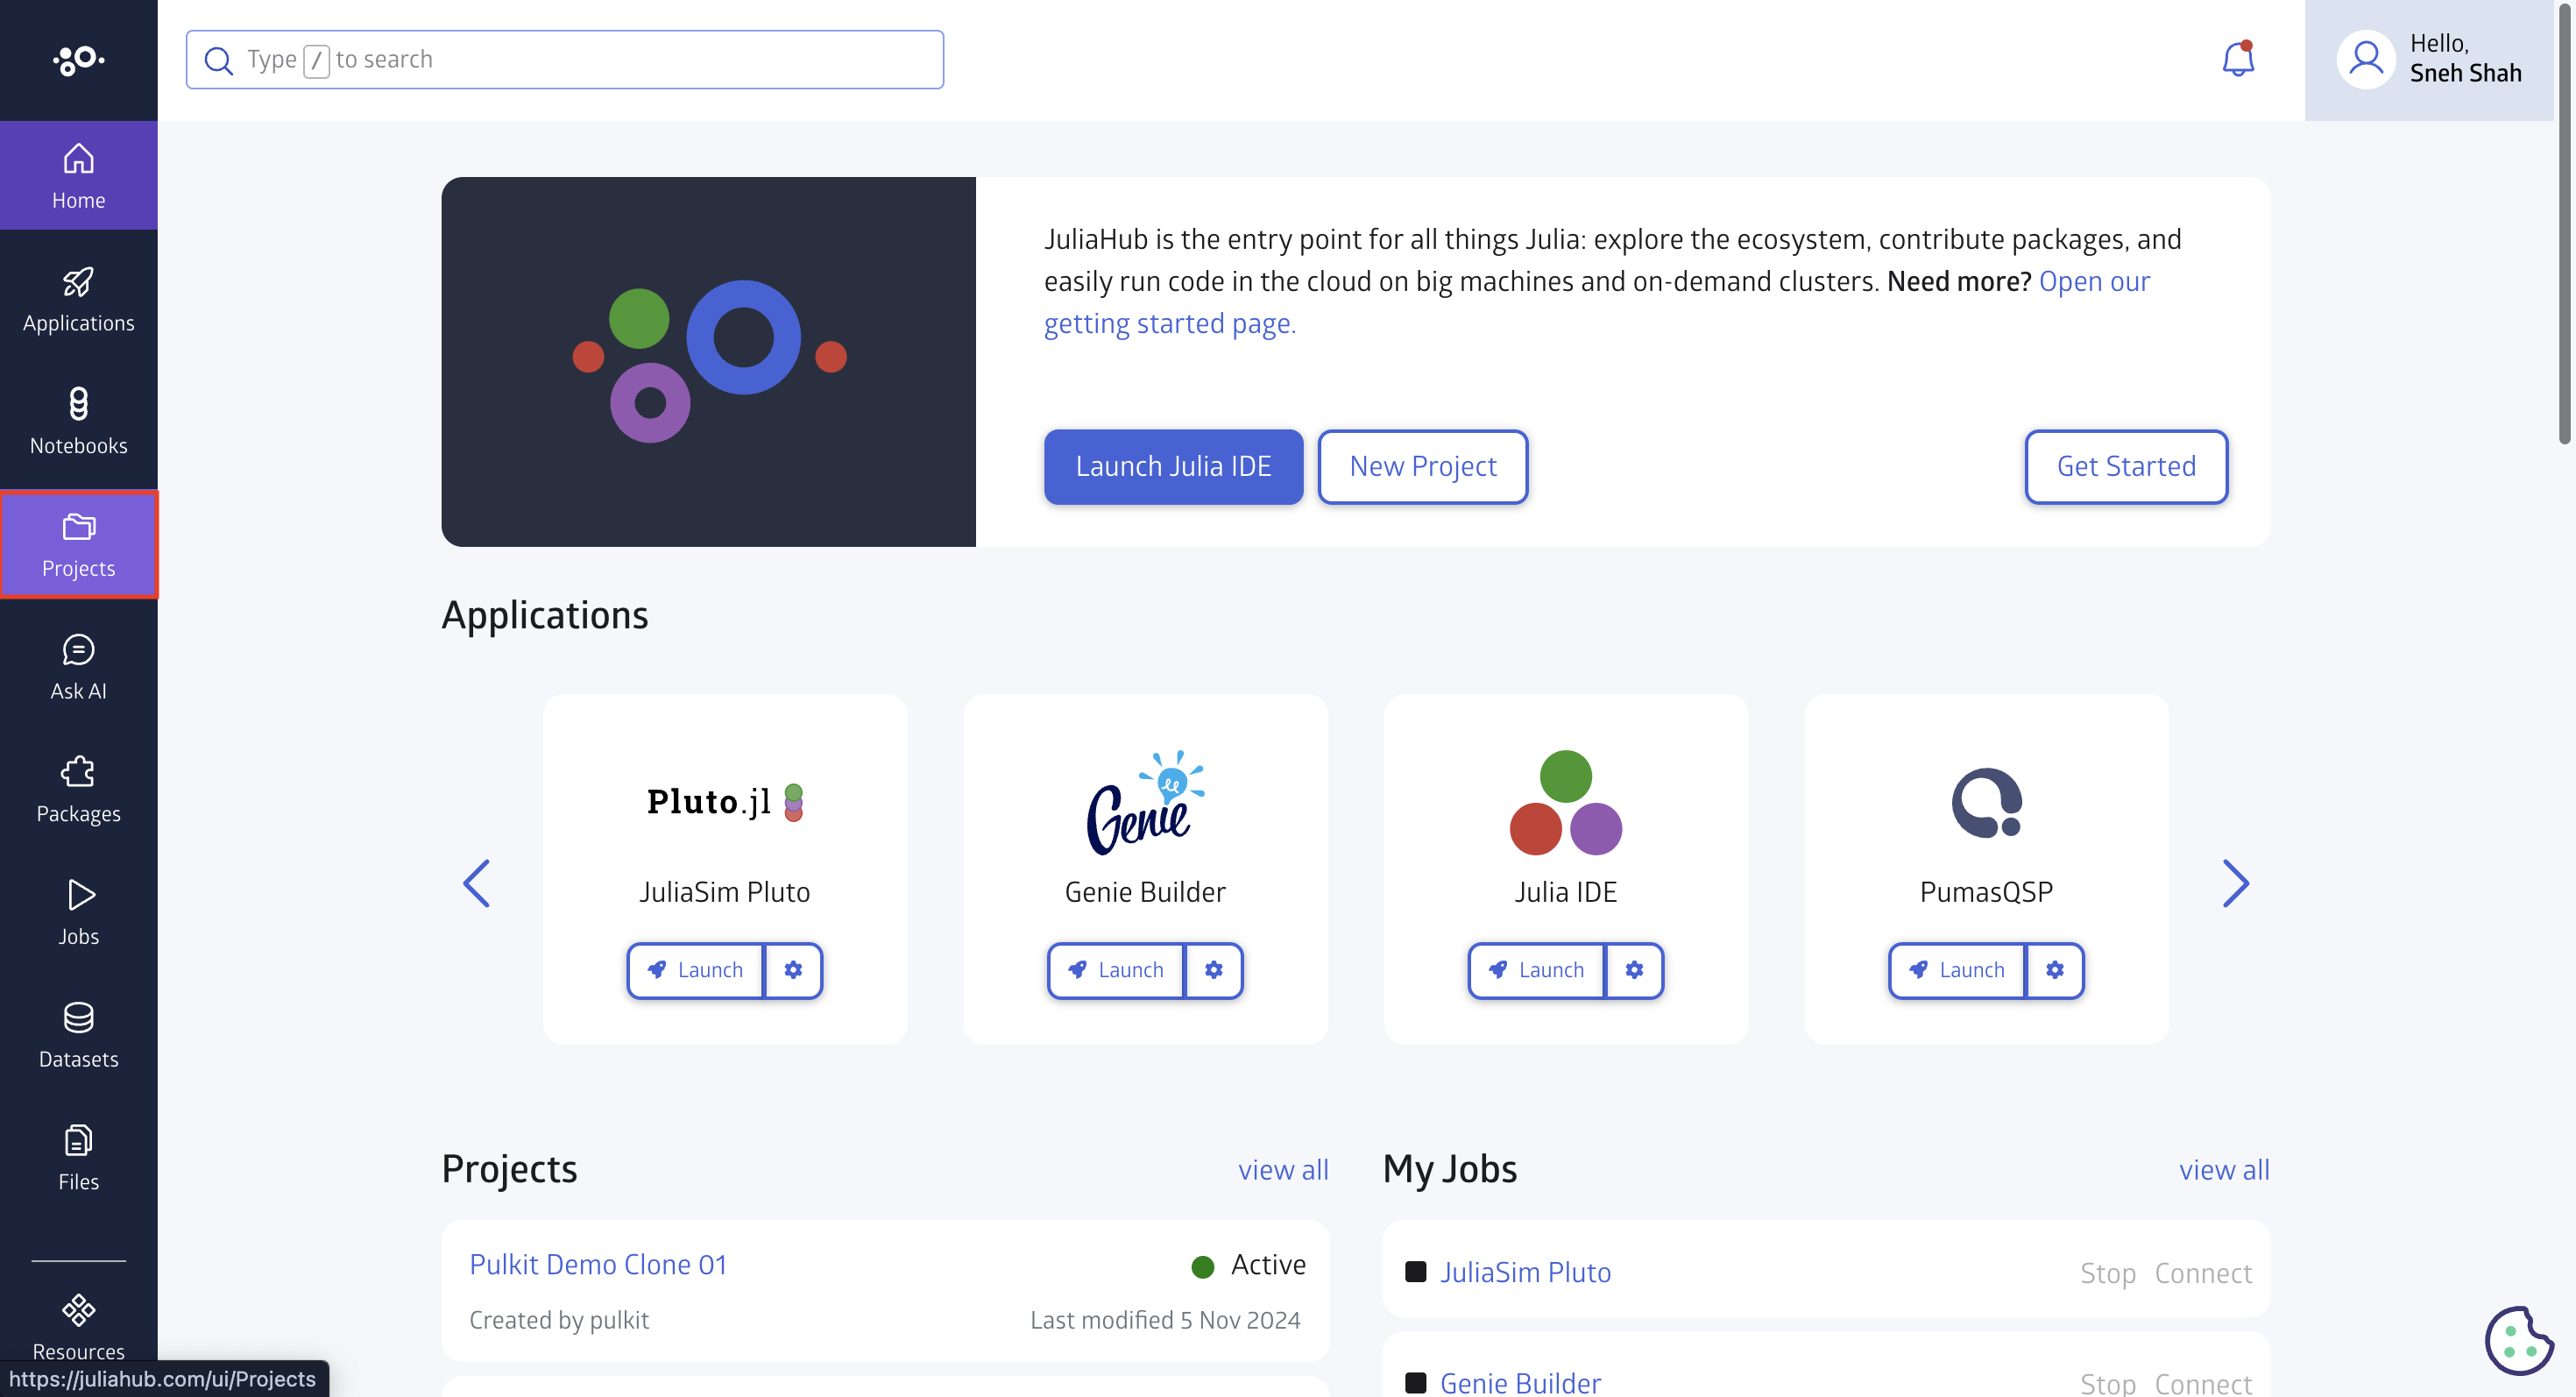
Create a New Project
Once you clicked on Projects you will be redirected to the all your exiting projects. Click on Create Projects button on the top right.
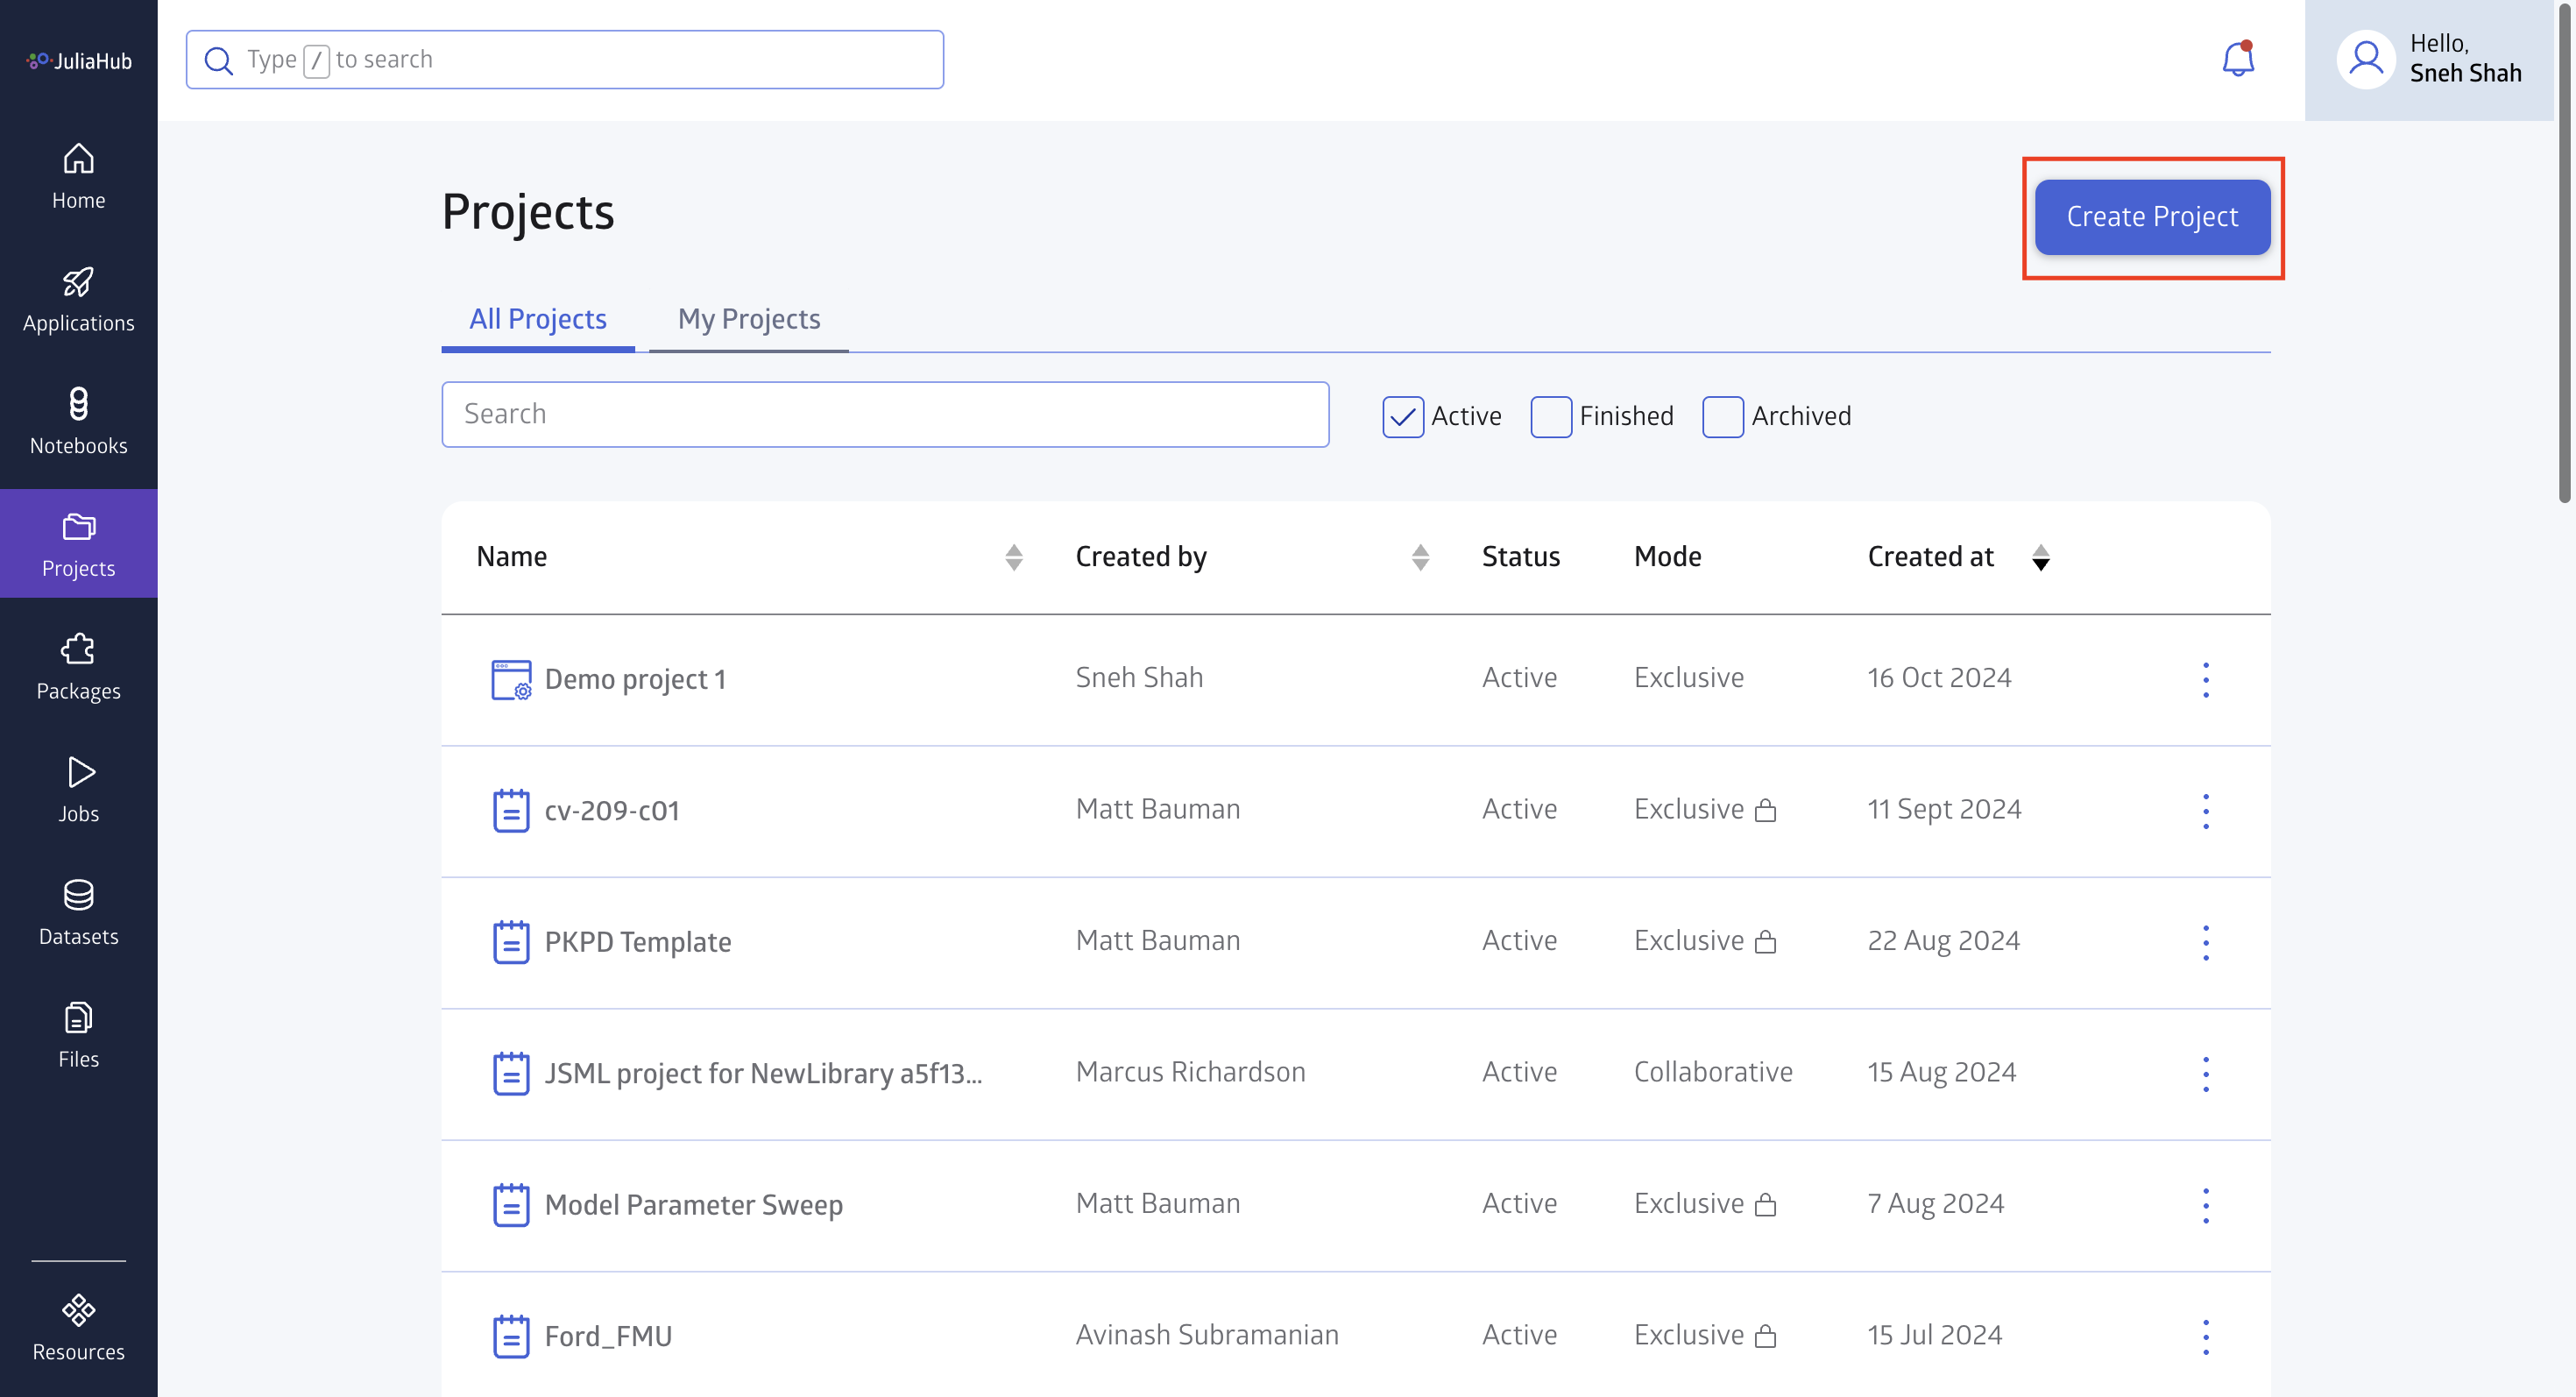
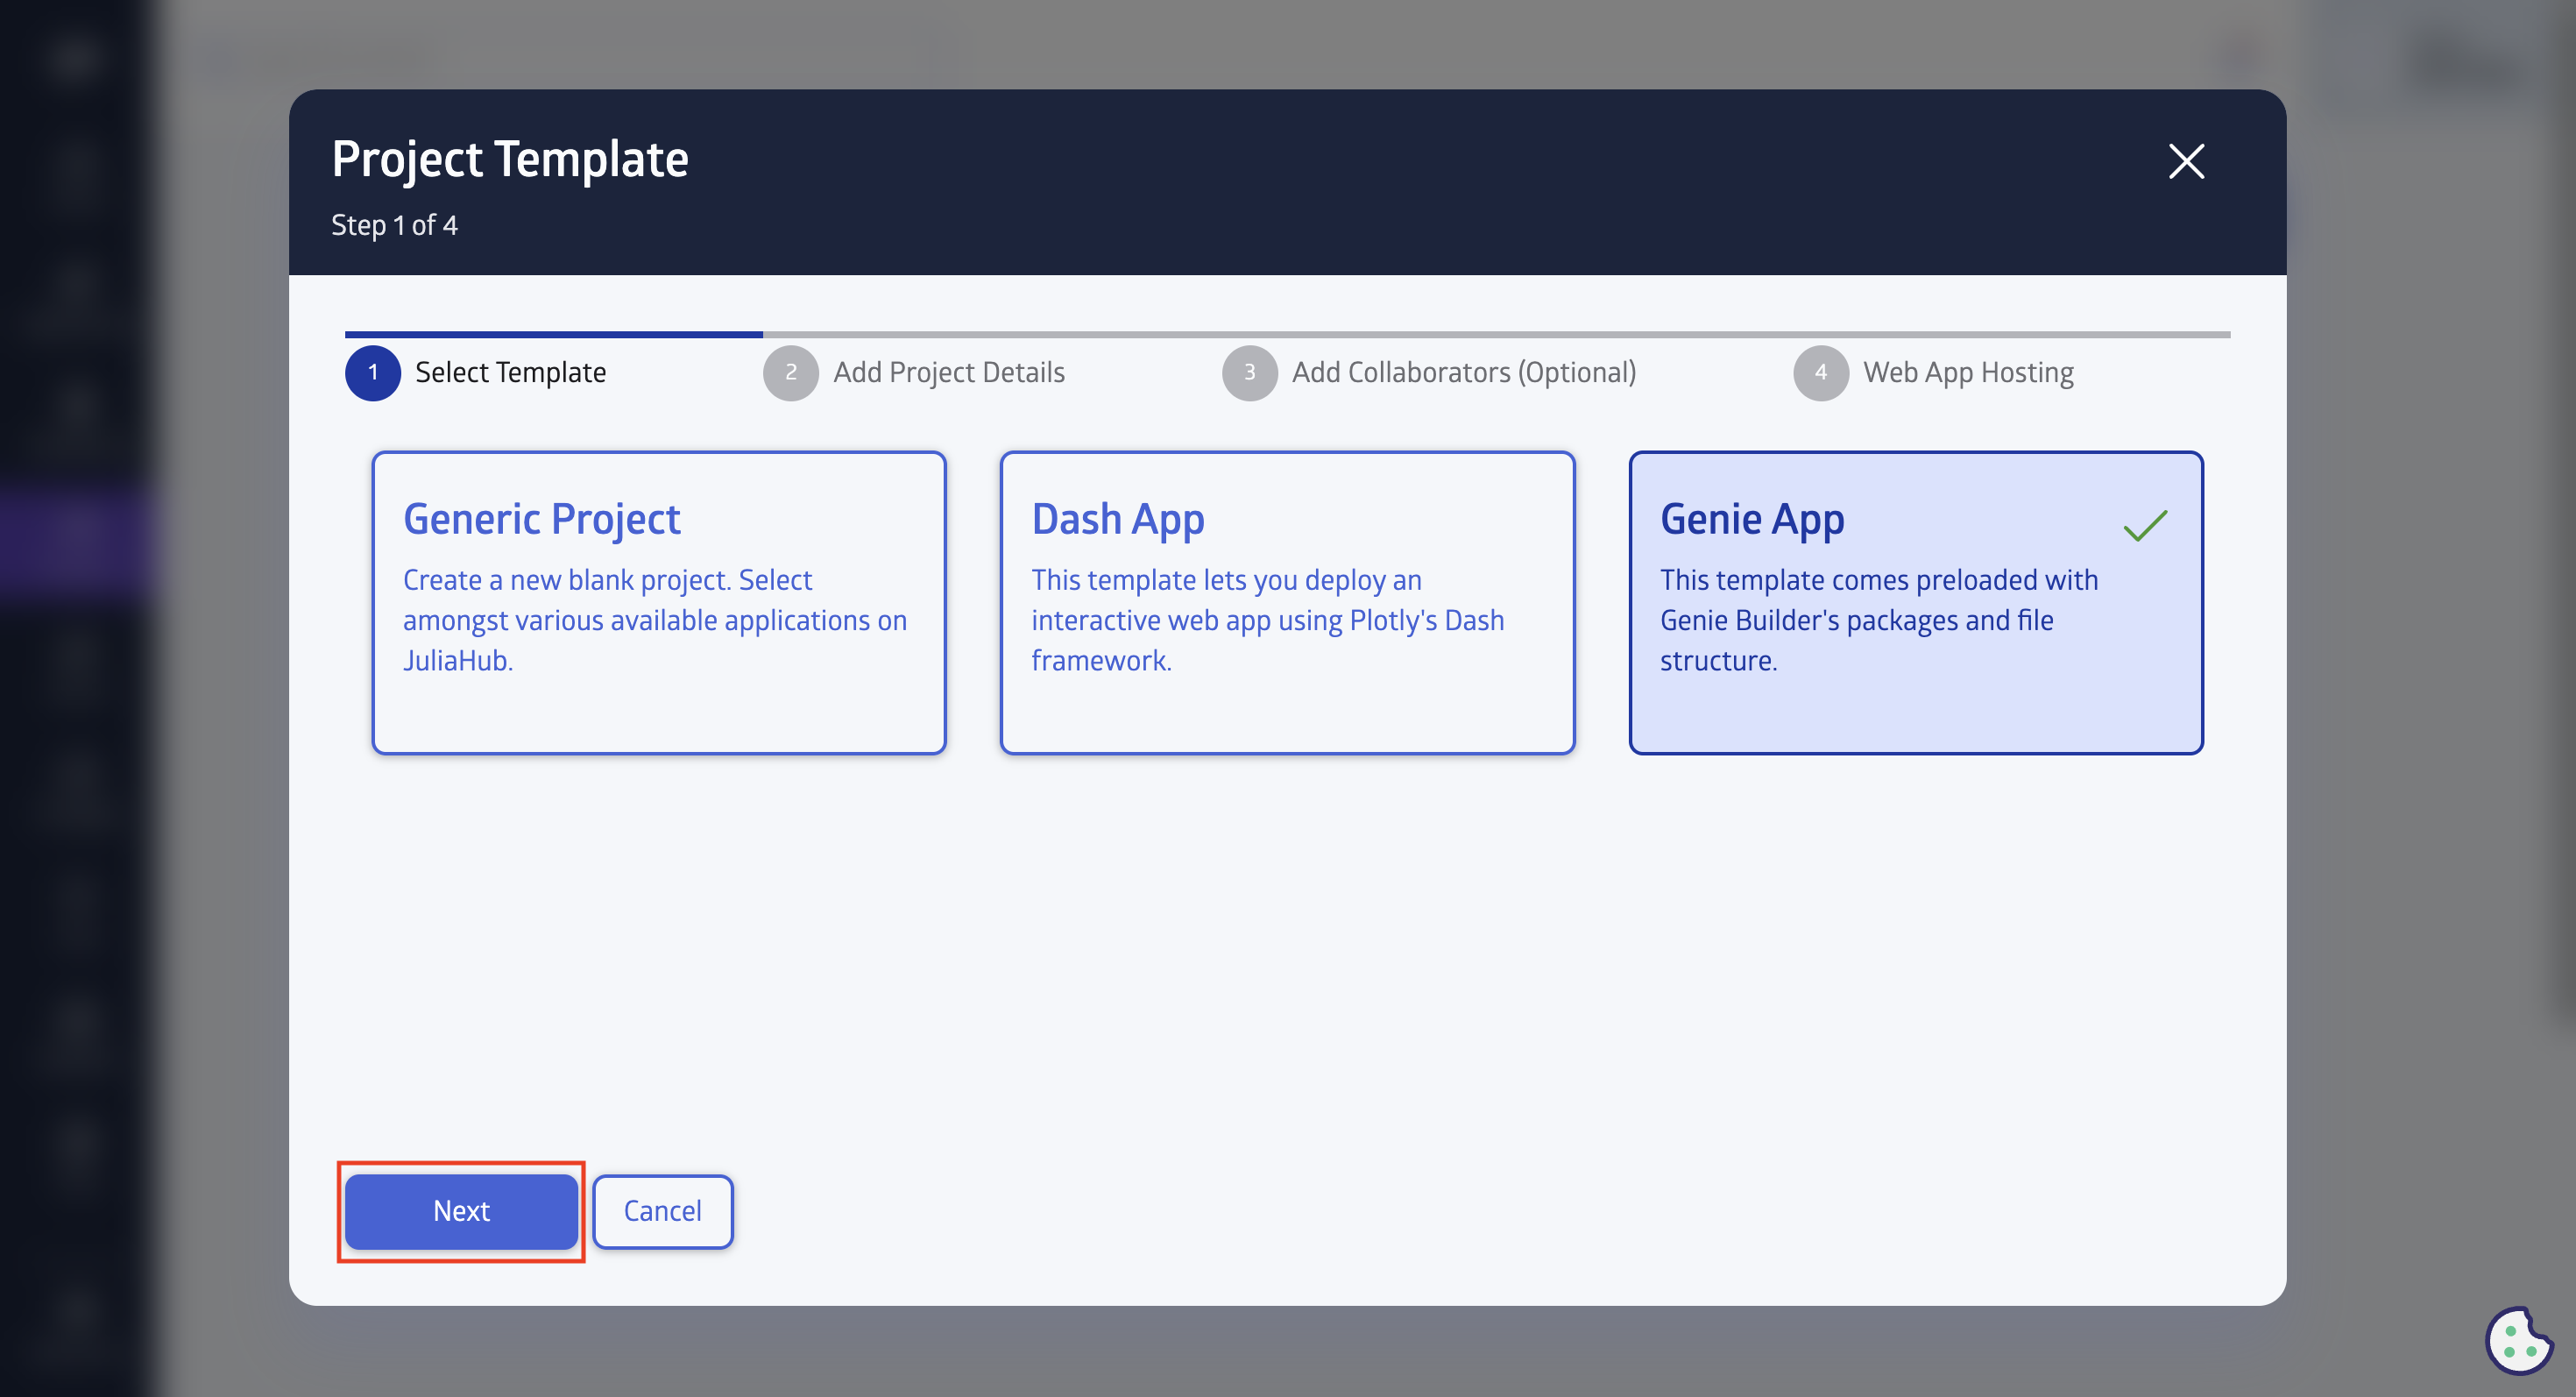
You will be given different templates option to select from click Genie App and then click Next button at the bottom.
You will need to provide your project a name and description(optional). Select the workflow type Group Editing Mode (if you want to have others work off branches on your project) or Exclusive Editing Mode (if working by yourself).
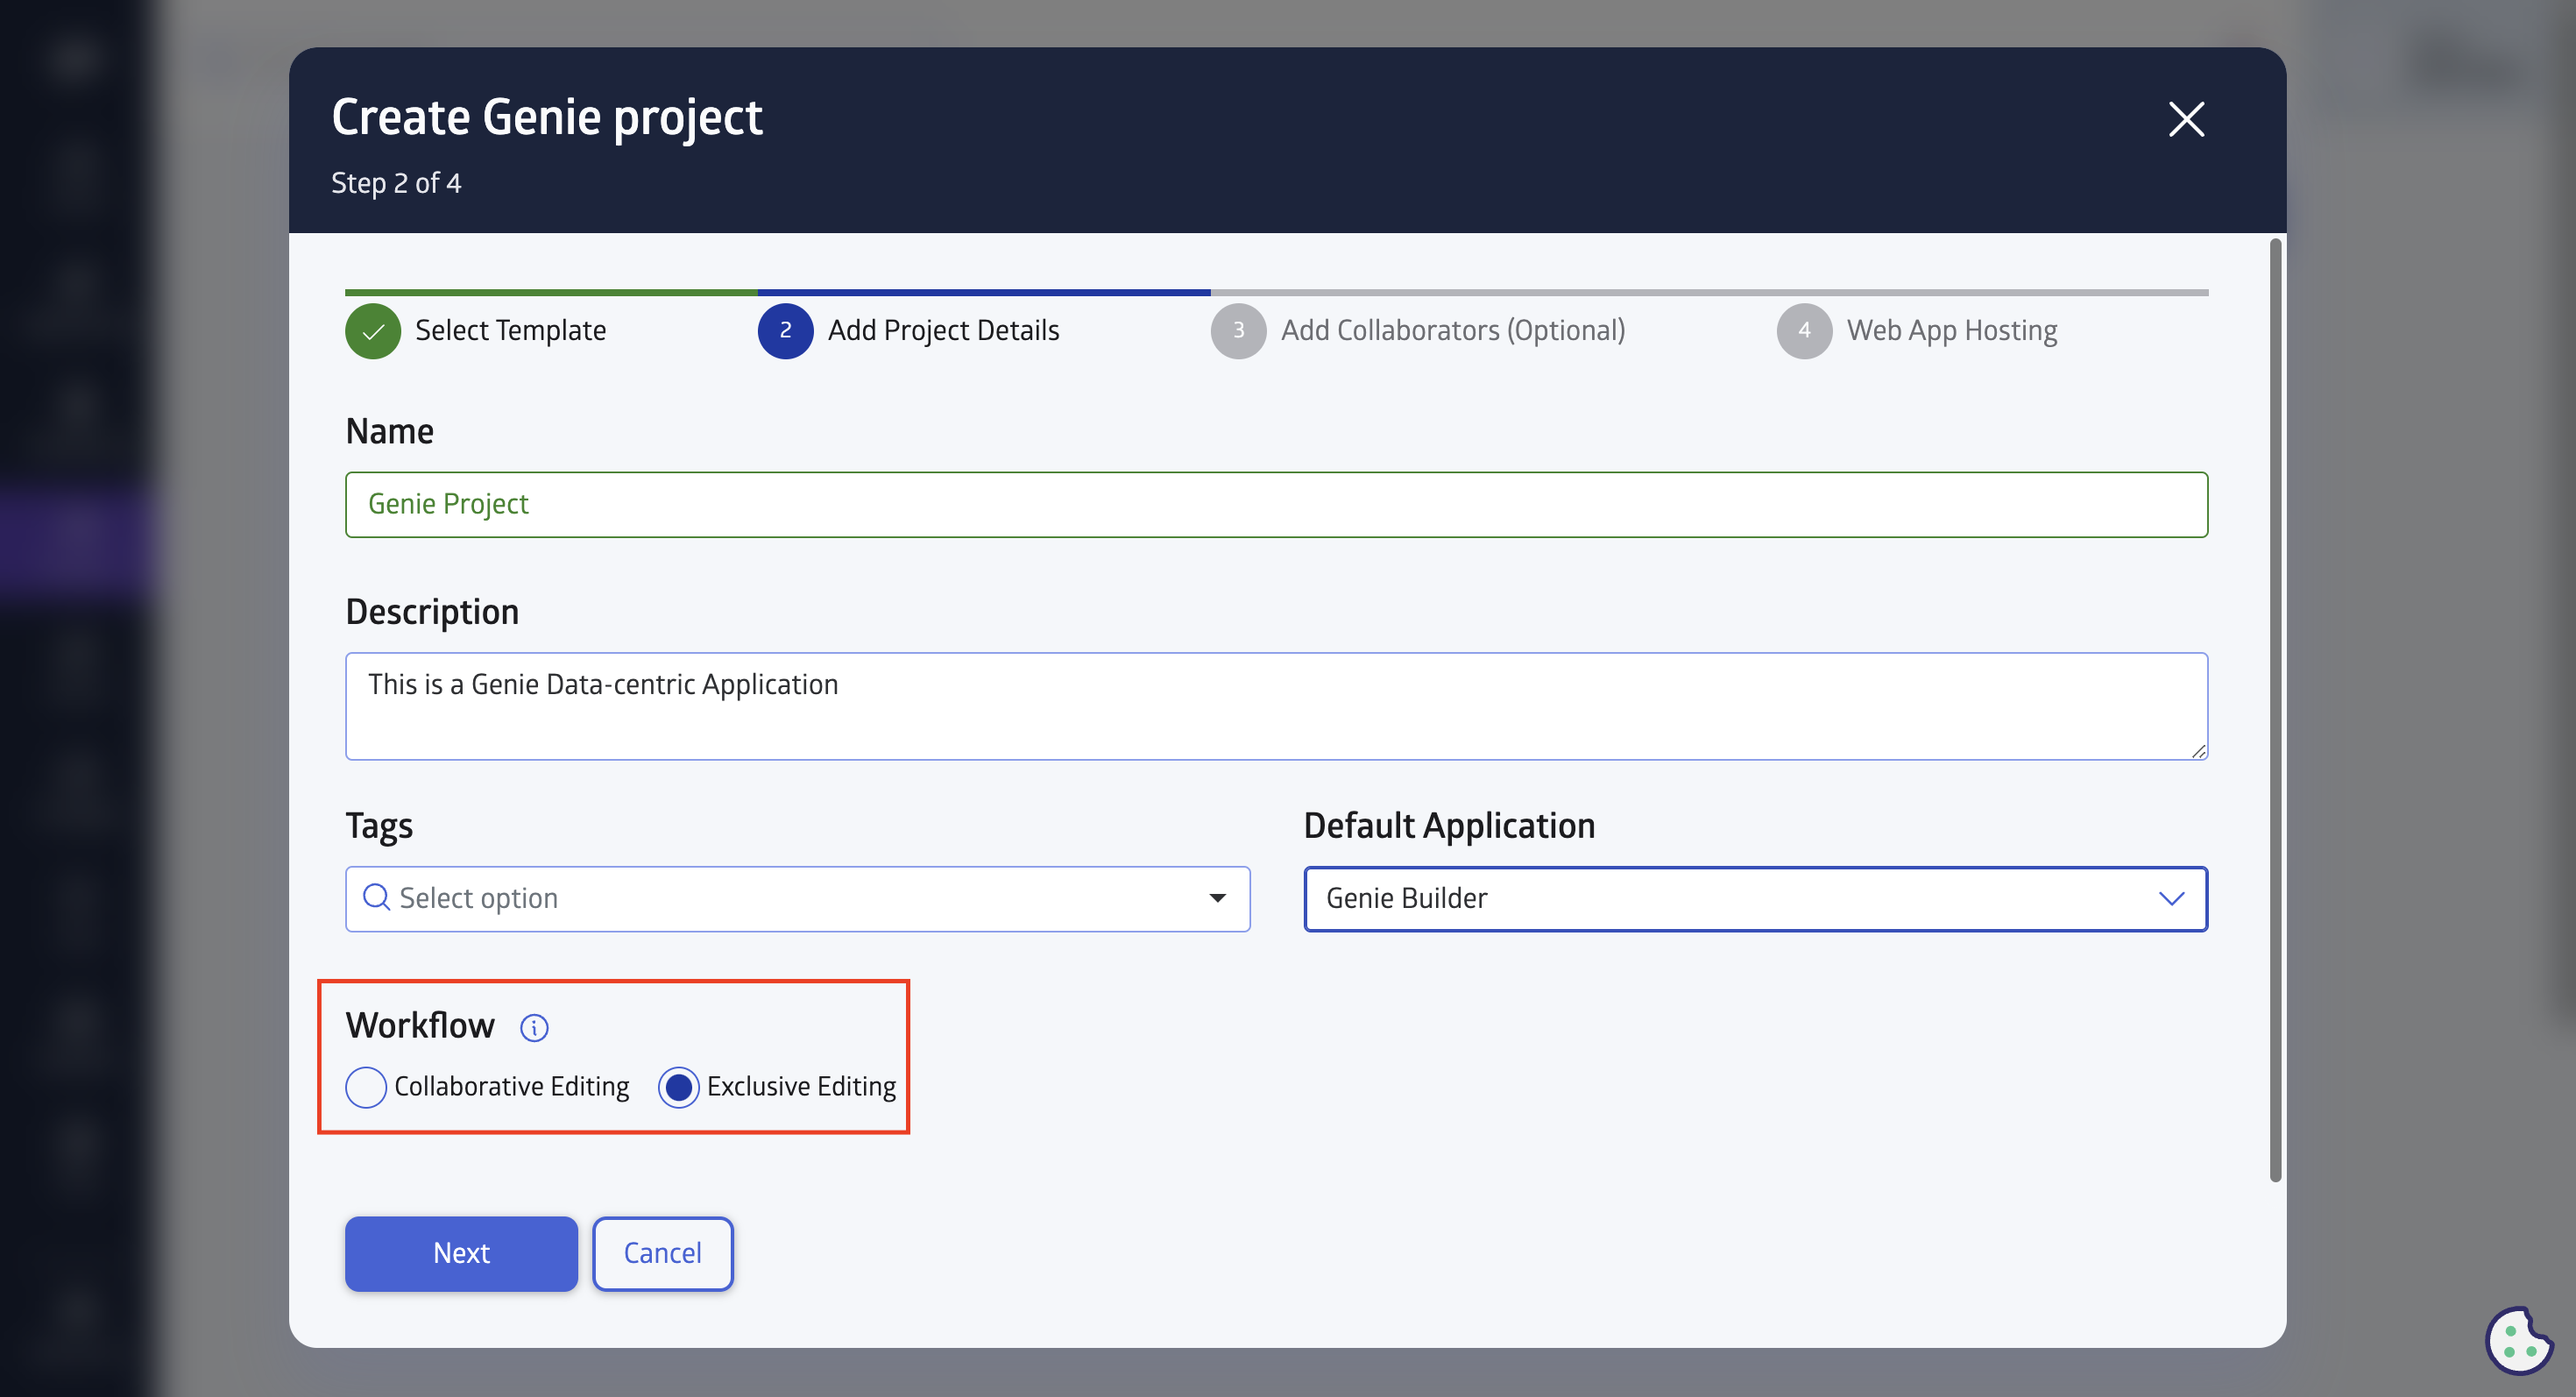
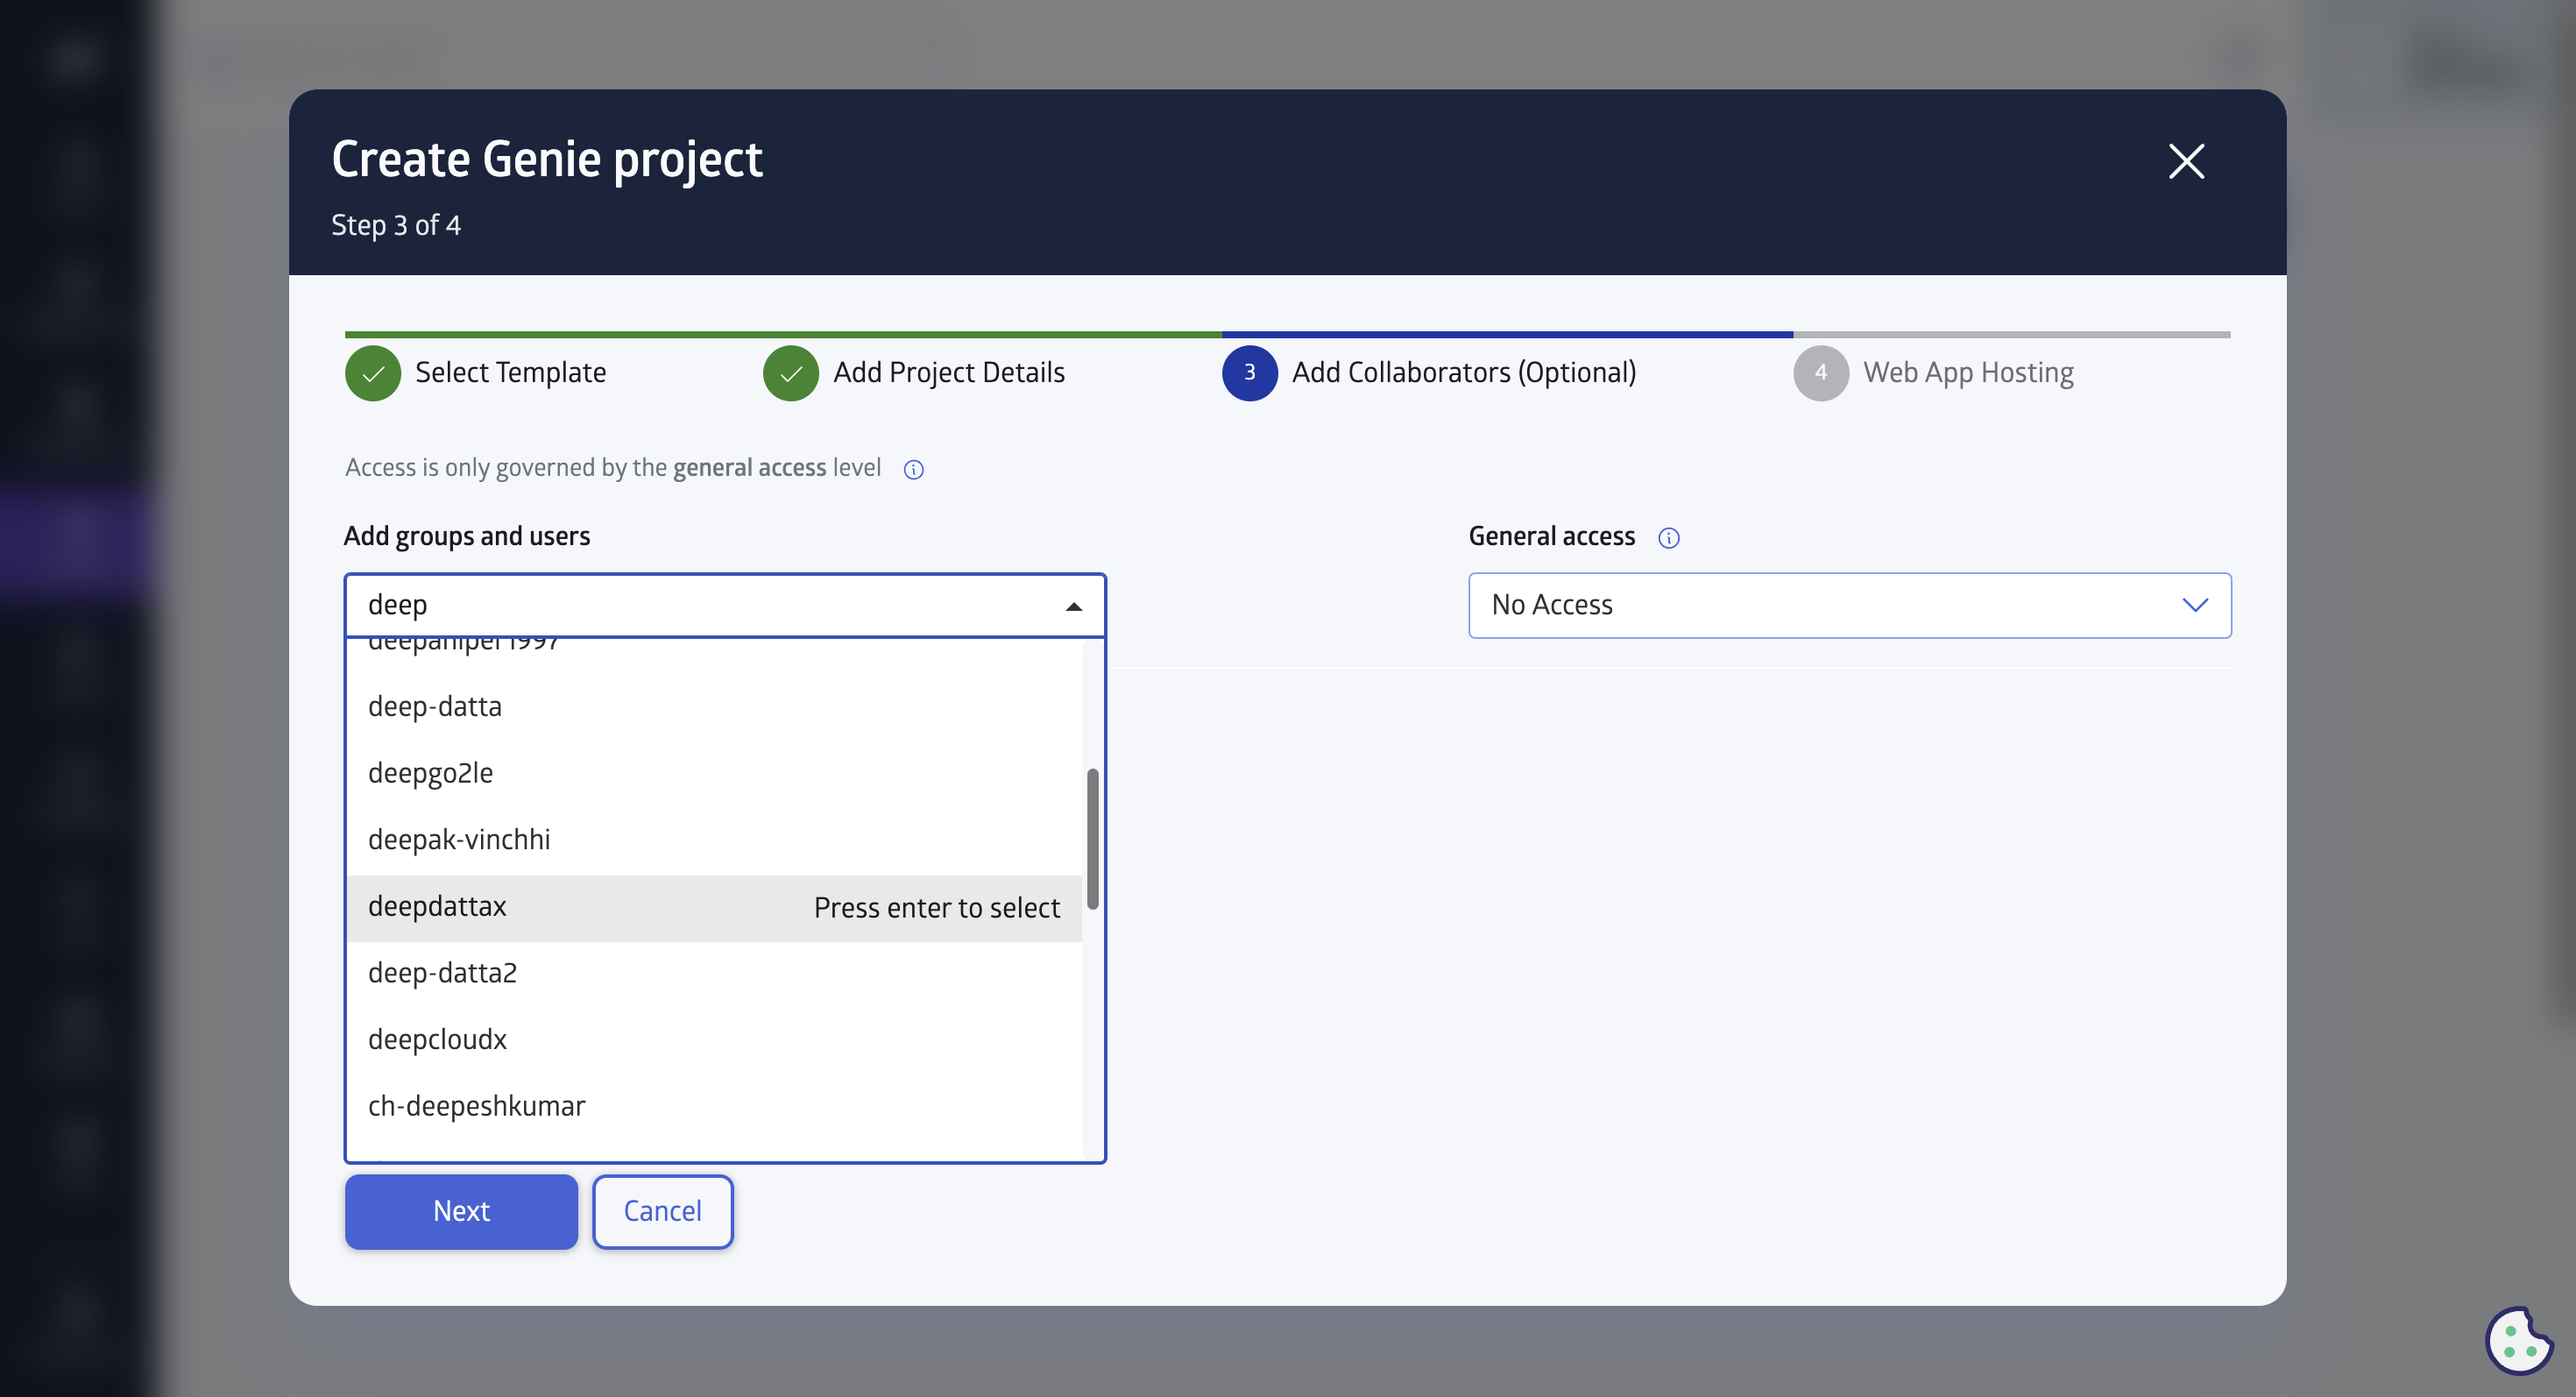
Add the collaborators if you want them to make changes and give them access type as per requirement.
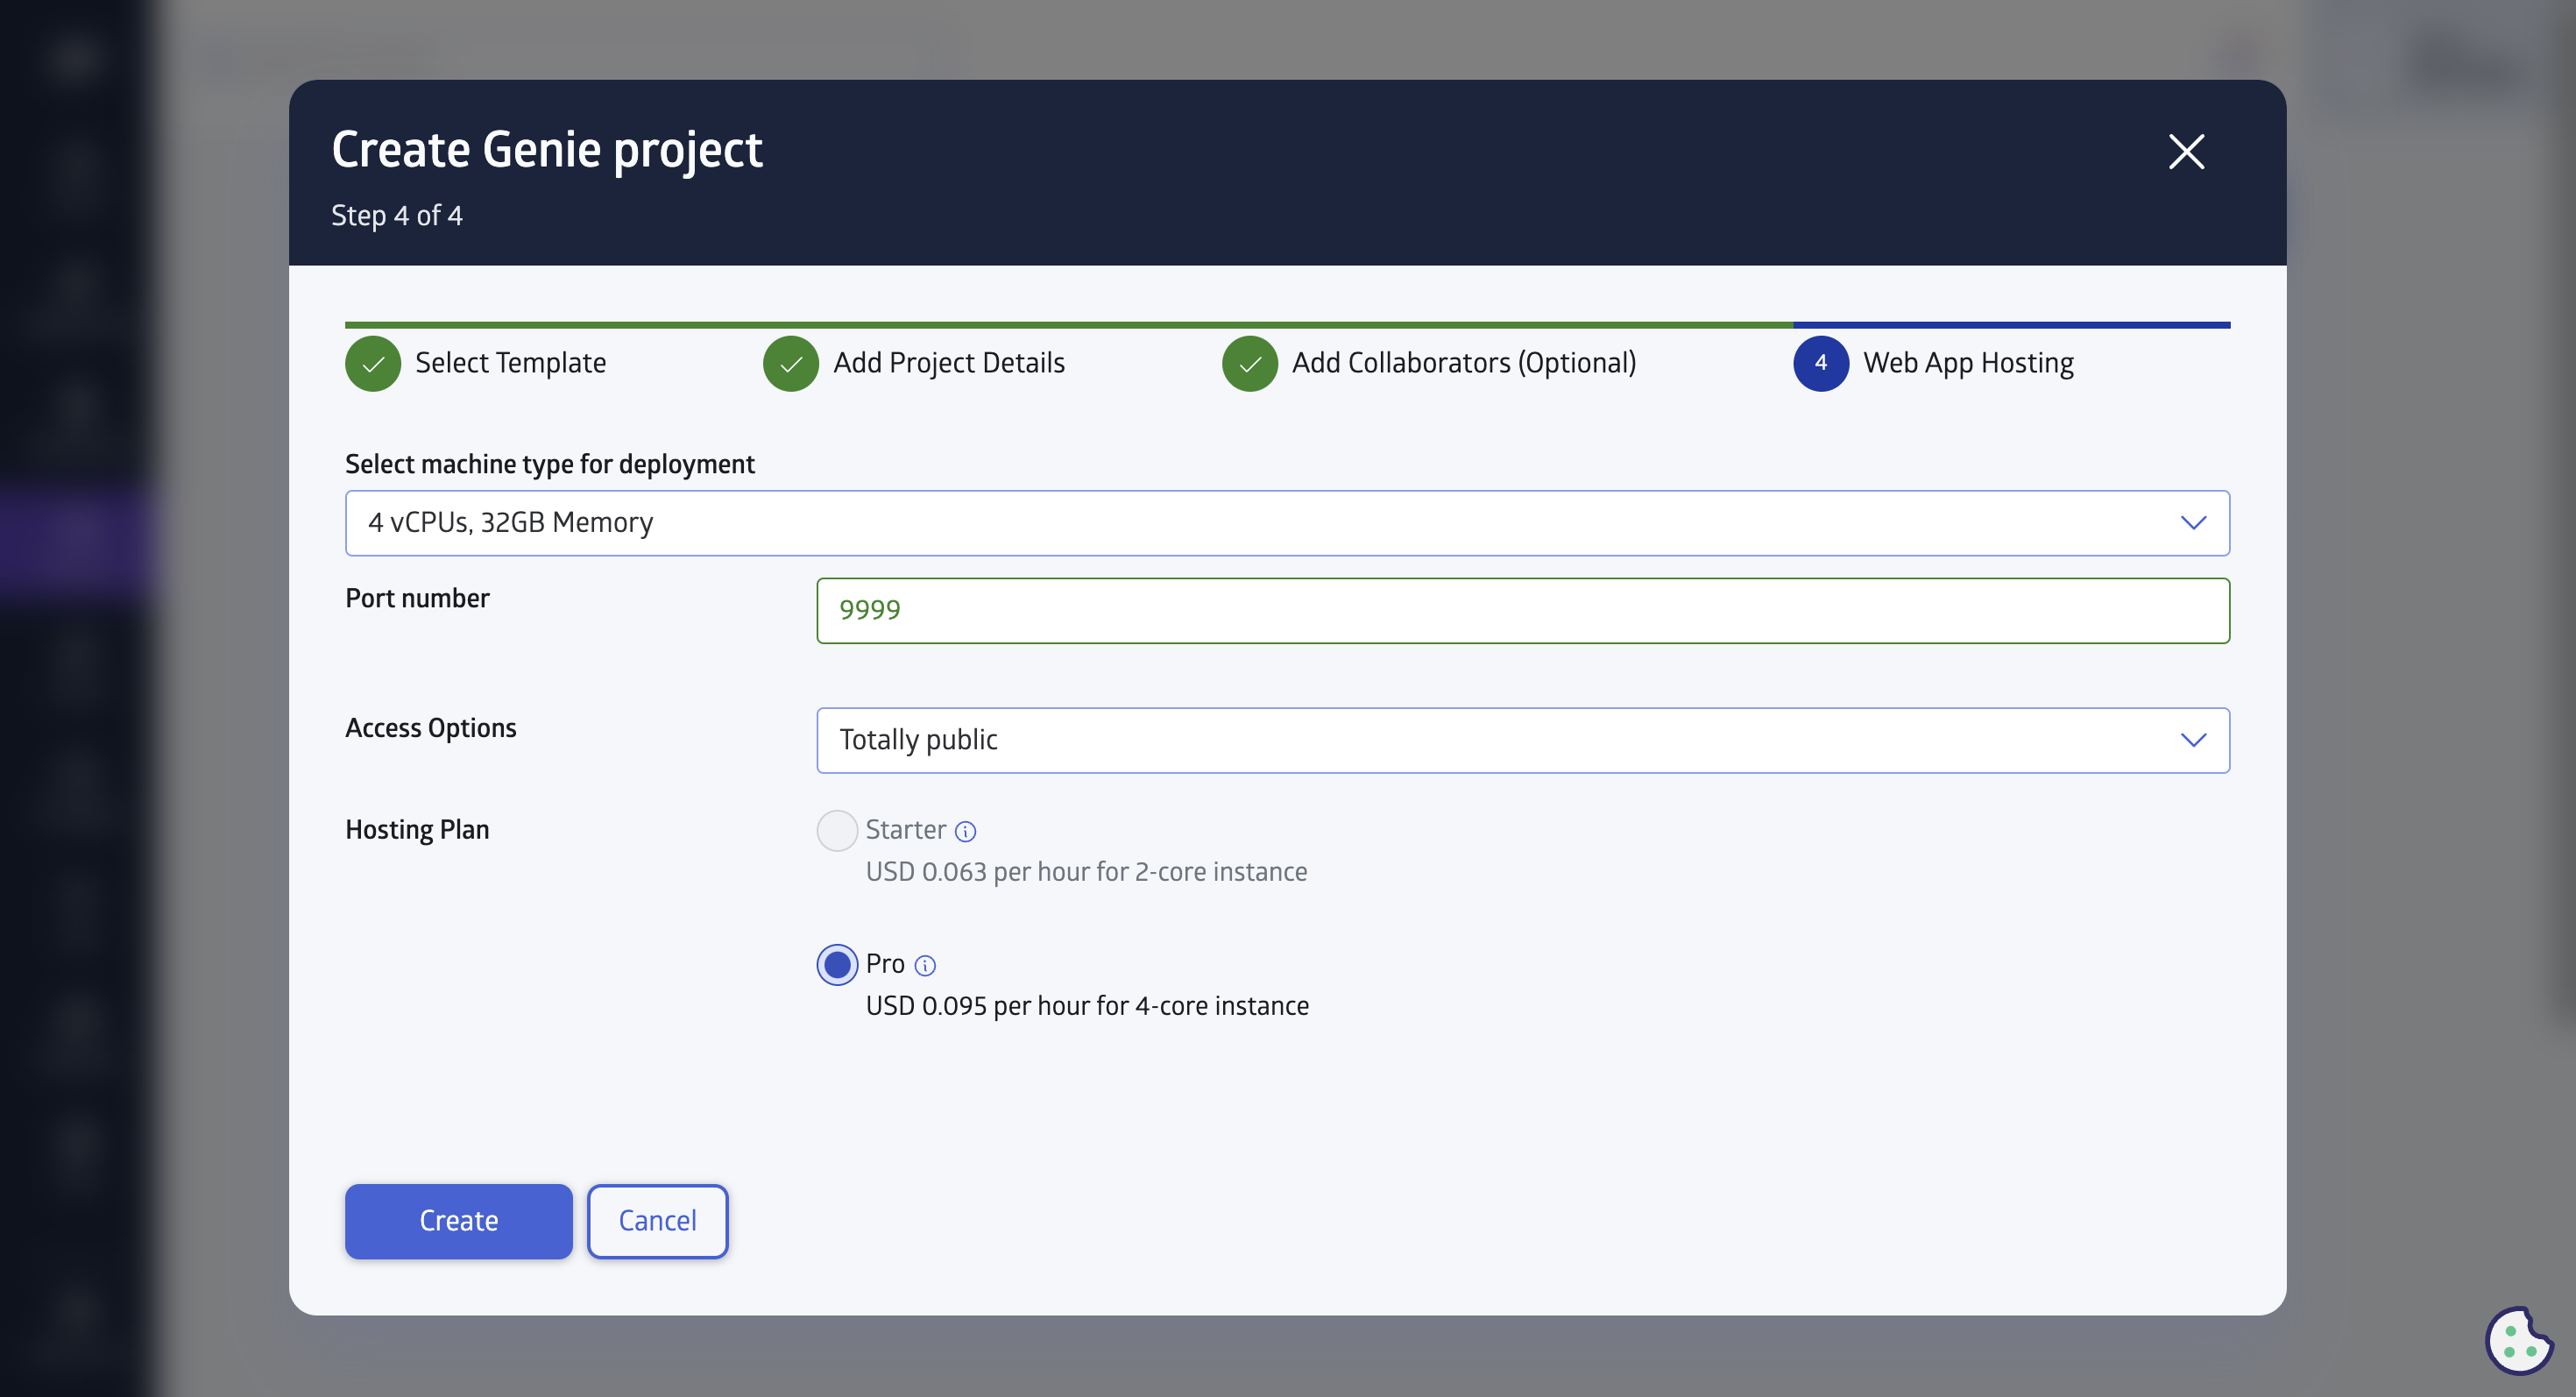
Provide the deployment information such as machine type, access options(Either public, logged-in users or just you), and select the hosting plan. Once done hit Create button at the bottom.
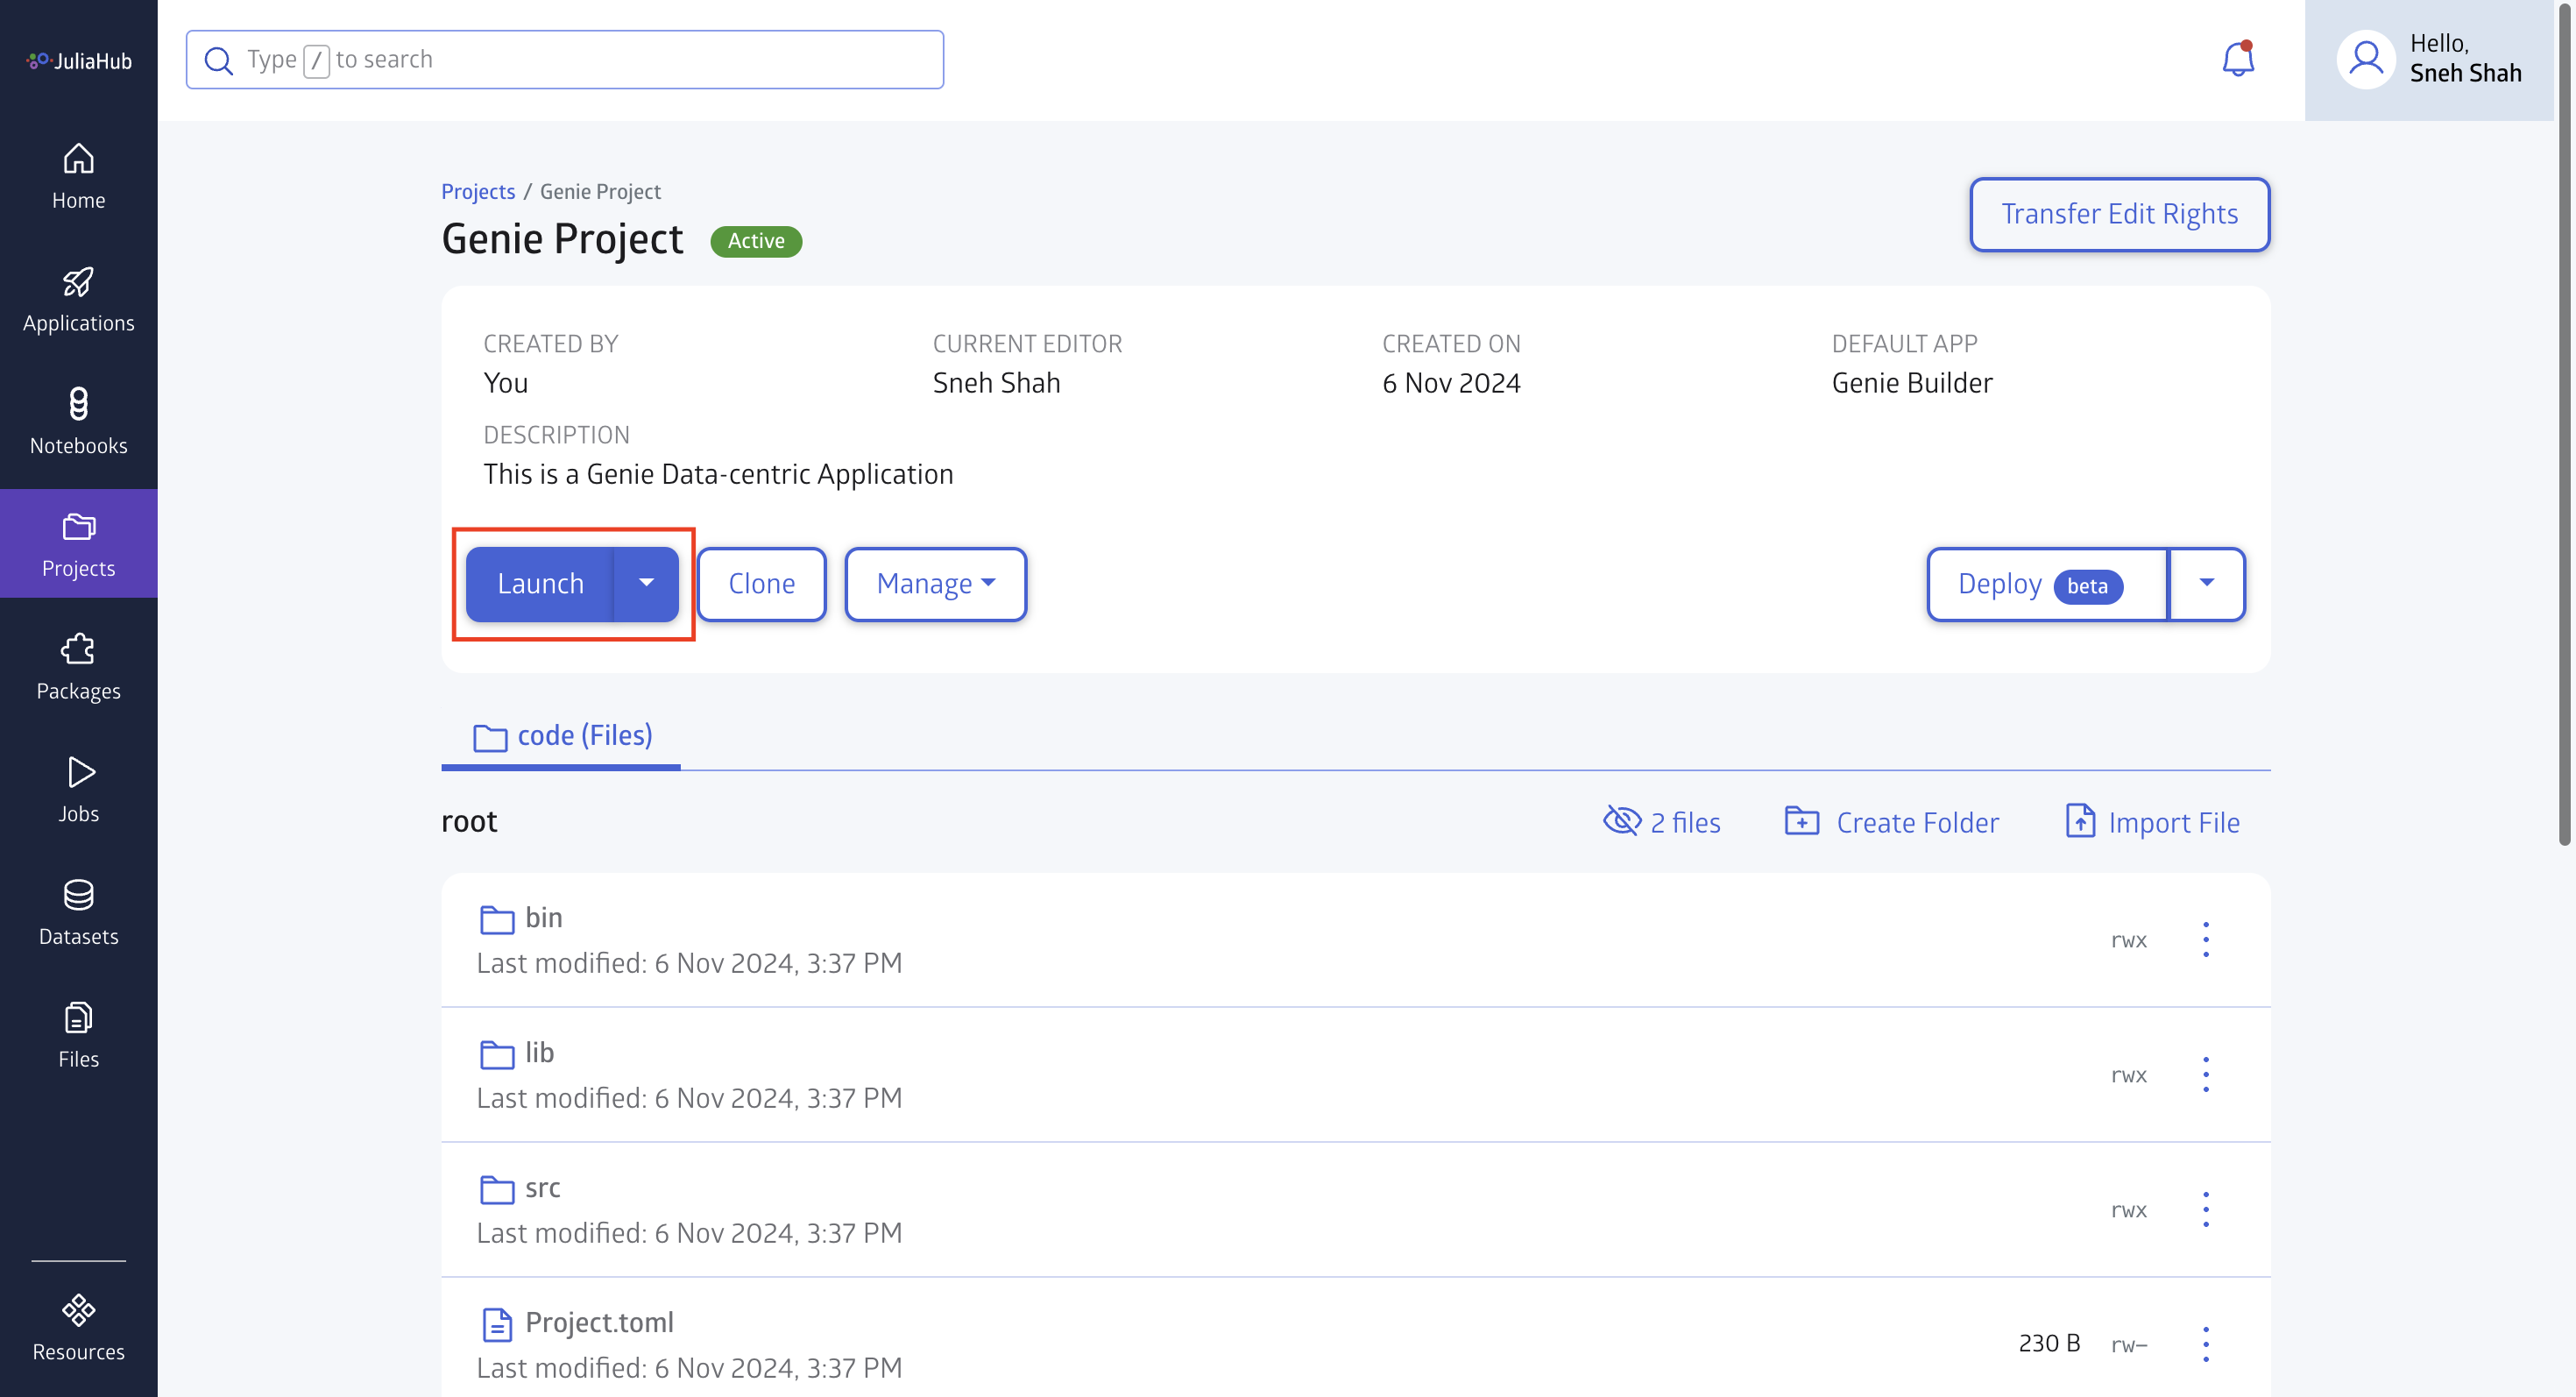
You will be redirected to projects tab. Once your project is created, click on the Launch button.
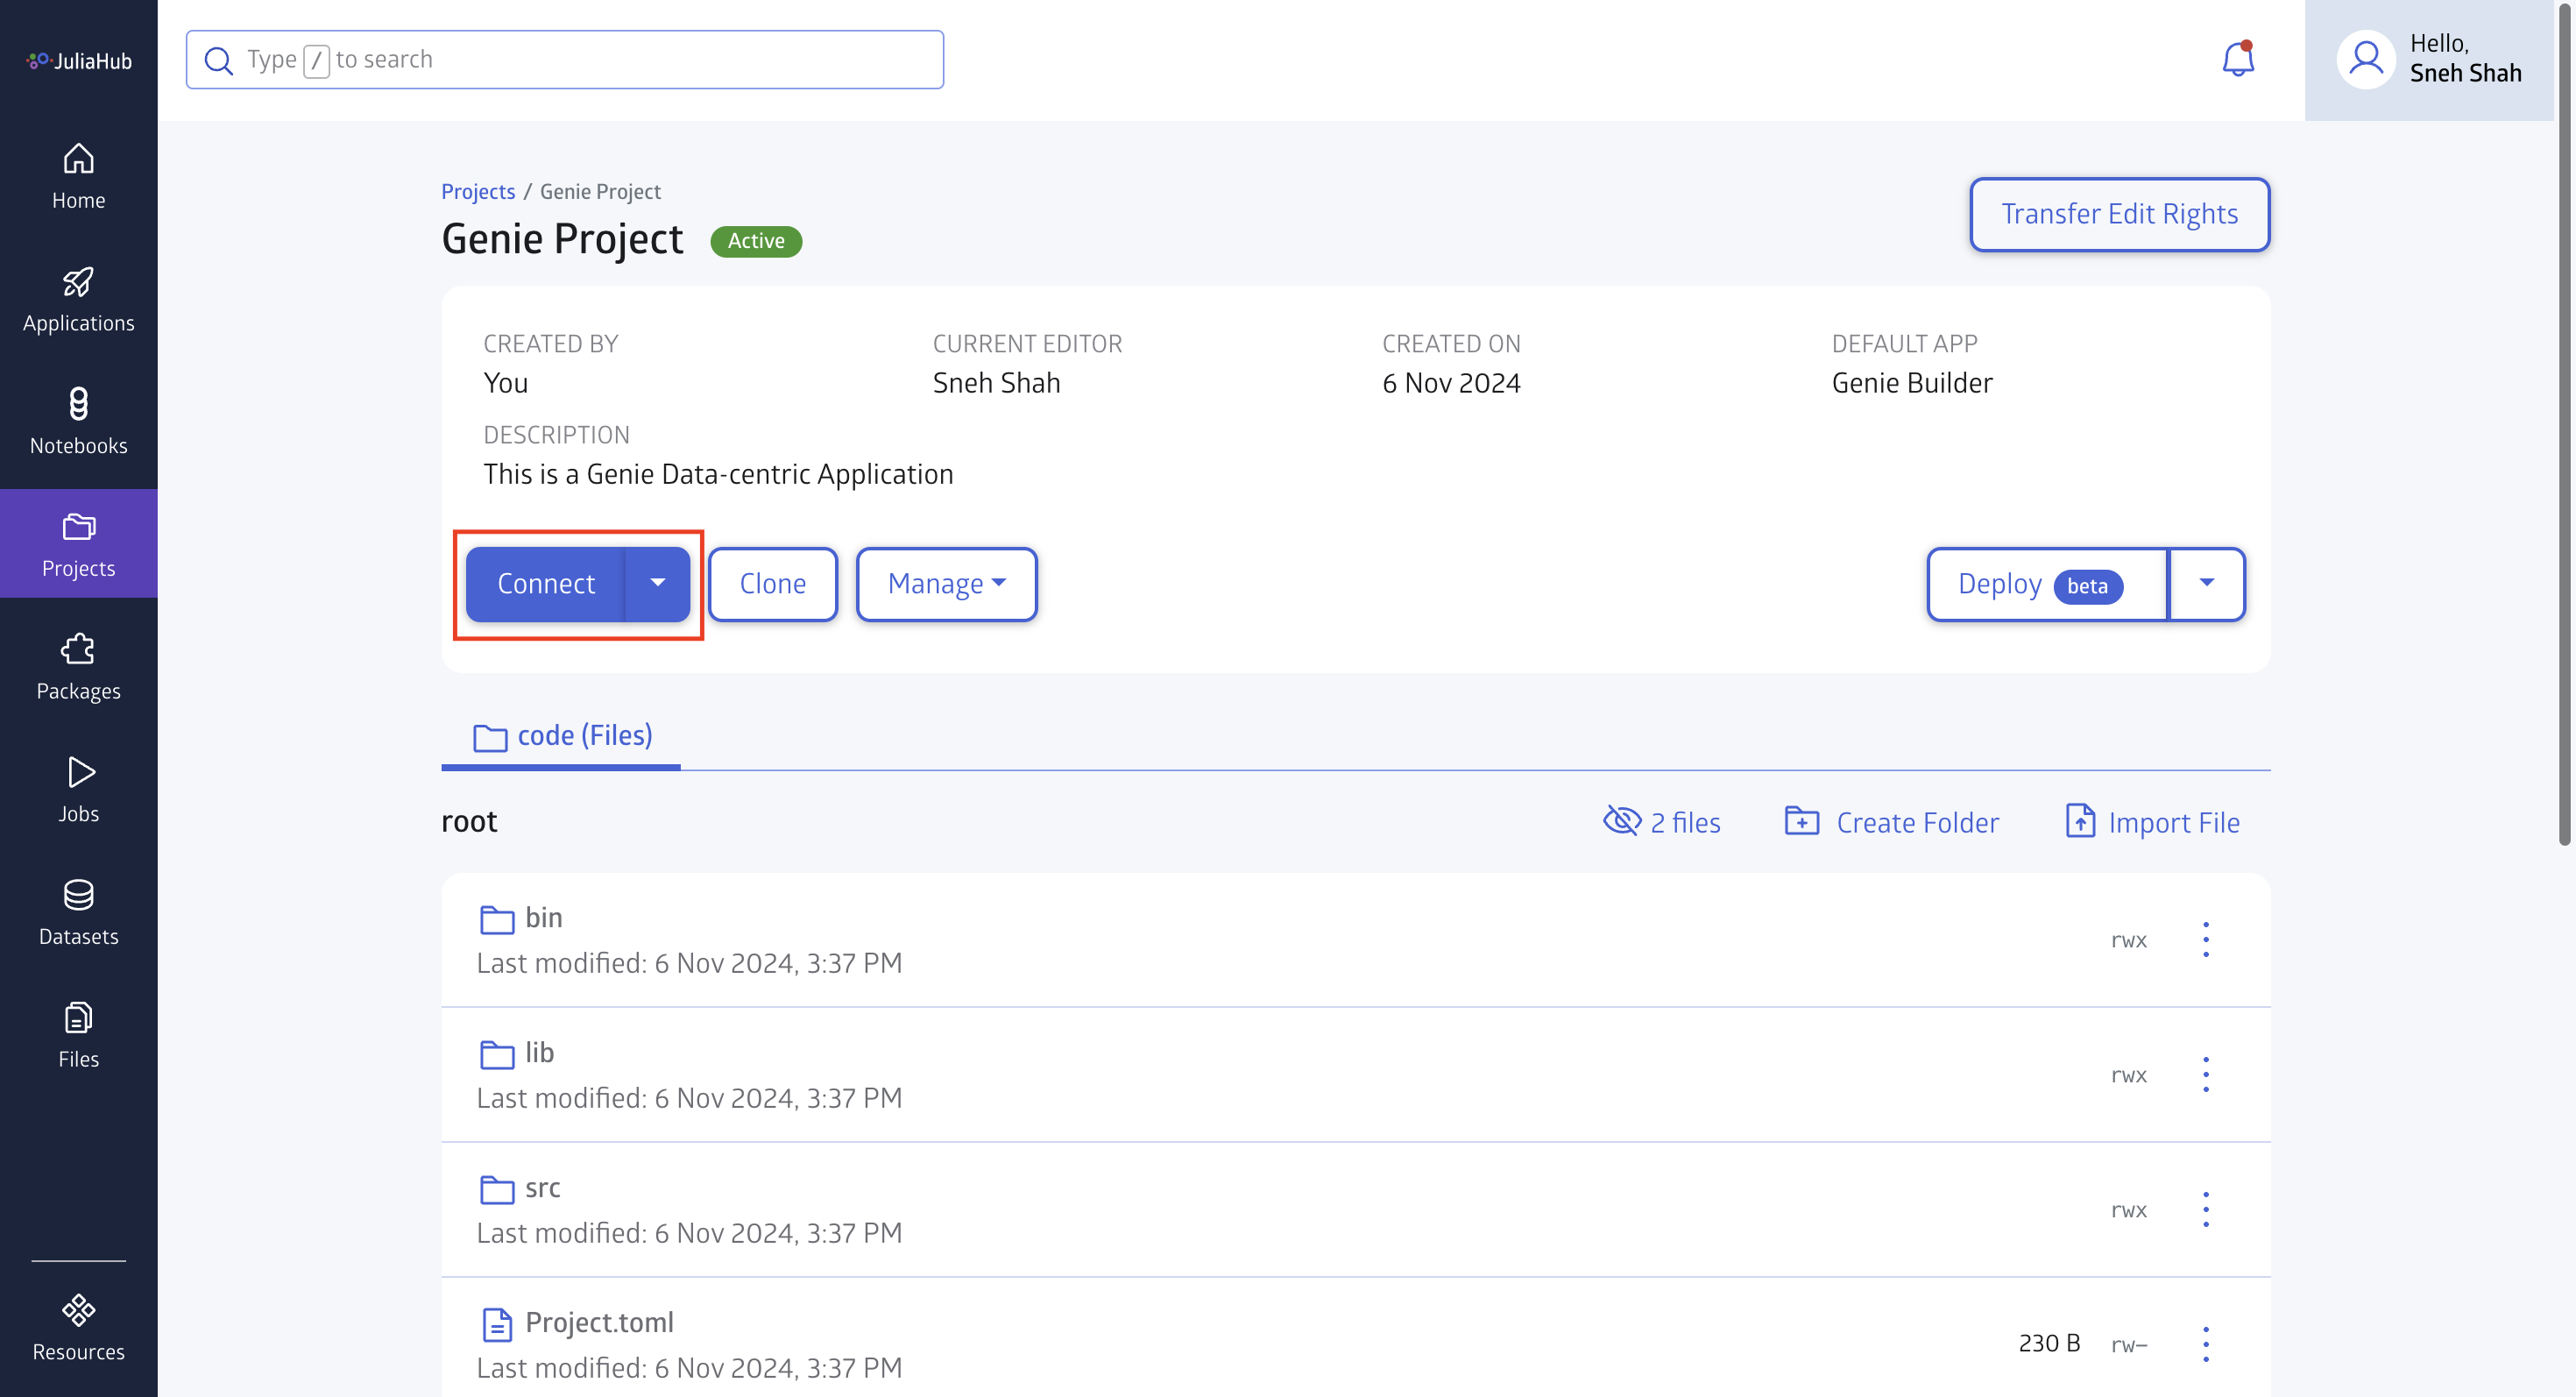
It will take a minute or two to start the instance and then the button will change to “Connect” when ready. Click on Connect.
Build Your Interface (No-Code Editor)
Once the Julia/Genie IDE opens, you'll need to wait a few minutes for Genie to start up. If it doesn't start, click on GB stopped at the bottom of the screen and it will then start the instance.
Once started, you should see a tab appear on the lower-left side of the screen that says Genie
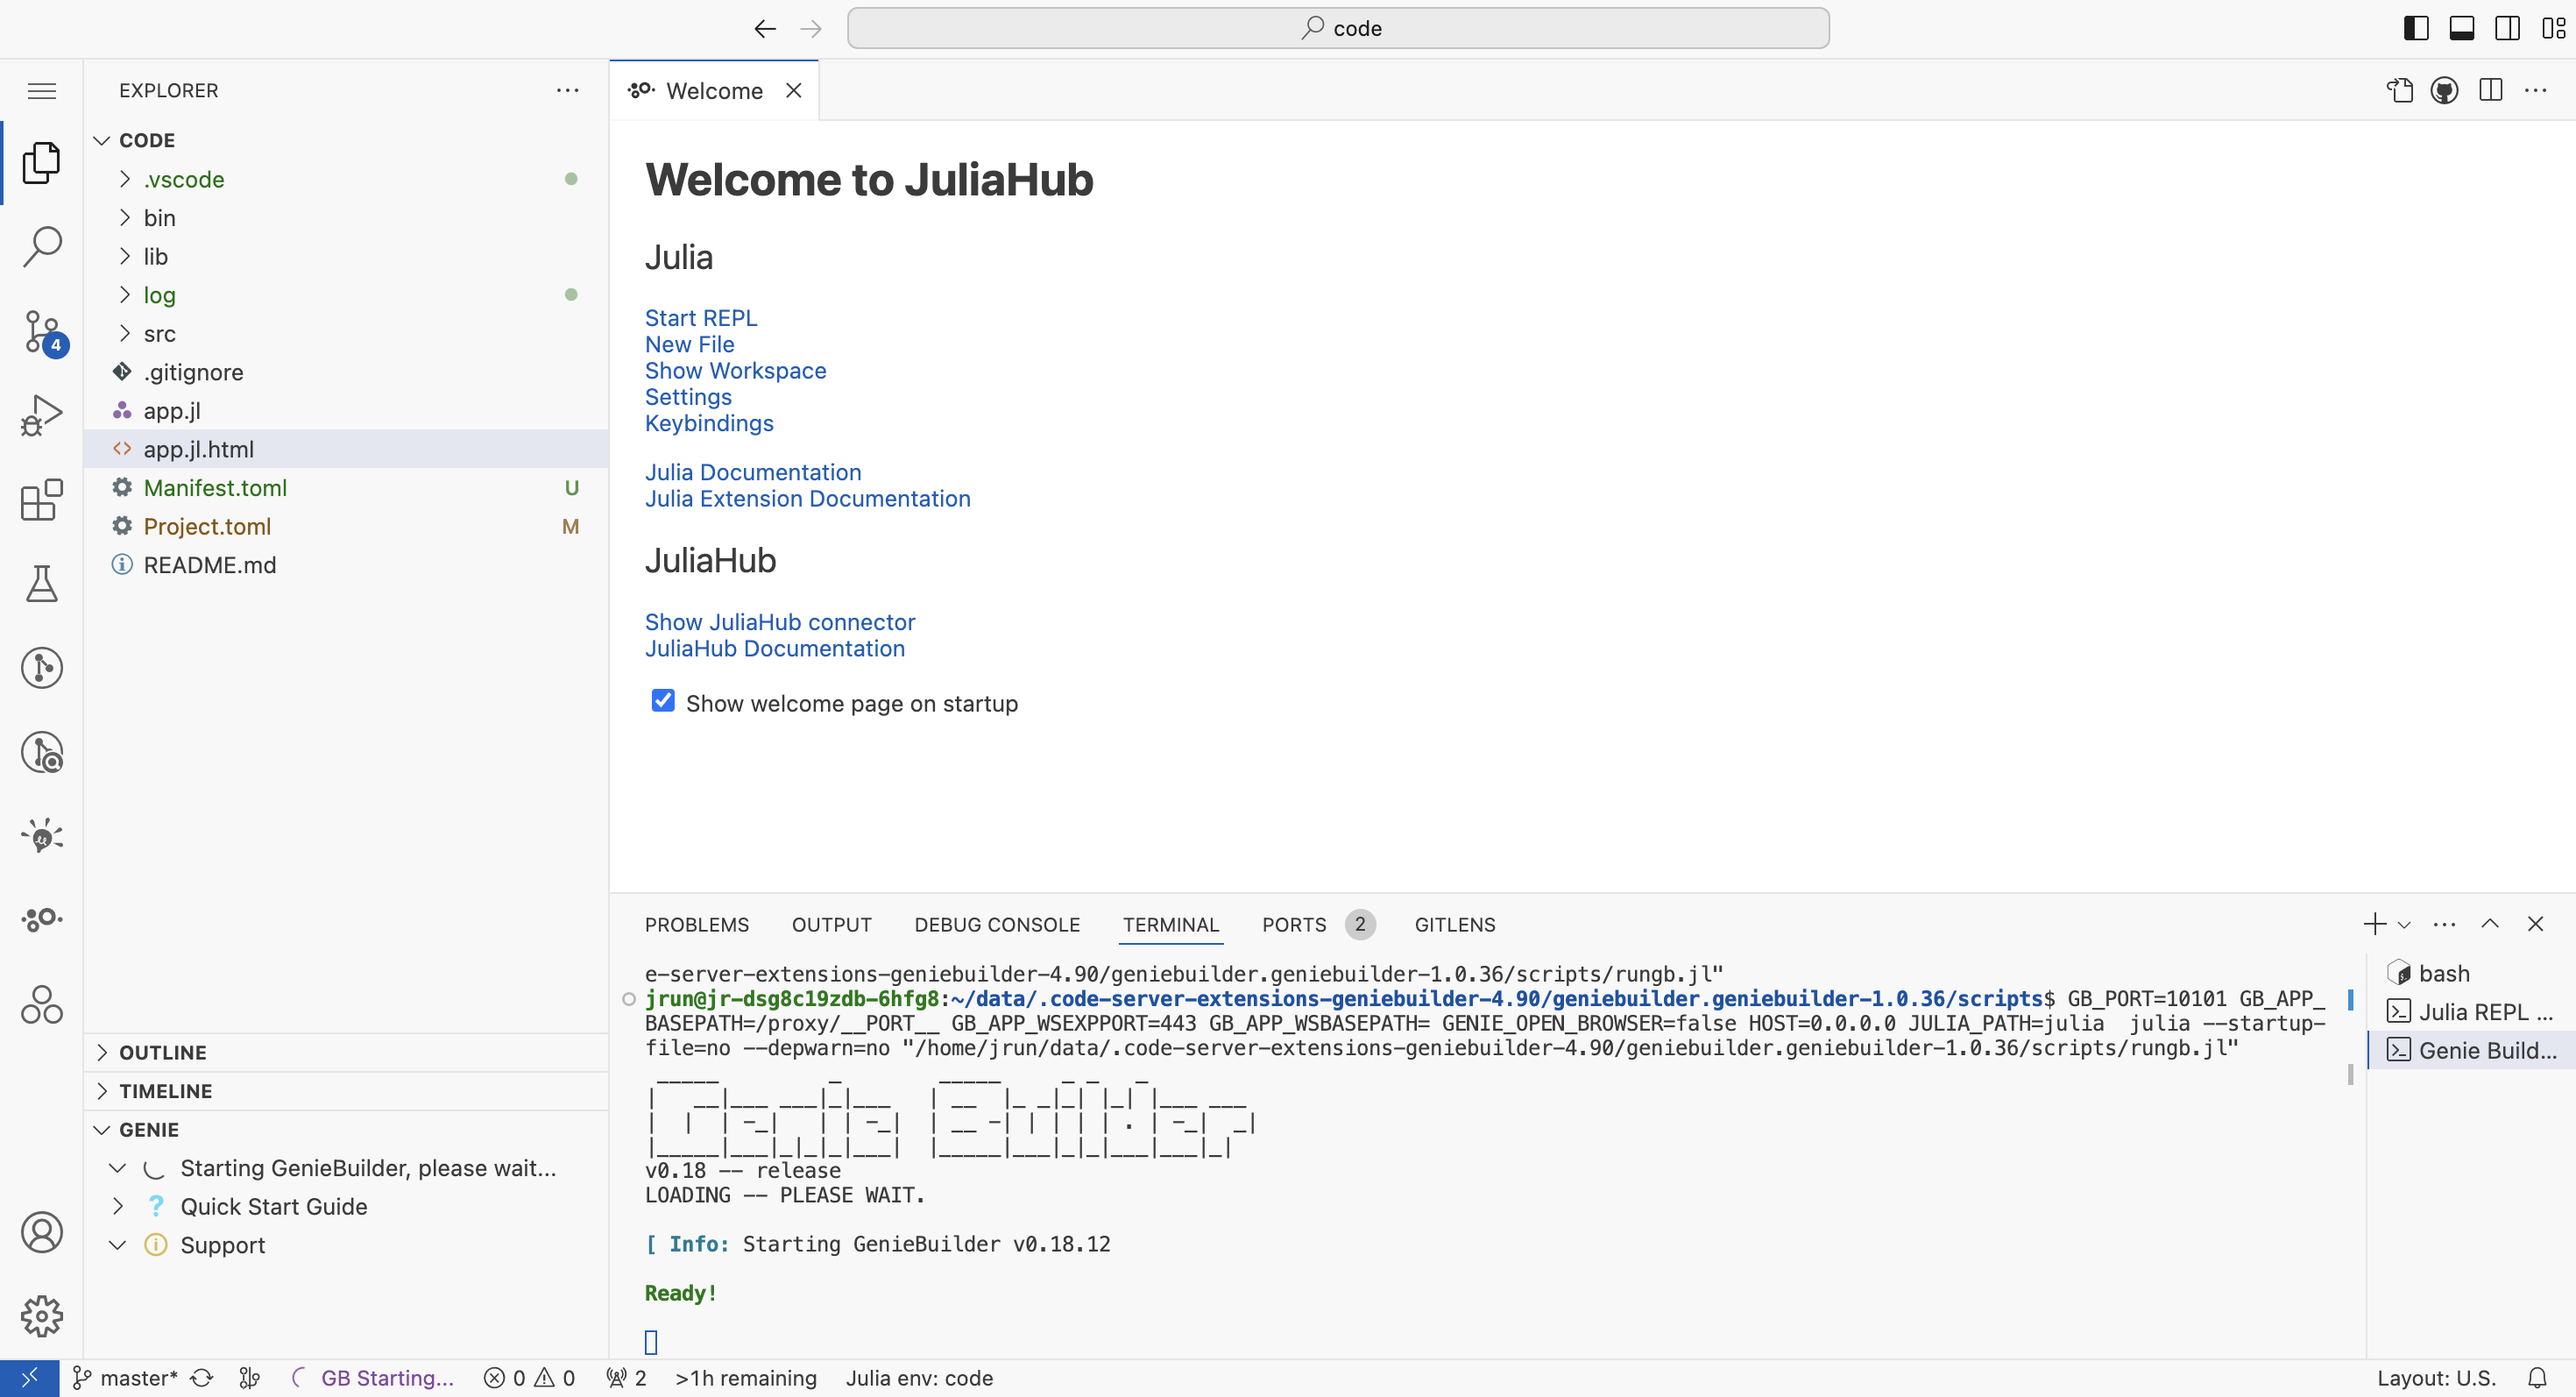
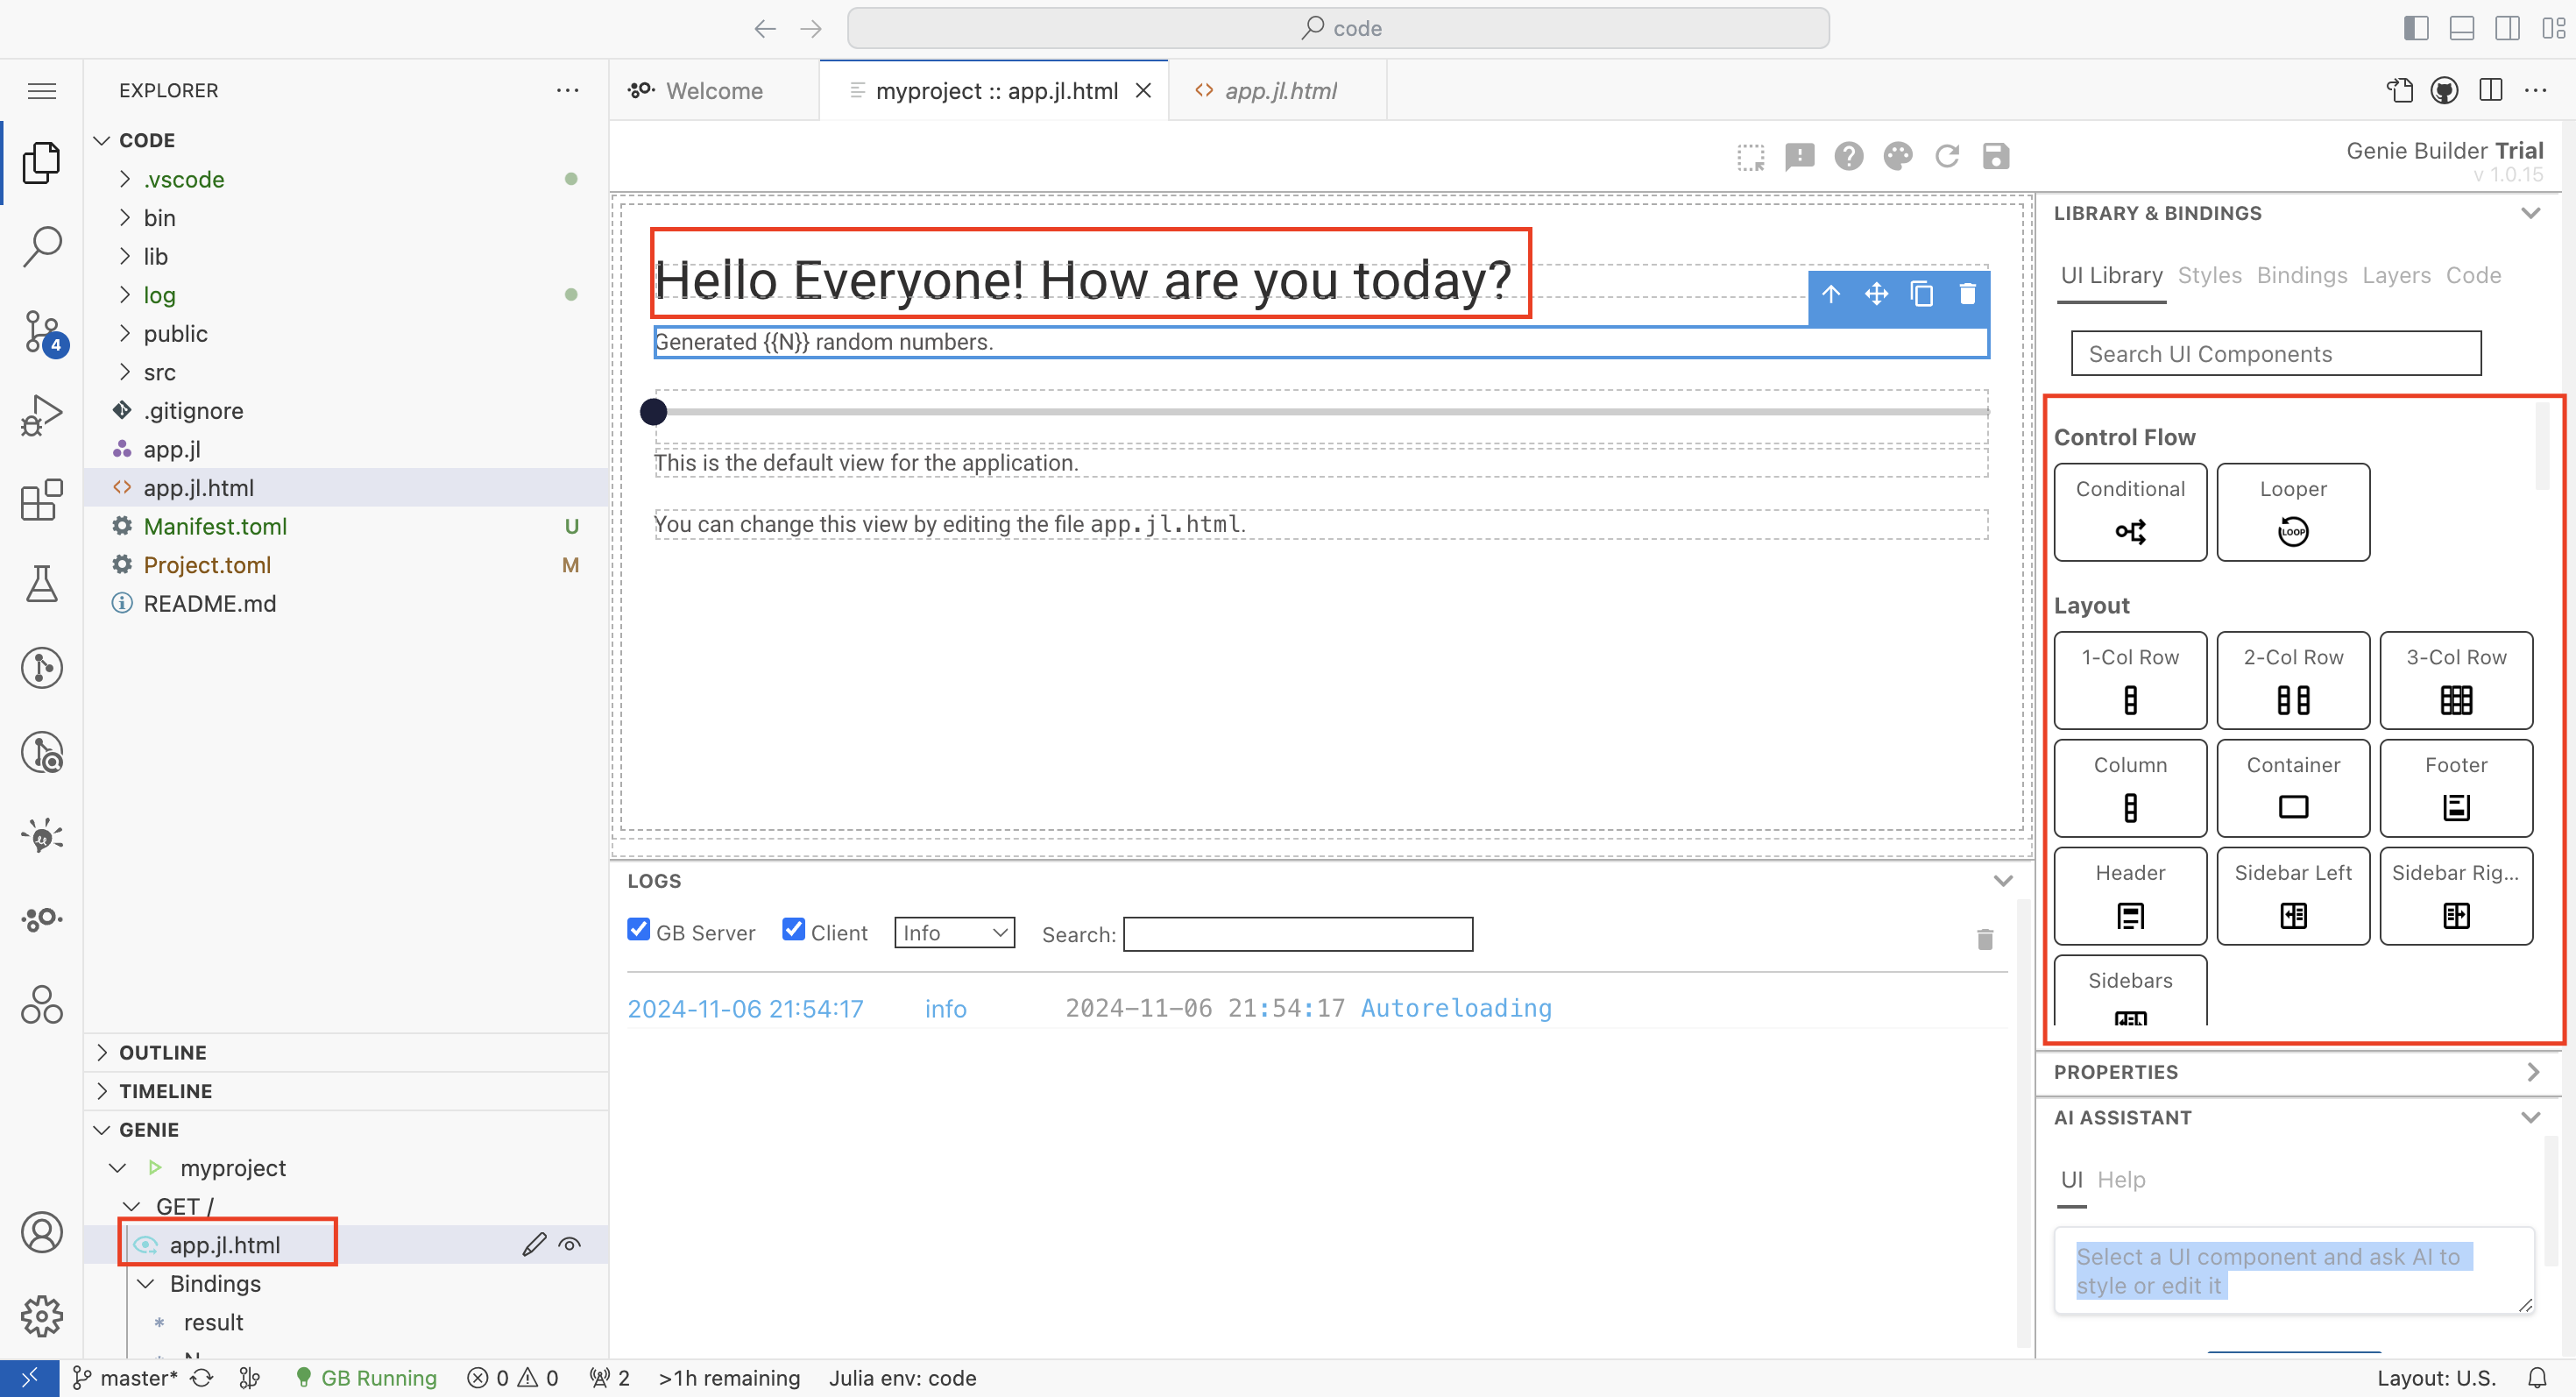
This will start the drag n' drop functionality of Genie Builder. If it doesn't click on the app.jl.html and it will open the editor. On the right side, you'll see components you can drag into the screen to build your application as shown in the image below.
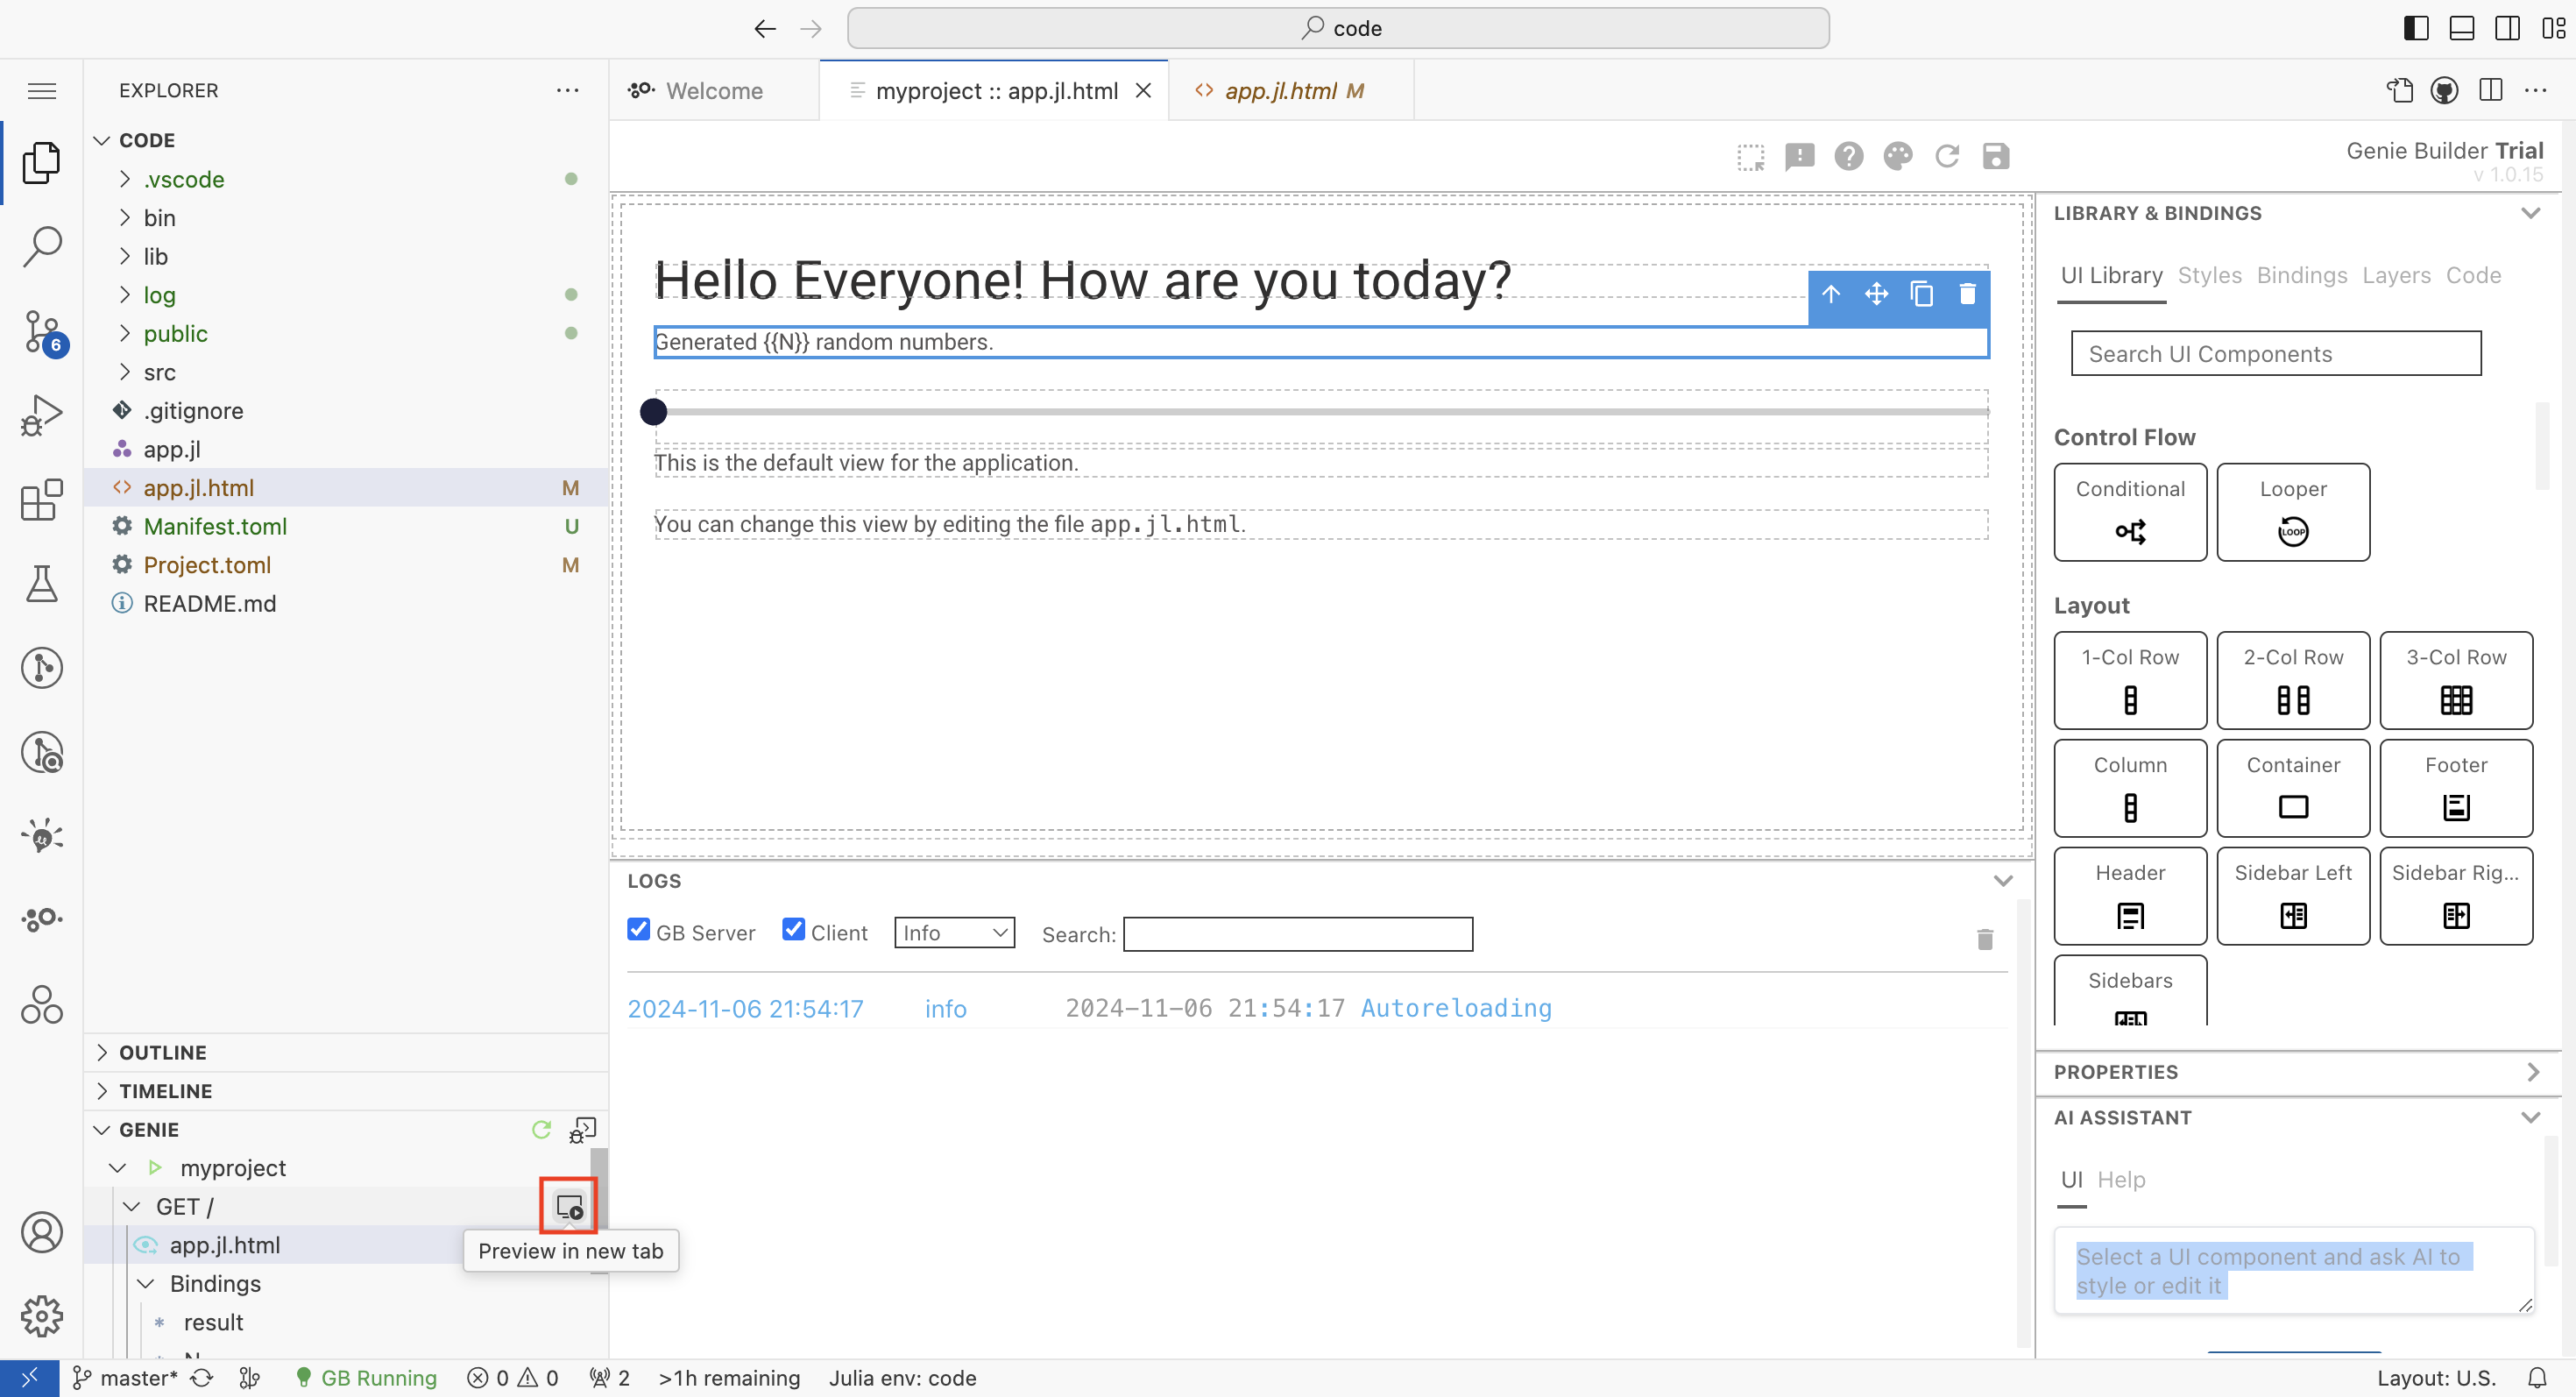
If you want to preview your app, click on the preview icon located on the bottom left. It may not appear until hover over.
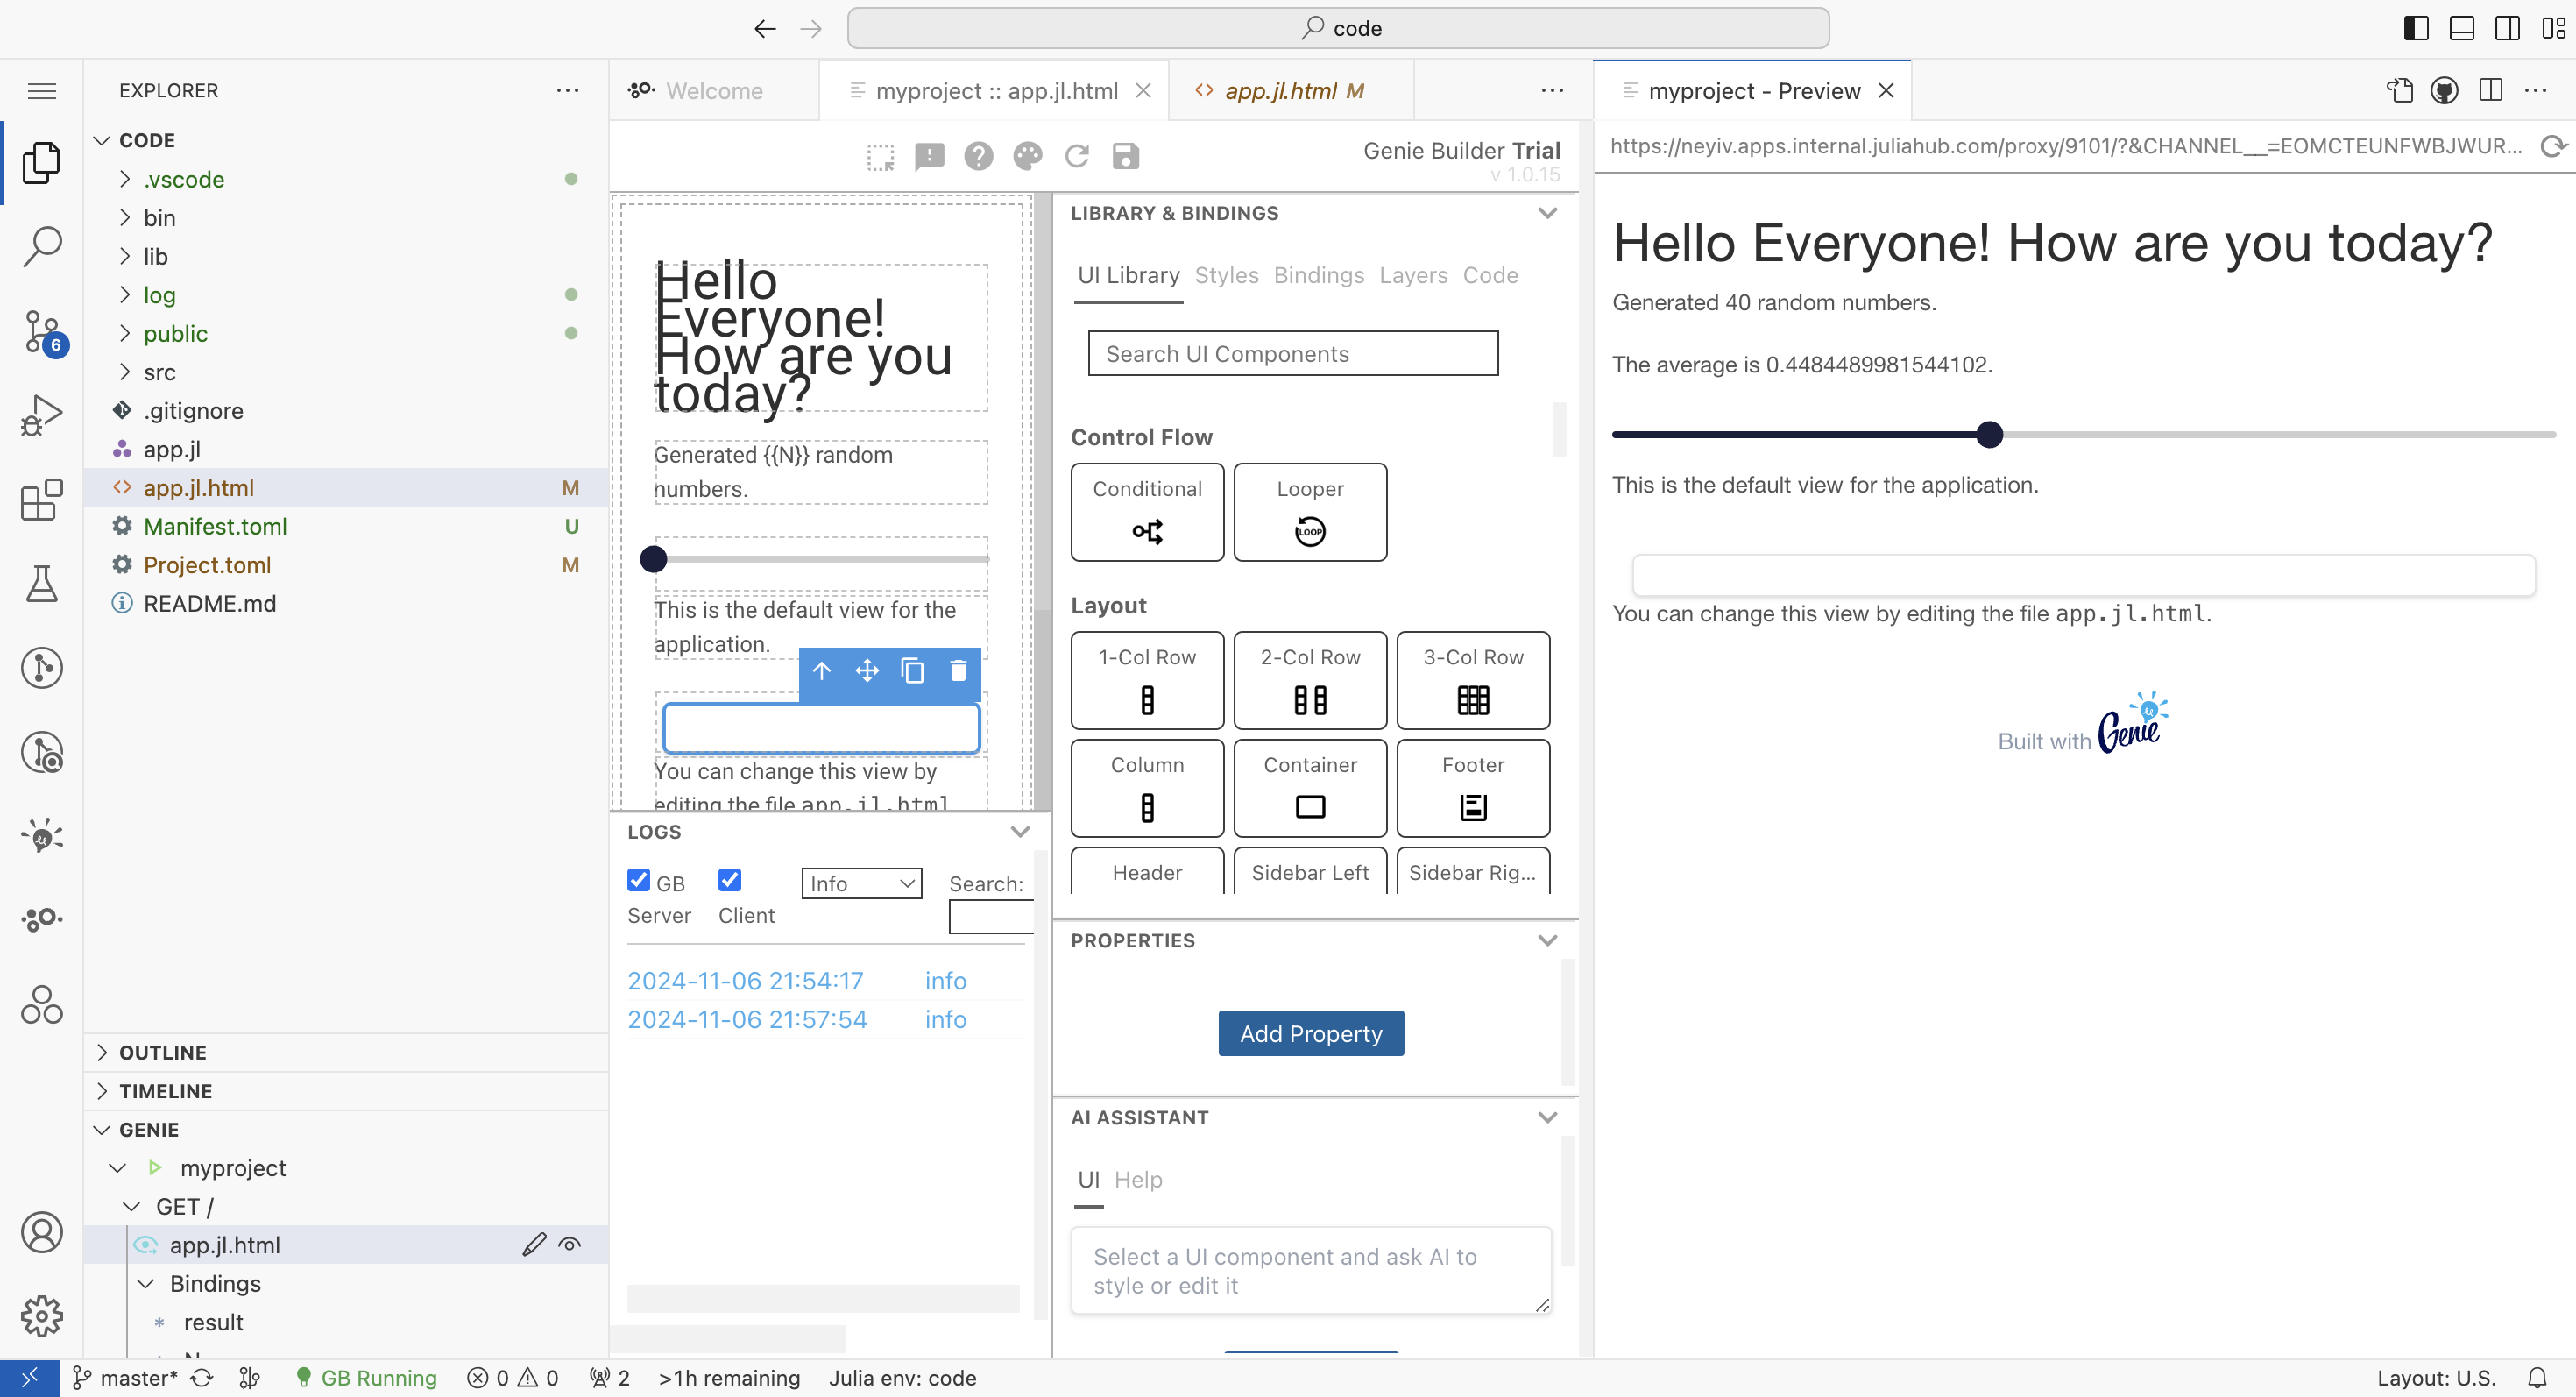
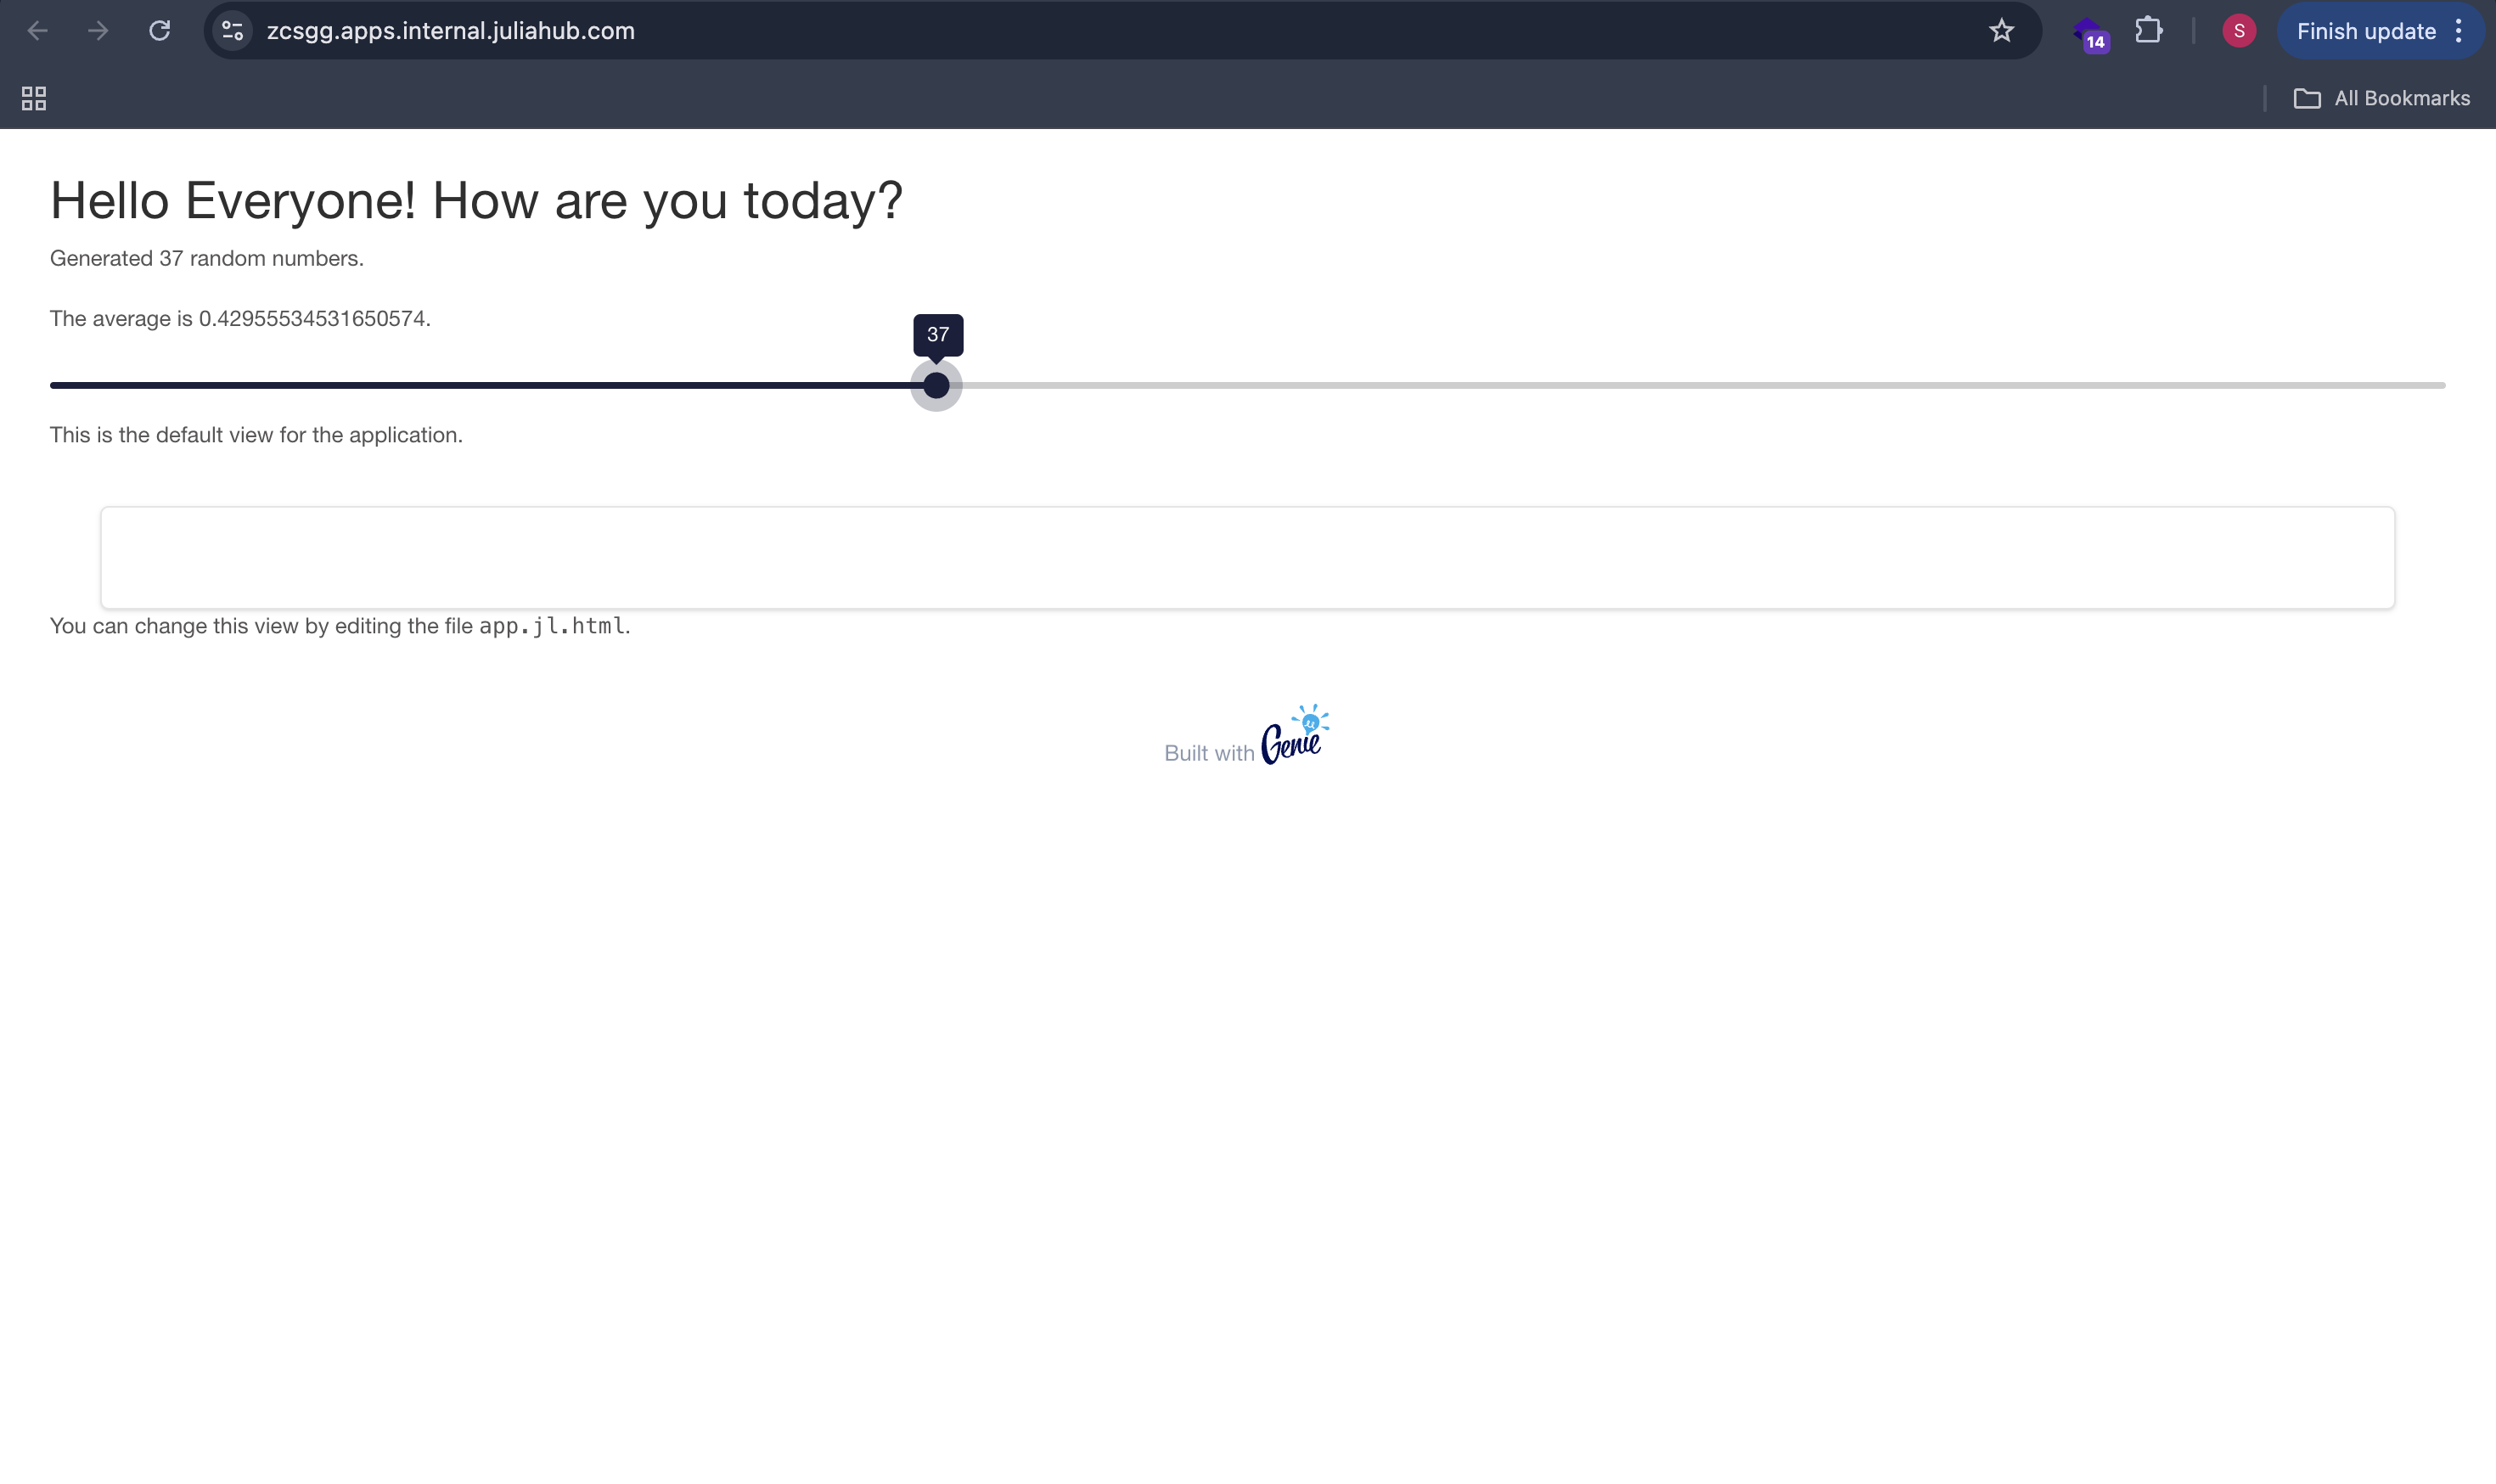
Once you have clicked on the preview icon. This is how the preview mode will look:
How to Deploy Genie Apps on JuliaHub
Once you are done editing your Genie Builder app, you can launch it live on JuliaHub for the public or for just your organization to see. Go back to your project view.
If you are in Group Editing mode, you will notice that the deploy button is greyed out. This is because in this editing mode, you can only deploy from the Source (main branch).

Before you switch to source, you should make sure your app changes in your workspace are published (committed) to the source branch. To do so, click on the publish button.
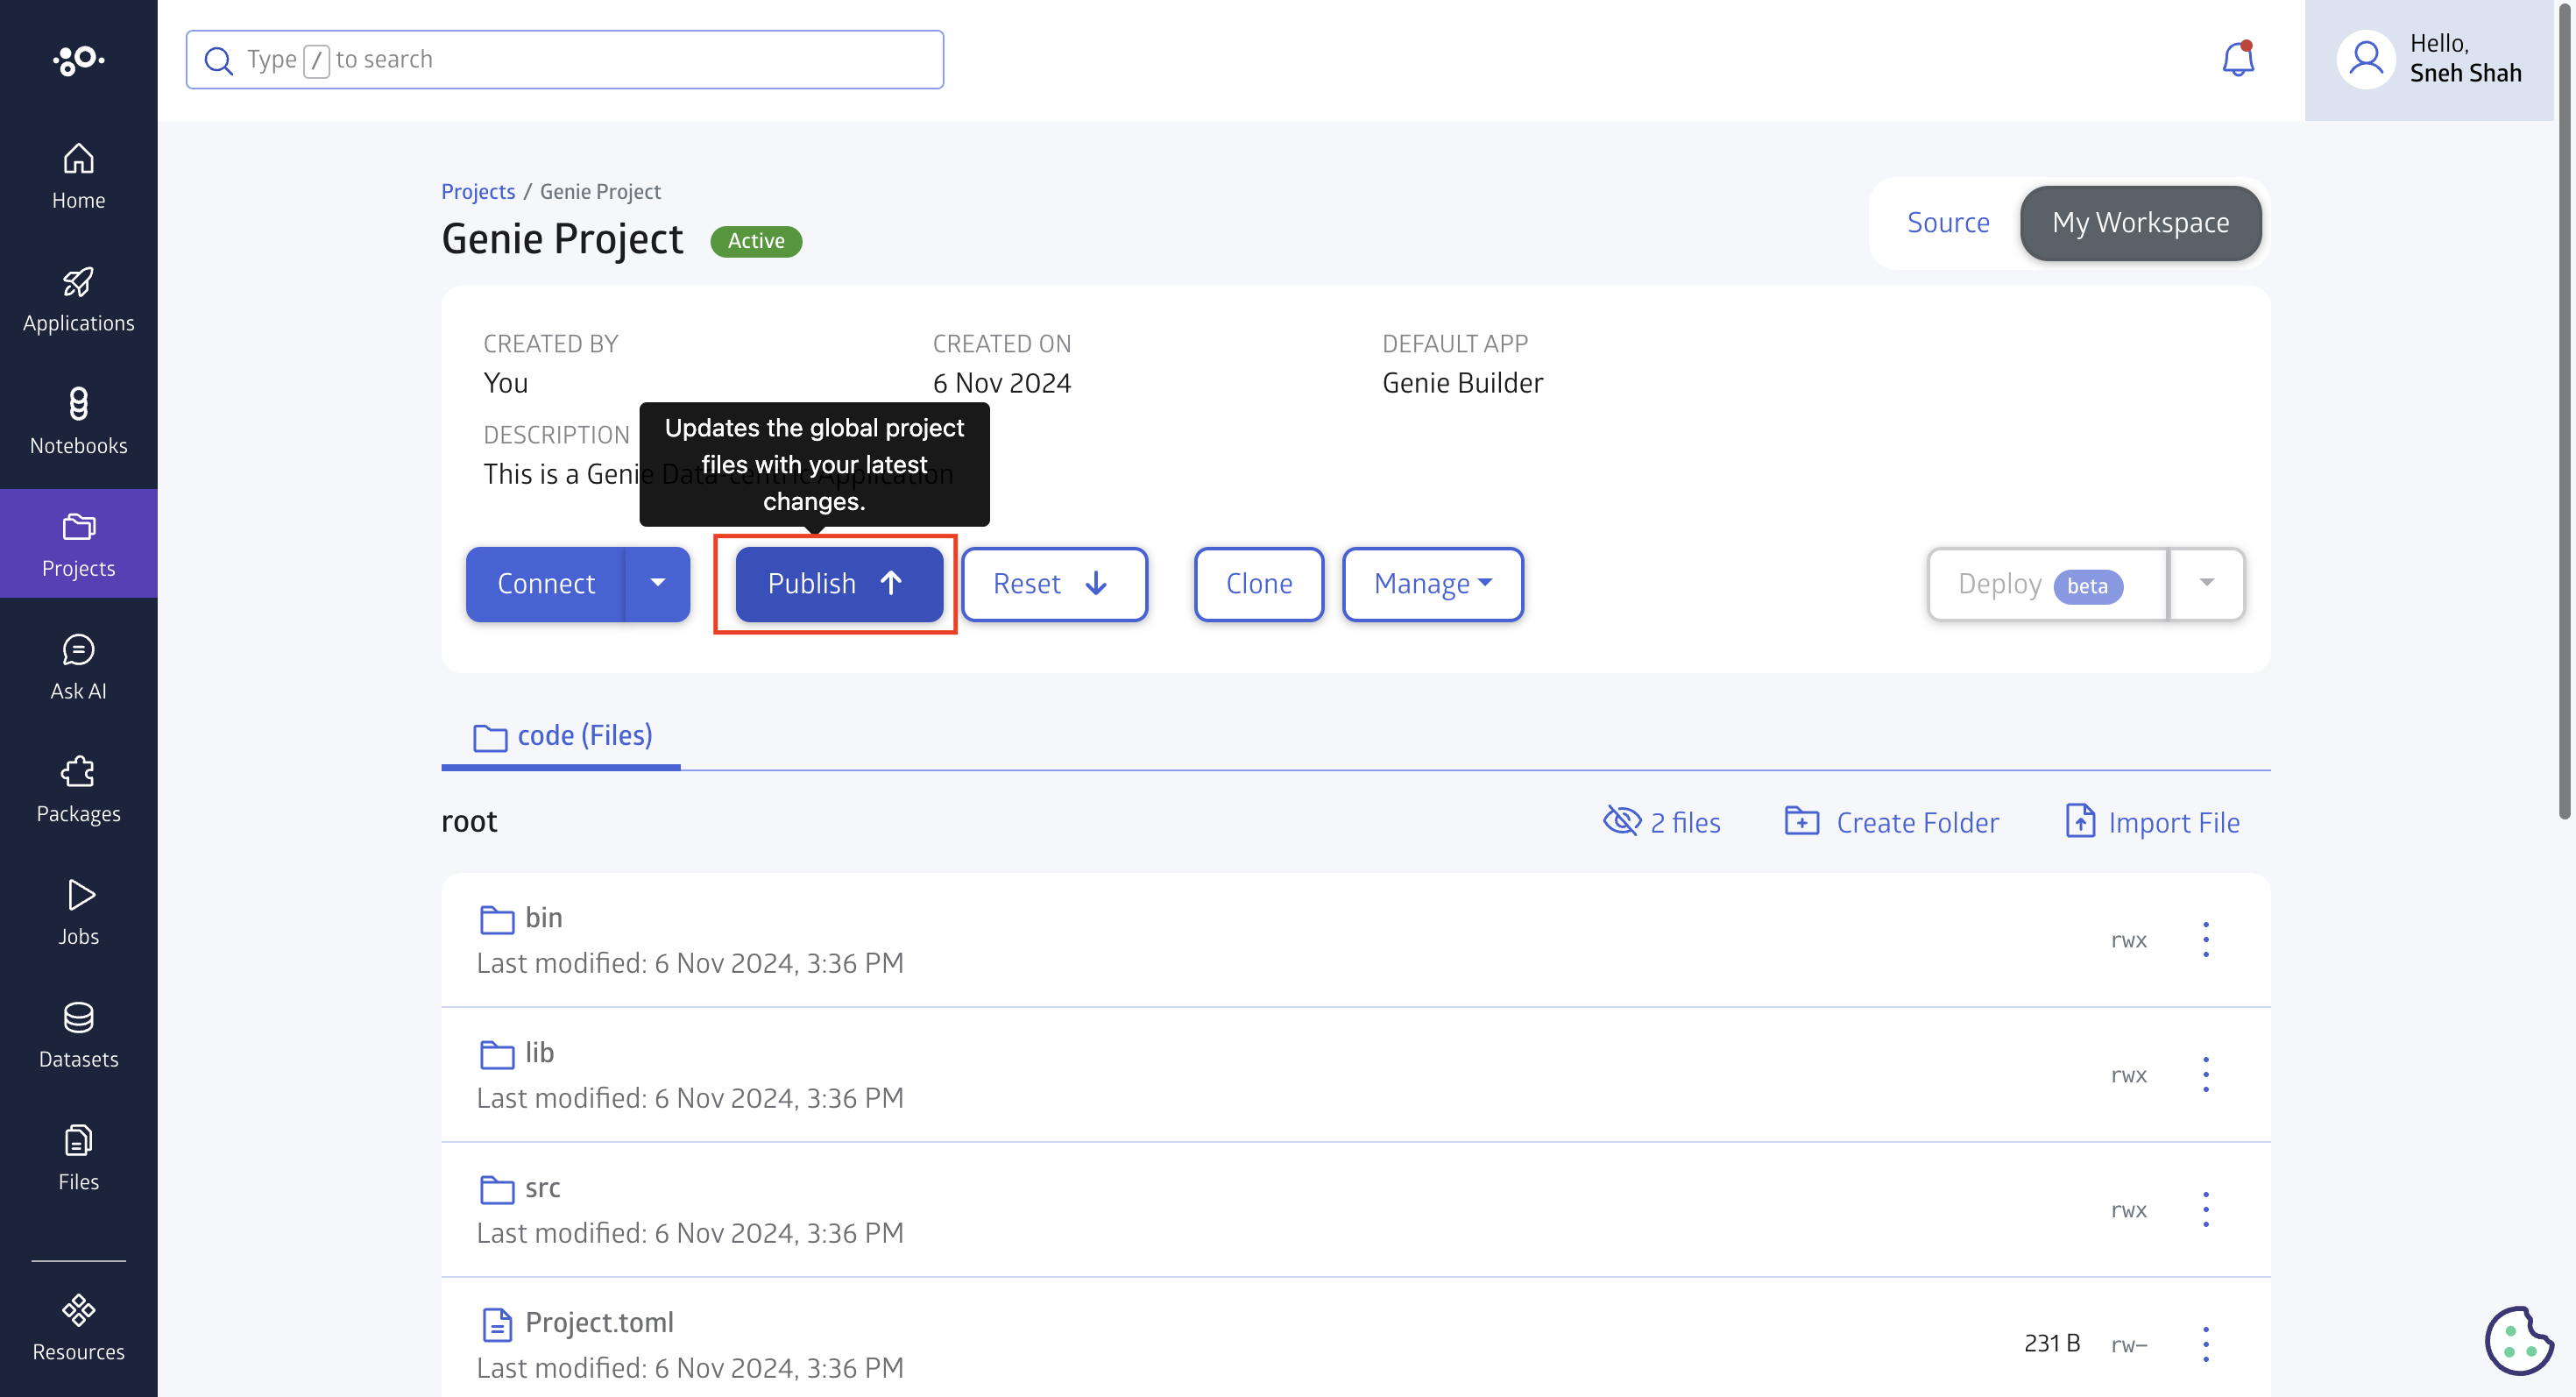
Now you can switch the source branch from workspace.
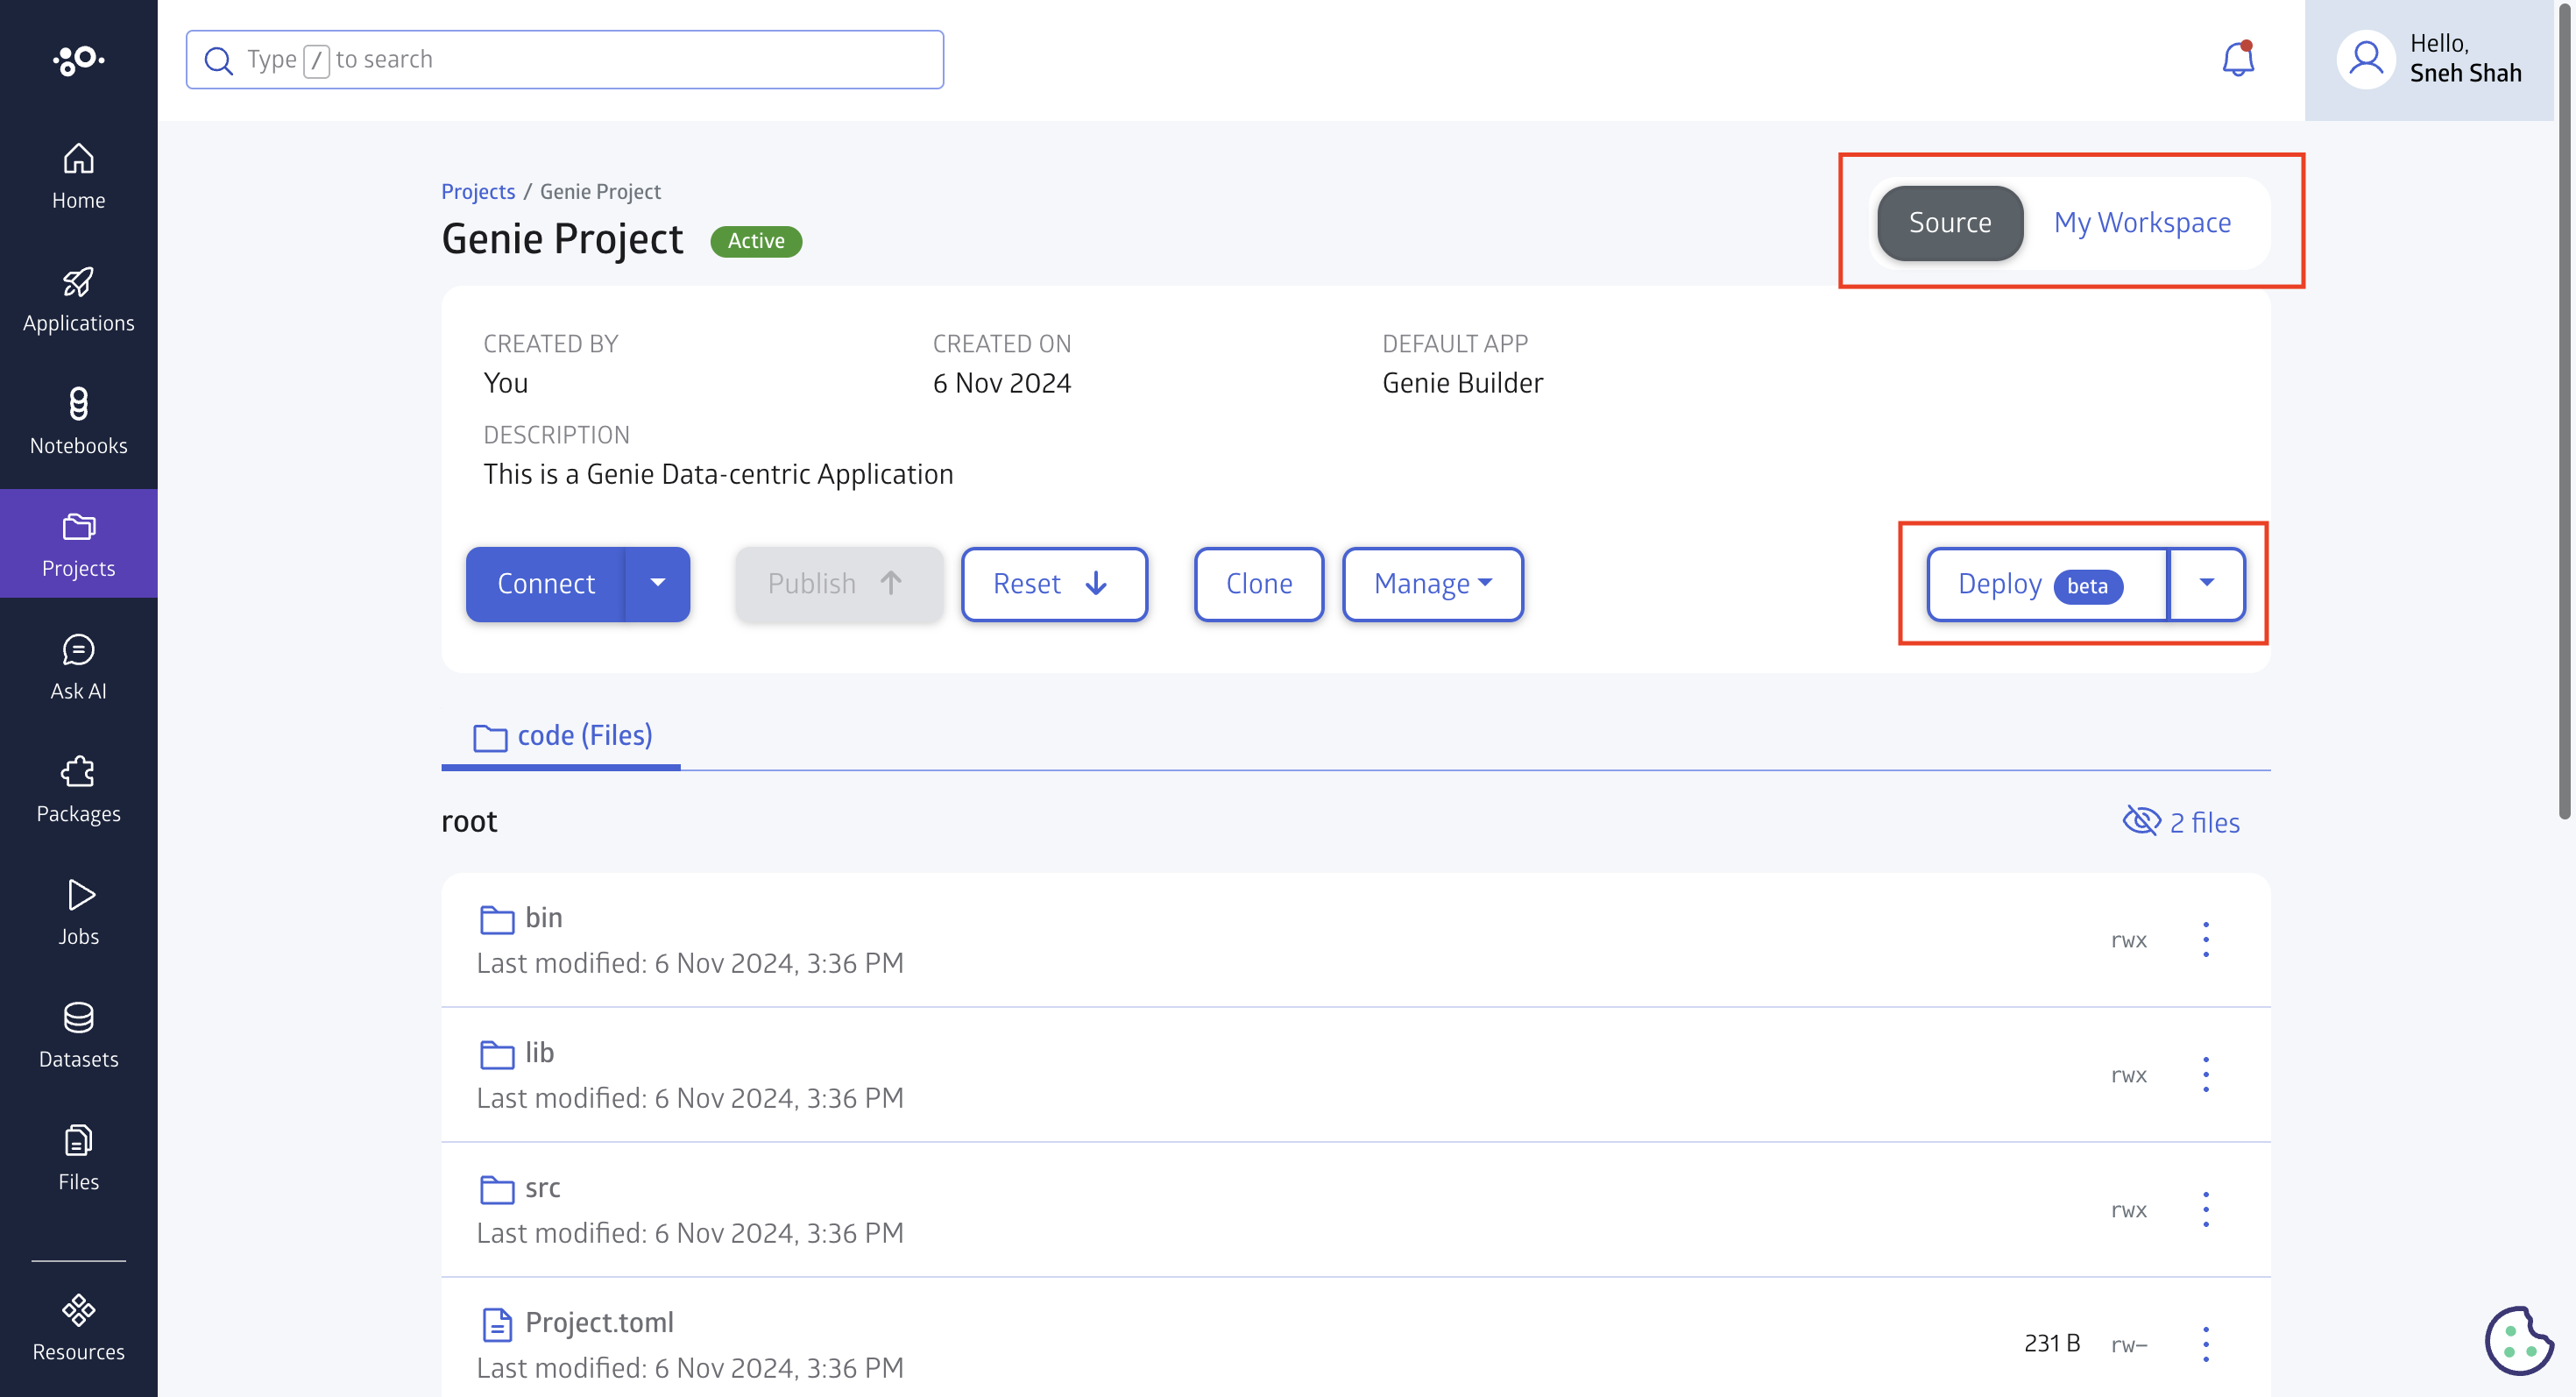
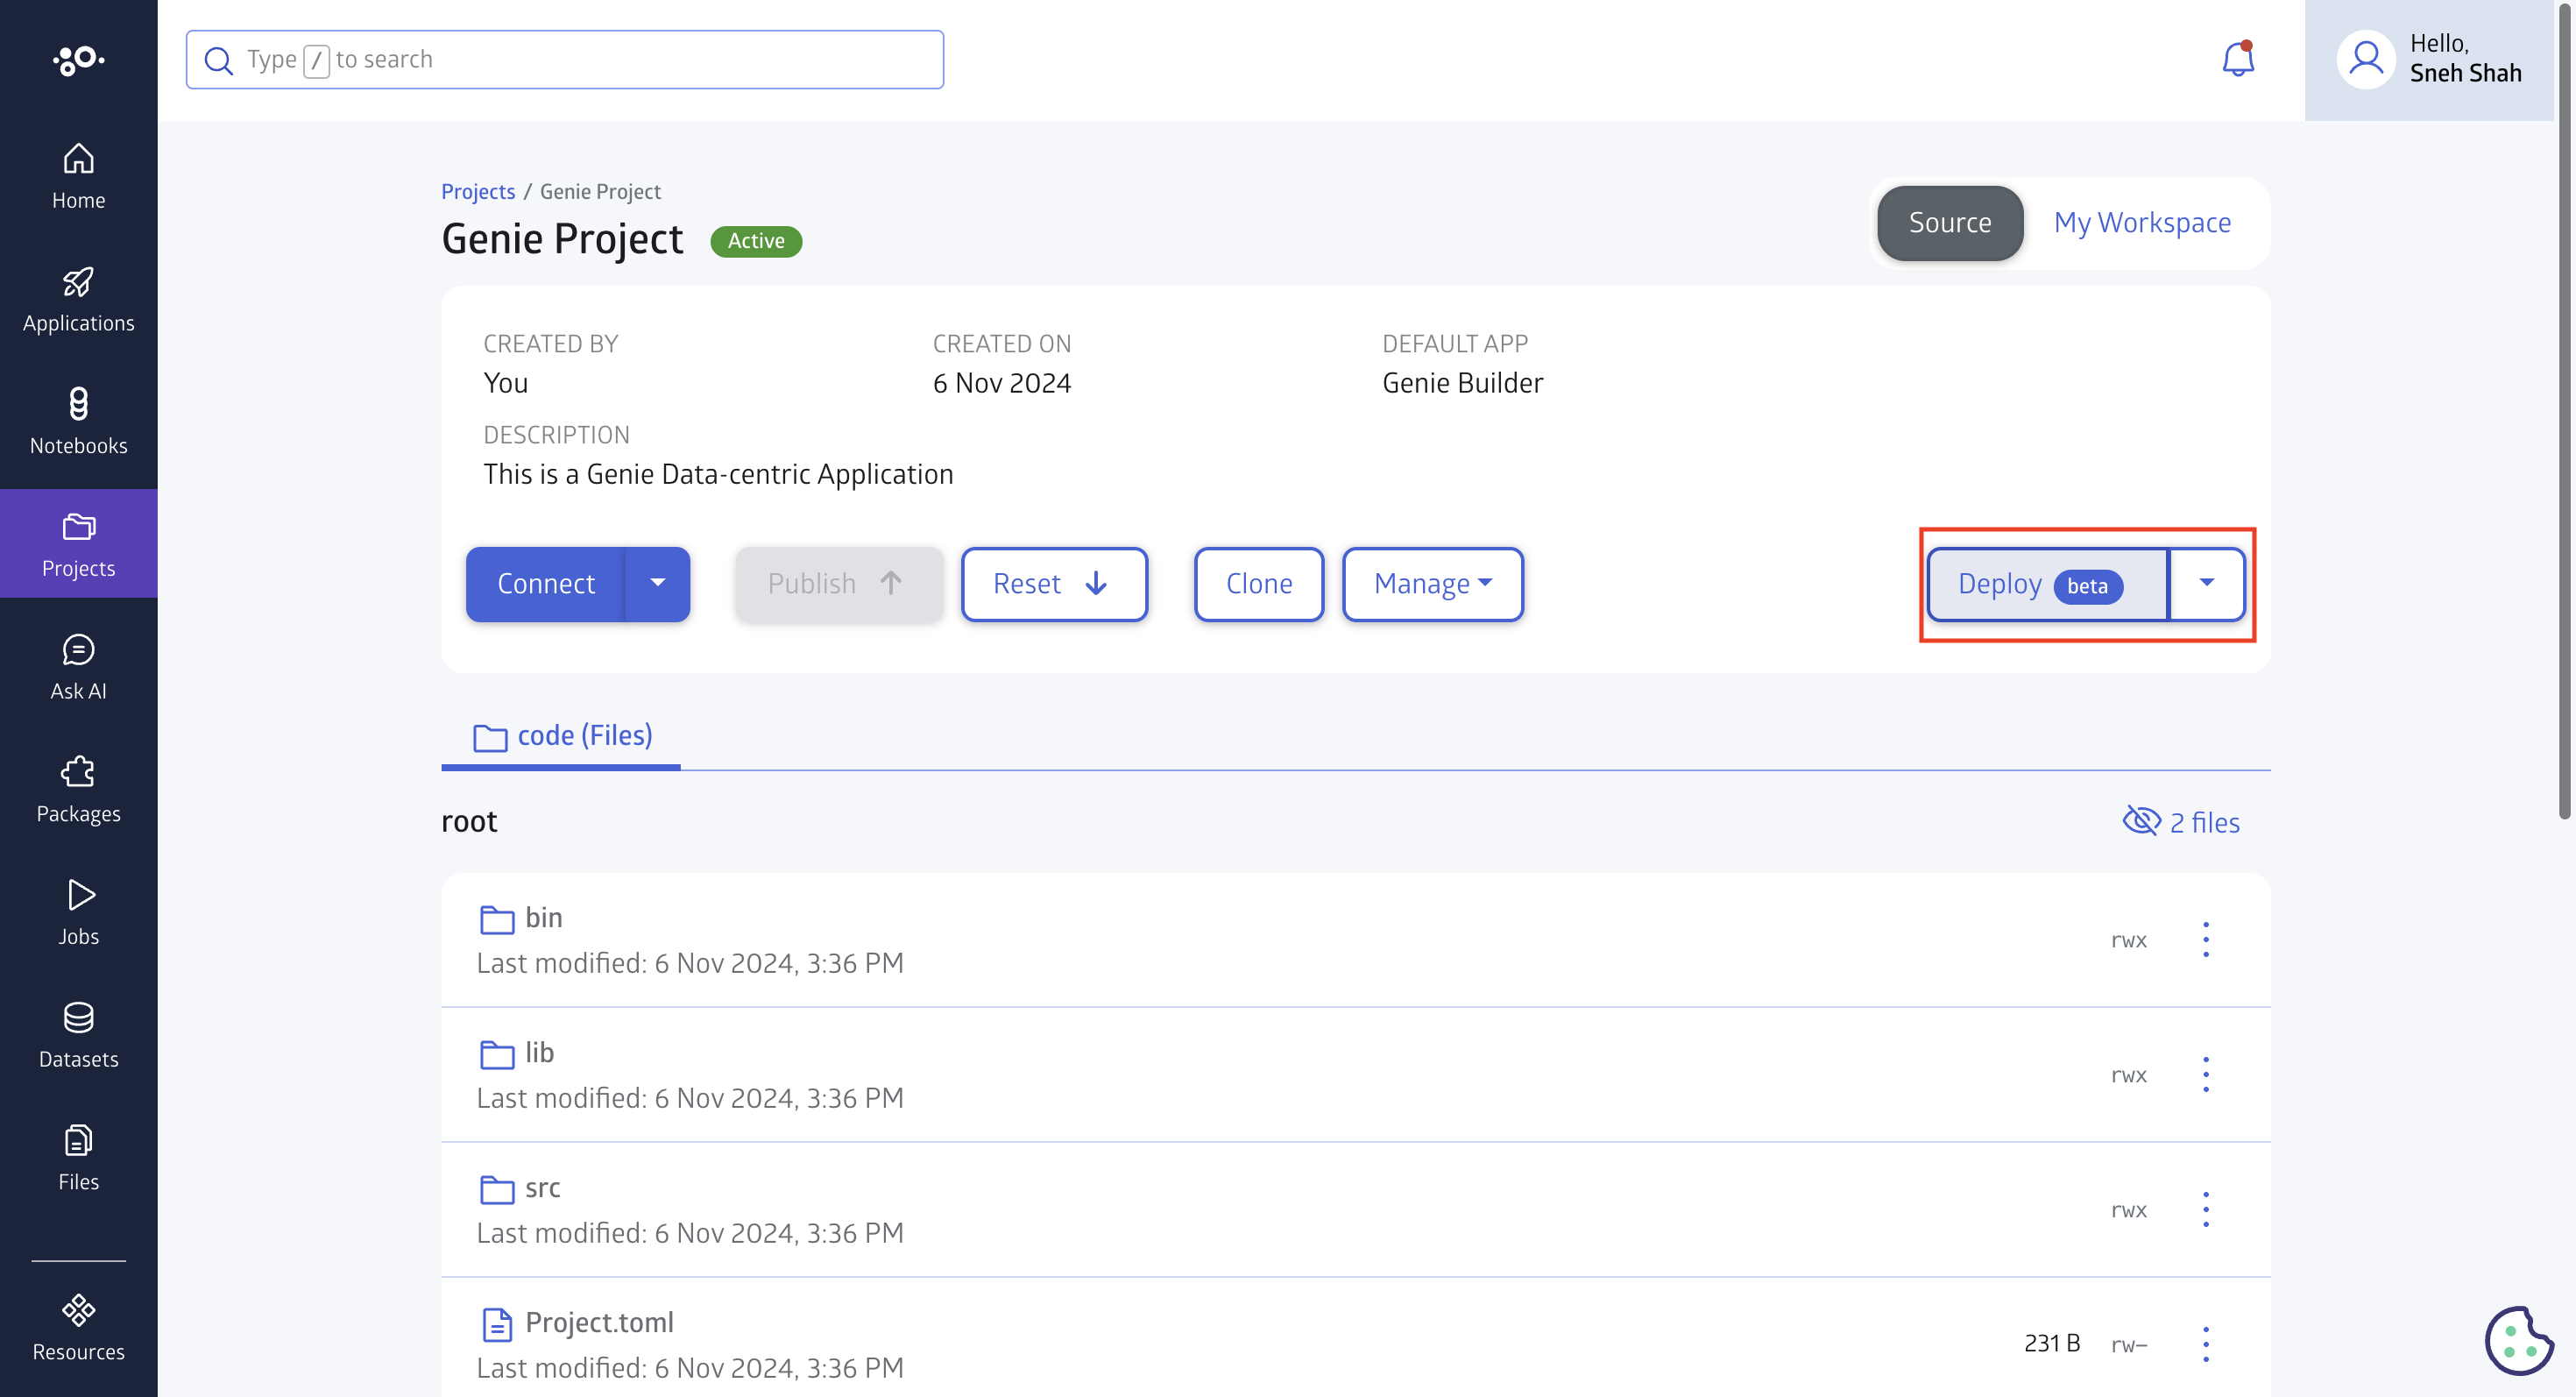
From the source (main branch) of the project, you can now deploy the project as shown in the image below.
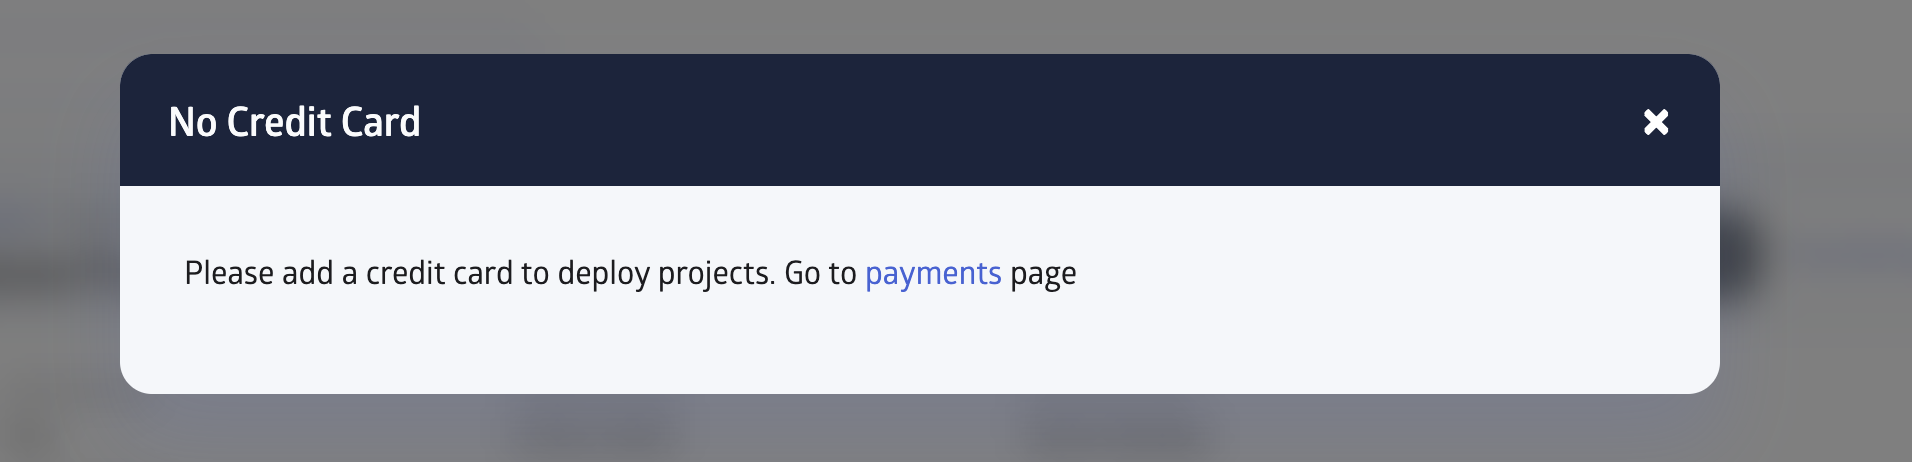
The first time you do this, JuliaHub may ask for your credit card information for the payment purposes. Once you've entered your payment information for hosting and deploying apps your application, return to this page.
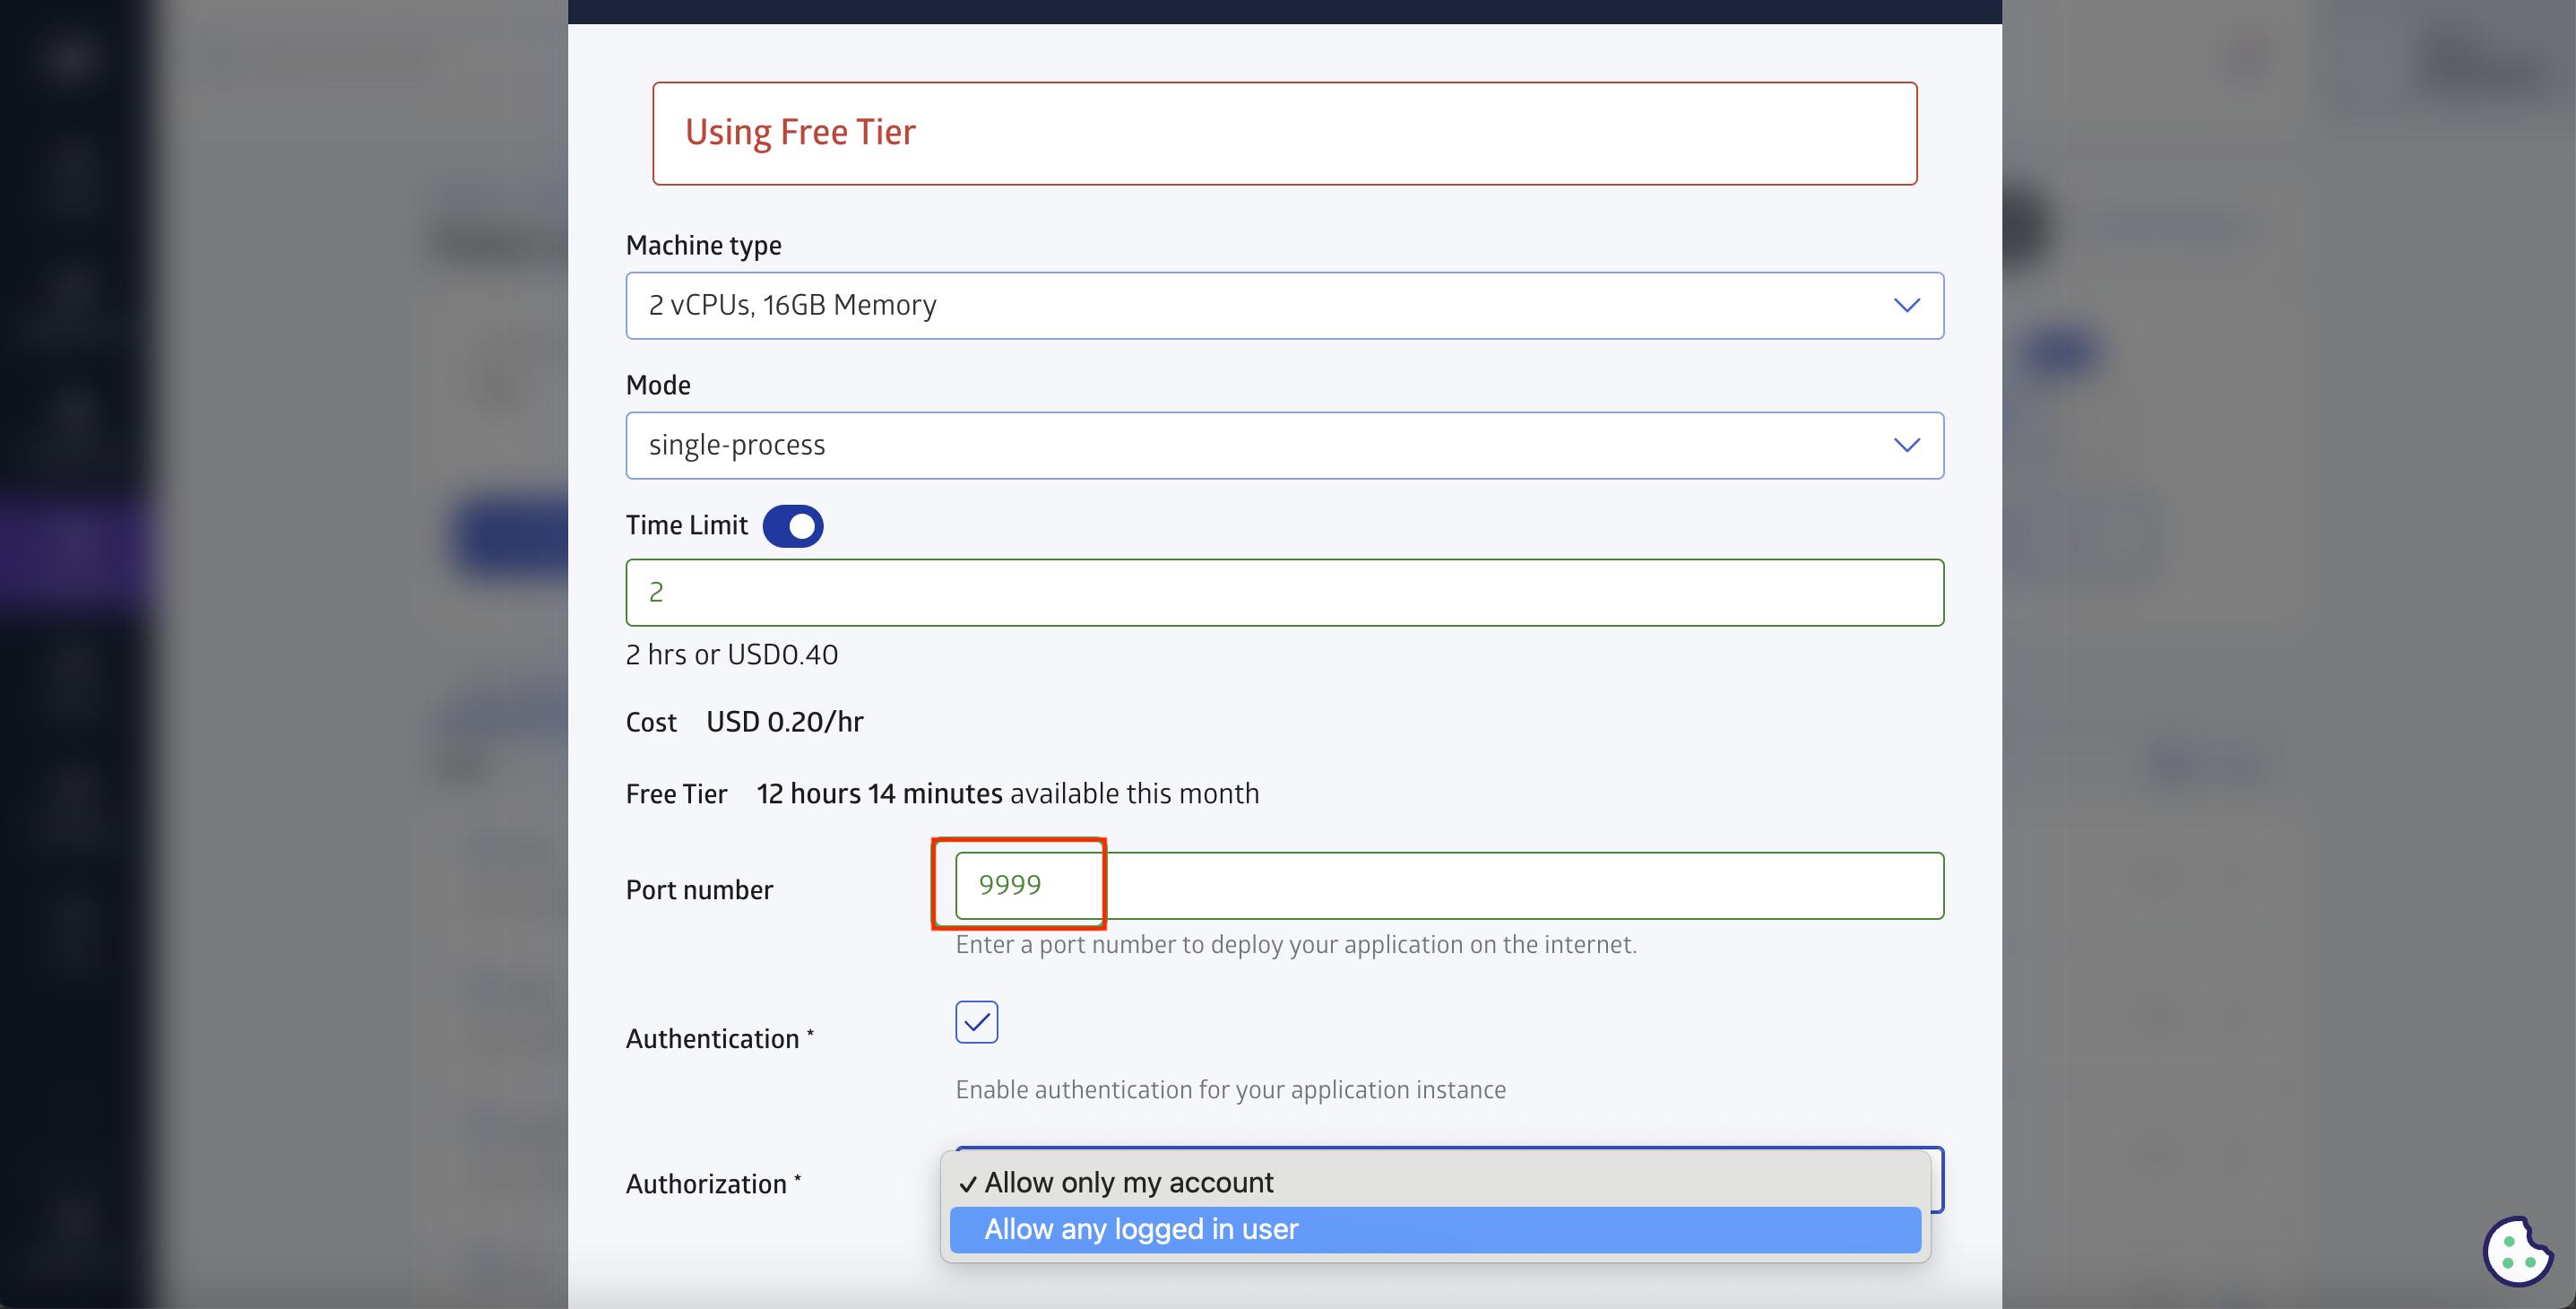
Once you have input your credit card information and returned to the project and hit deploy, the project will now ask you a few options for your hosted app. From here, you can select the size of the machine (hosting plan), the time limit for your app to be live, and the authorization type of totally public or just hosted for you or your organization. The most important thing to check here is that the port number is set to 9999. If not, please enter 9999. Then hit Start.
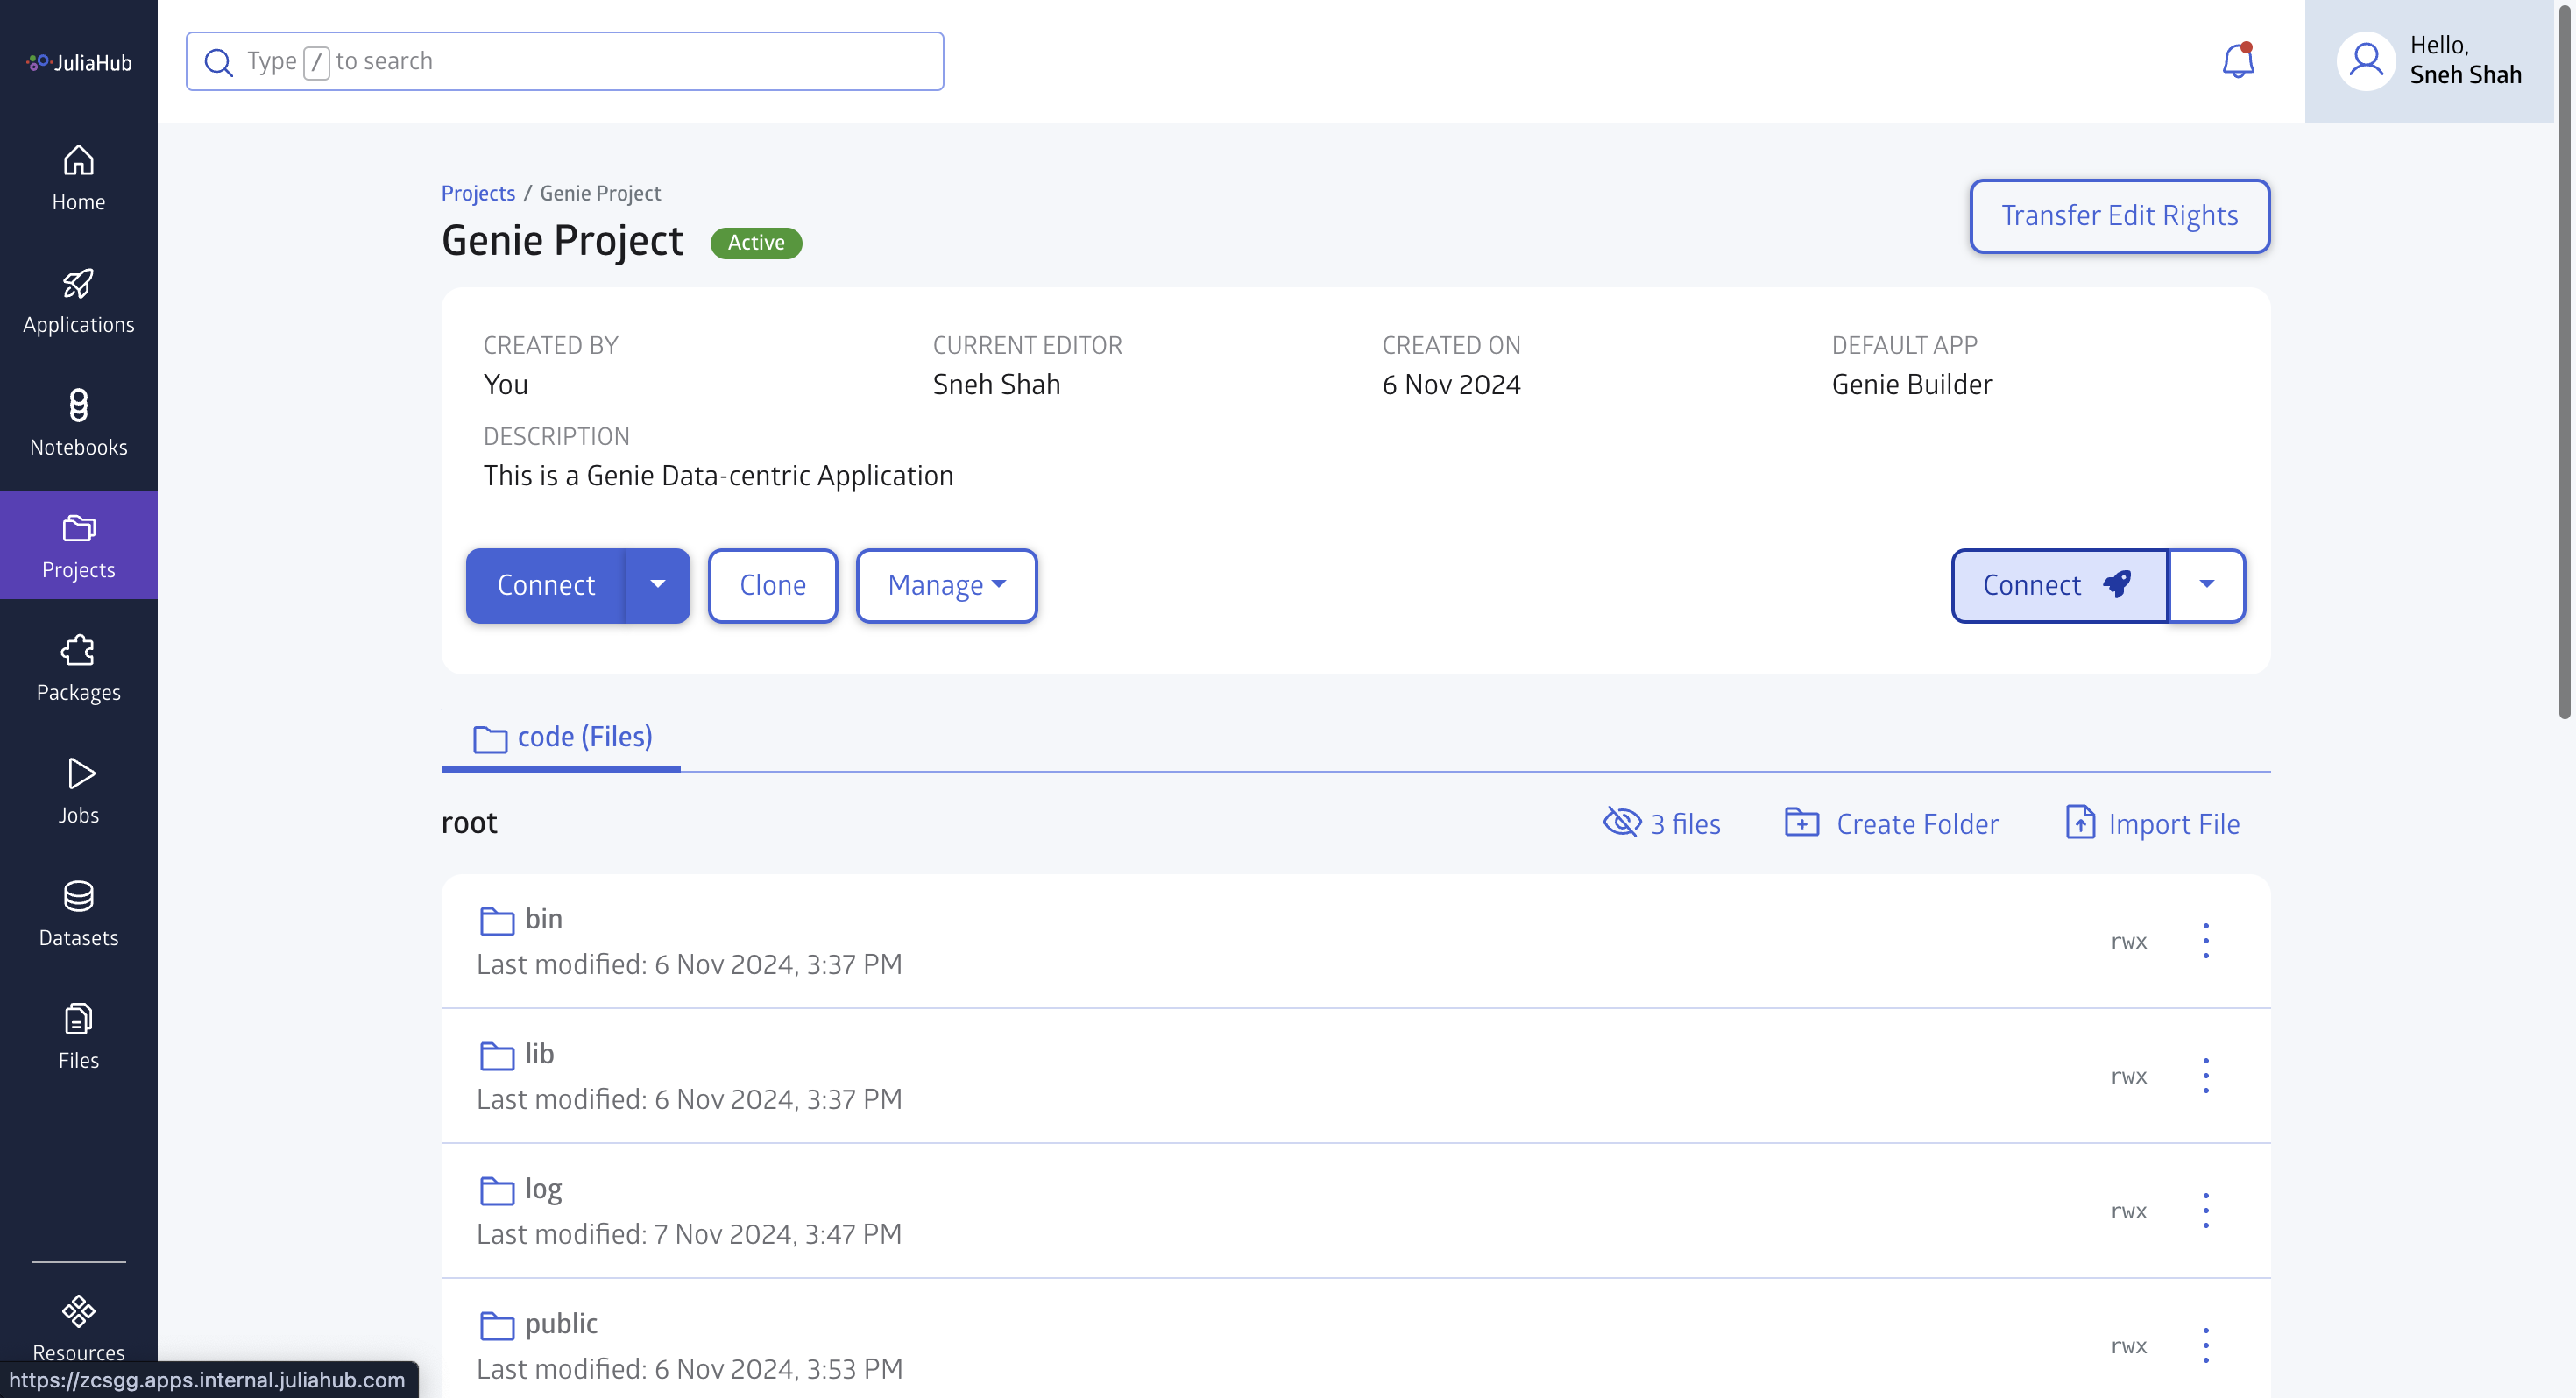
Now, the app will start the deployment process. It may take up to 5 minutes for your app to be deployed on the selected machine. Once ready, you can click the Connect button to launch your live app.
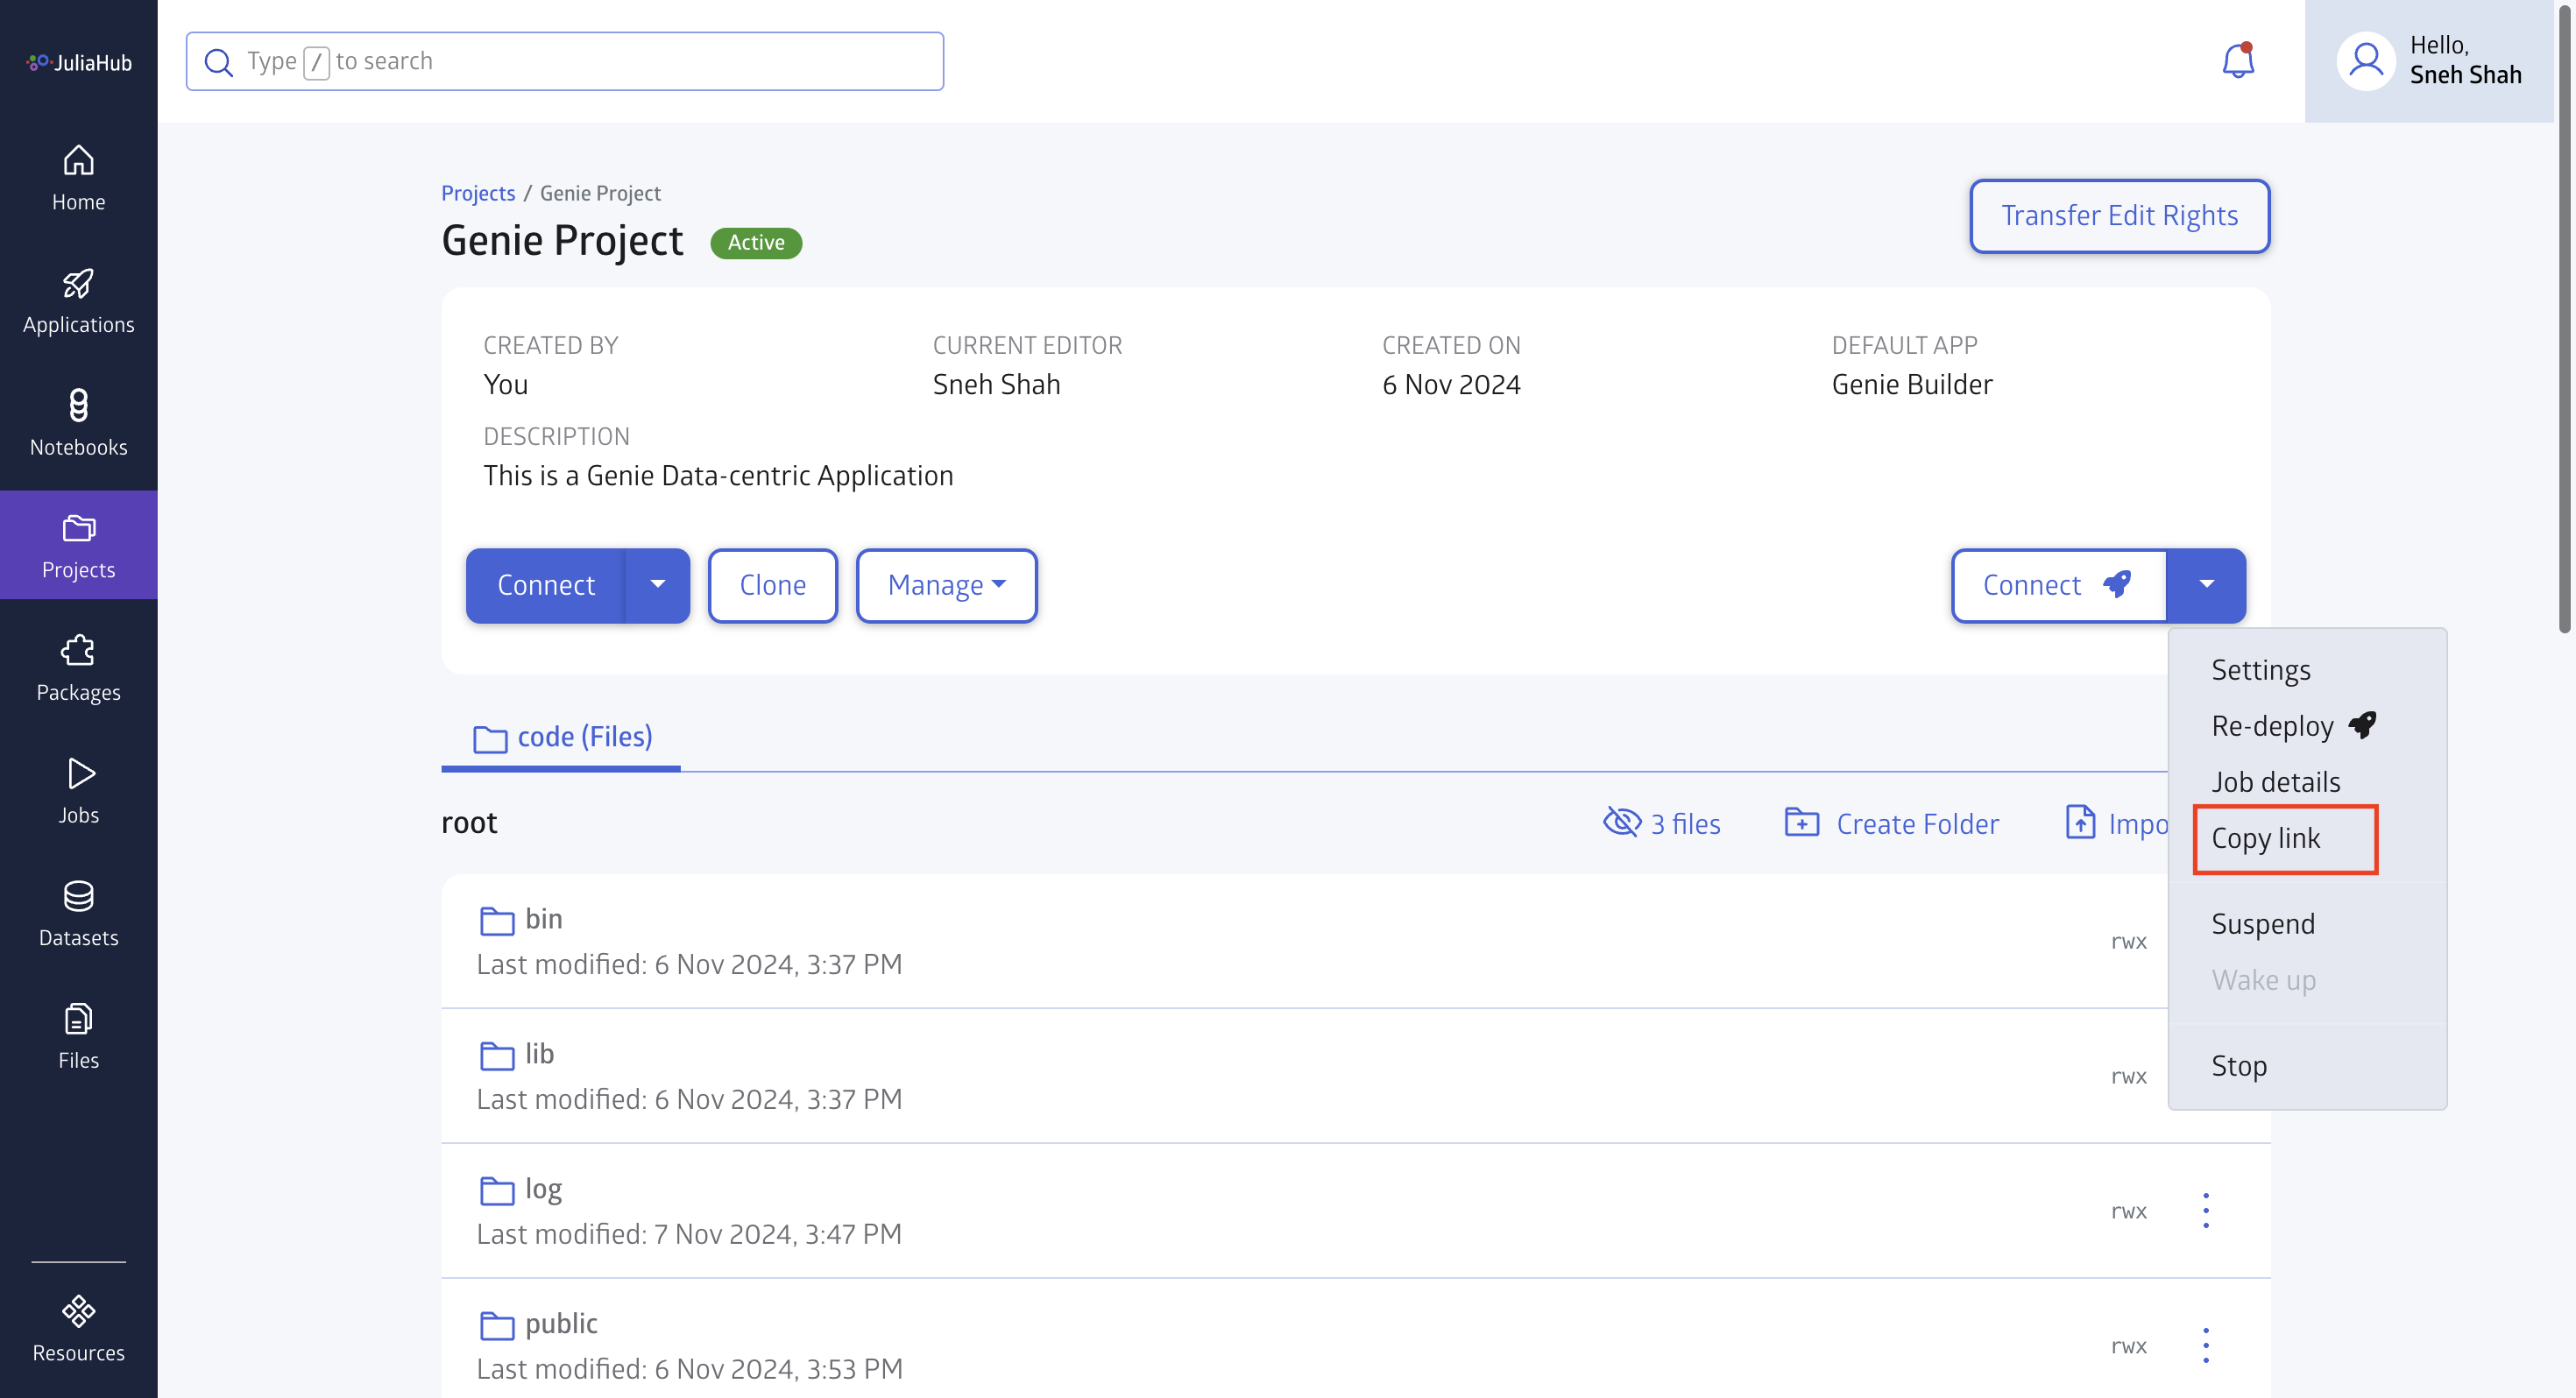
Alternatively, you can select on the right-hand arrow and click on the copy link button.
Once you click this will give you the URL of your live app and with that you will also get options to embed this on other sites.
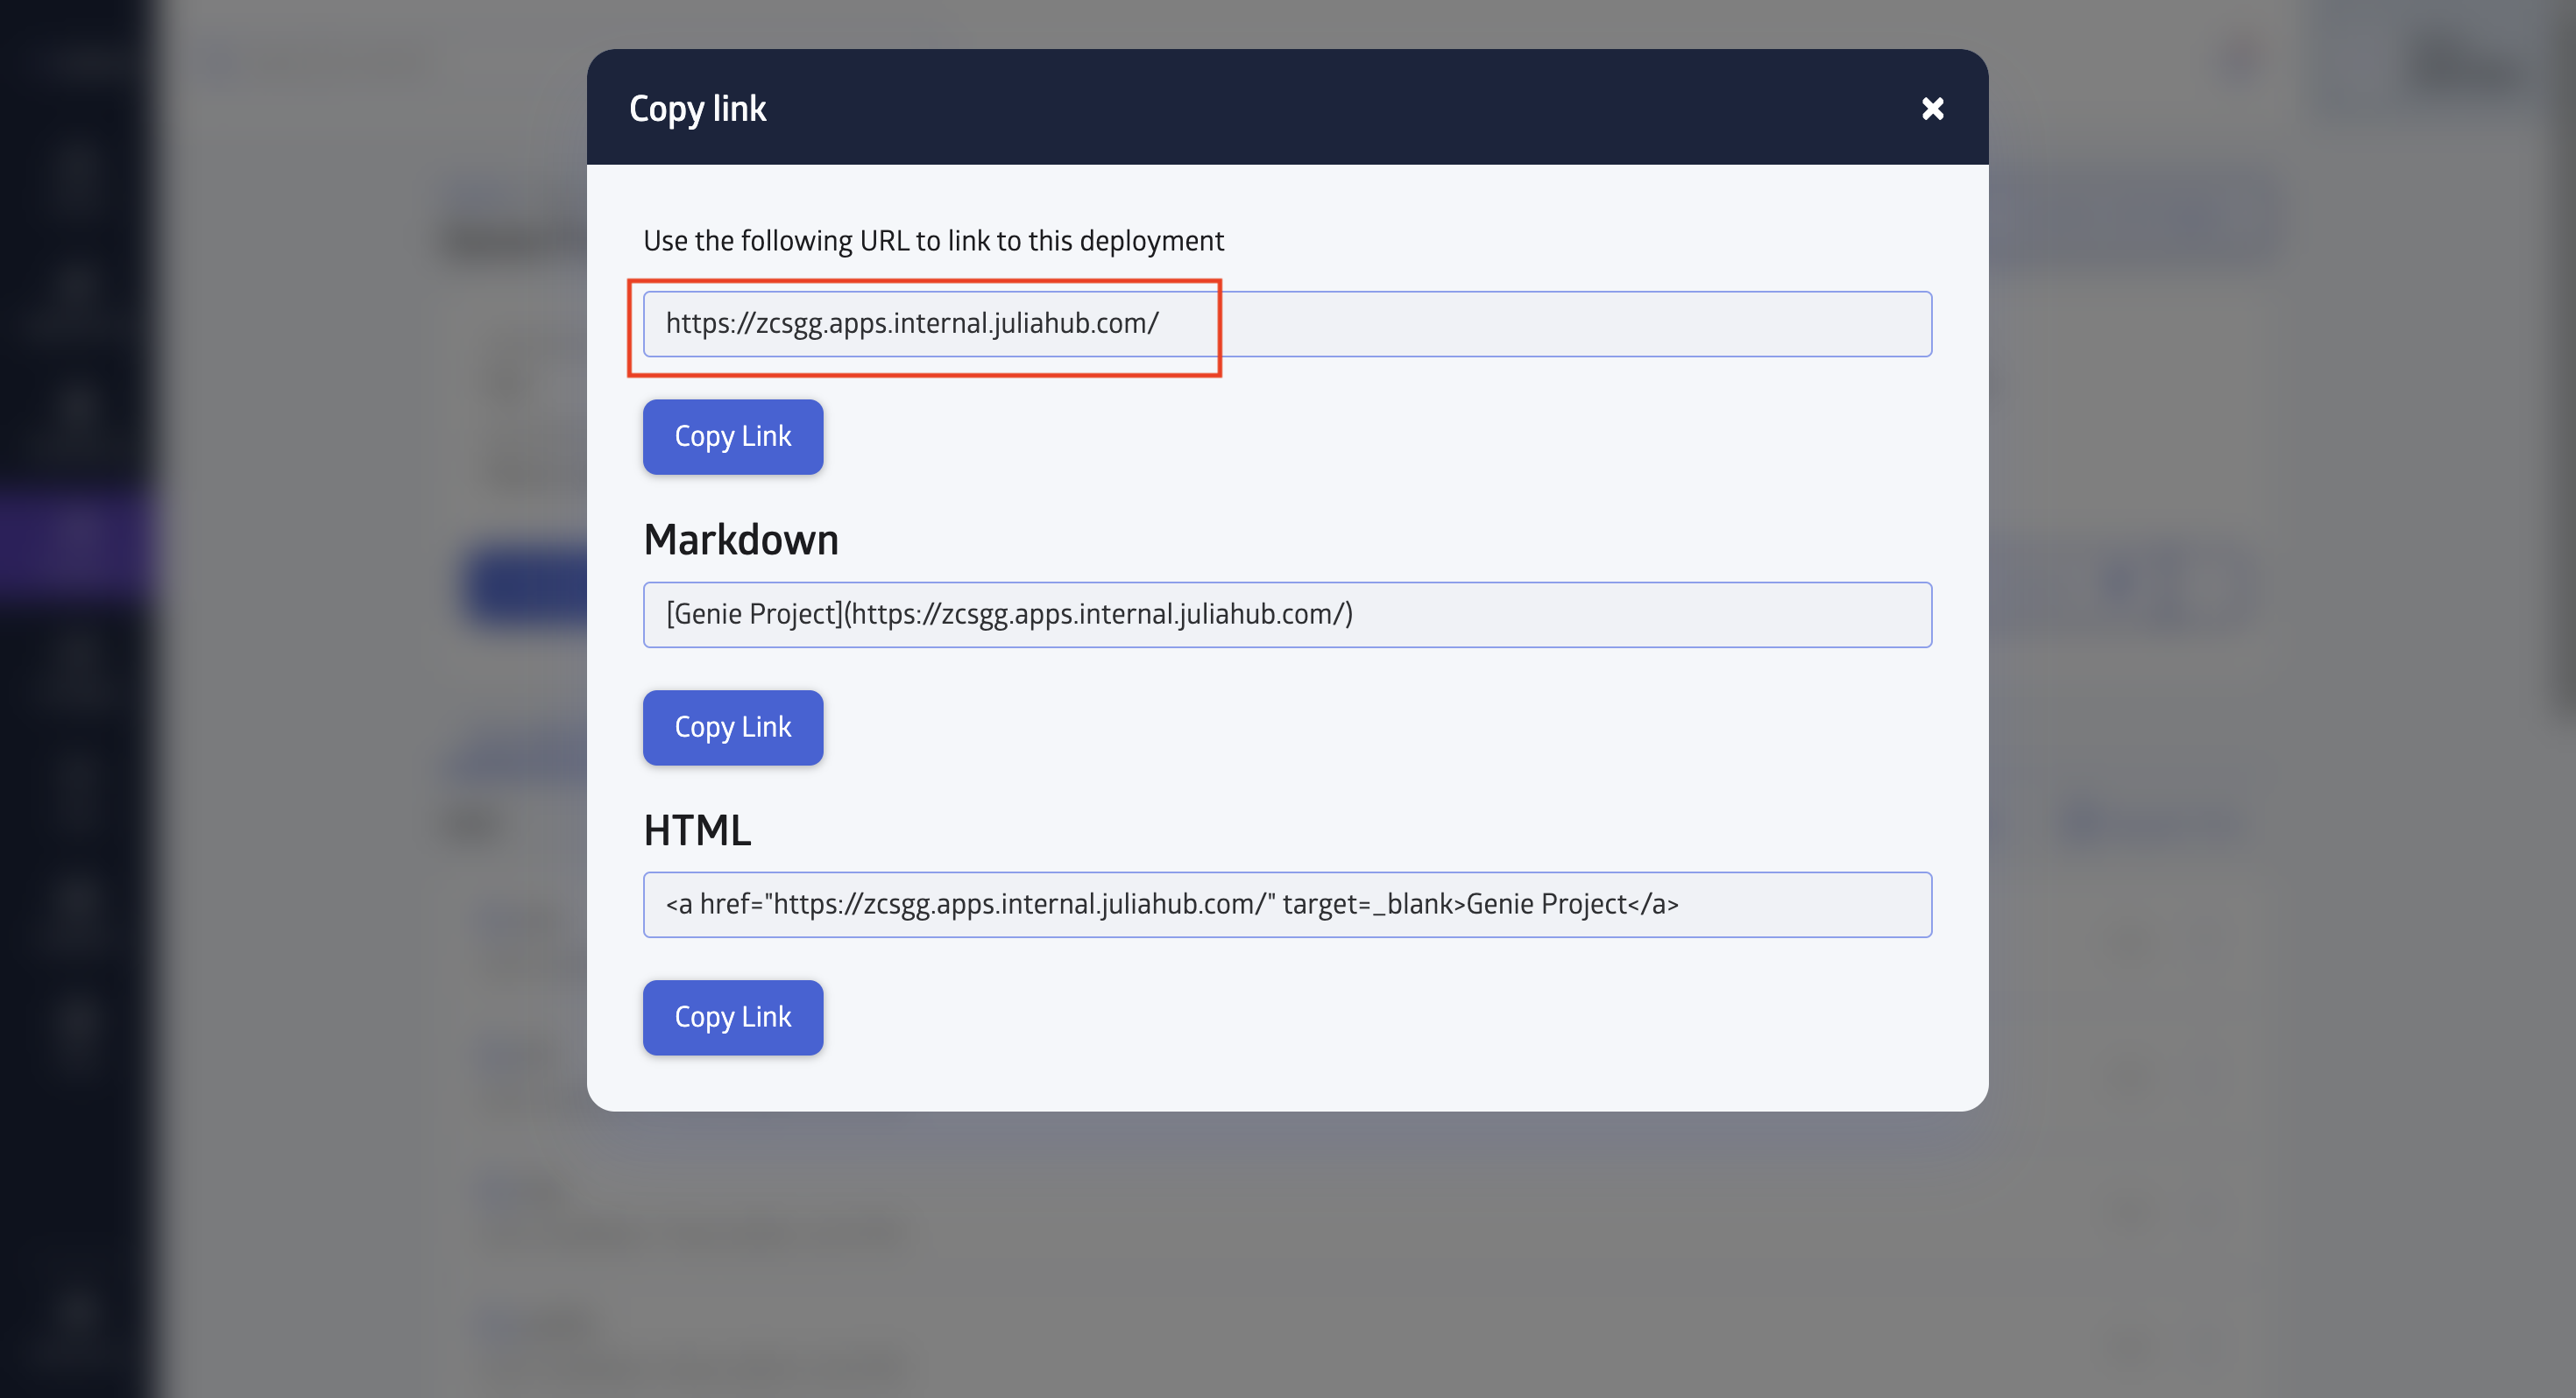
Congratulations! You should see your live app hosted at the URL on JuliaHub.
Feedback
For feedback about using Genie Builder on JuliaHub, please contact us and write a message.