Developing and Hosting a Web Application
Introduction
In this tutorial we will show how to develop a web application using the web application project template and deploy it on JuliaHub.
The web application template is based on HTTP.jl, a pure Julia HTTP server library. It provides a simple starting point for building and hosting web servers and interactive applications directly on JuliaHub.
Creating a Web Application Project
To create a web application project, navigate to the 'Projects' tab from the left menu bar.
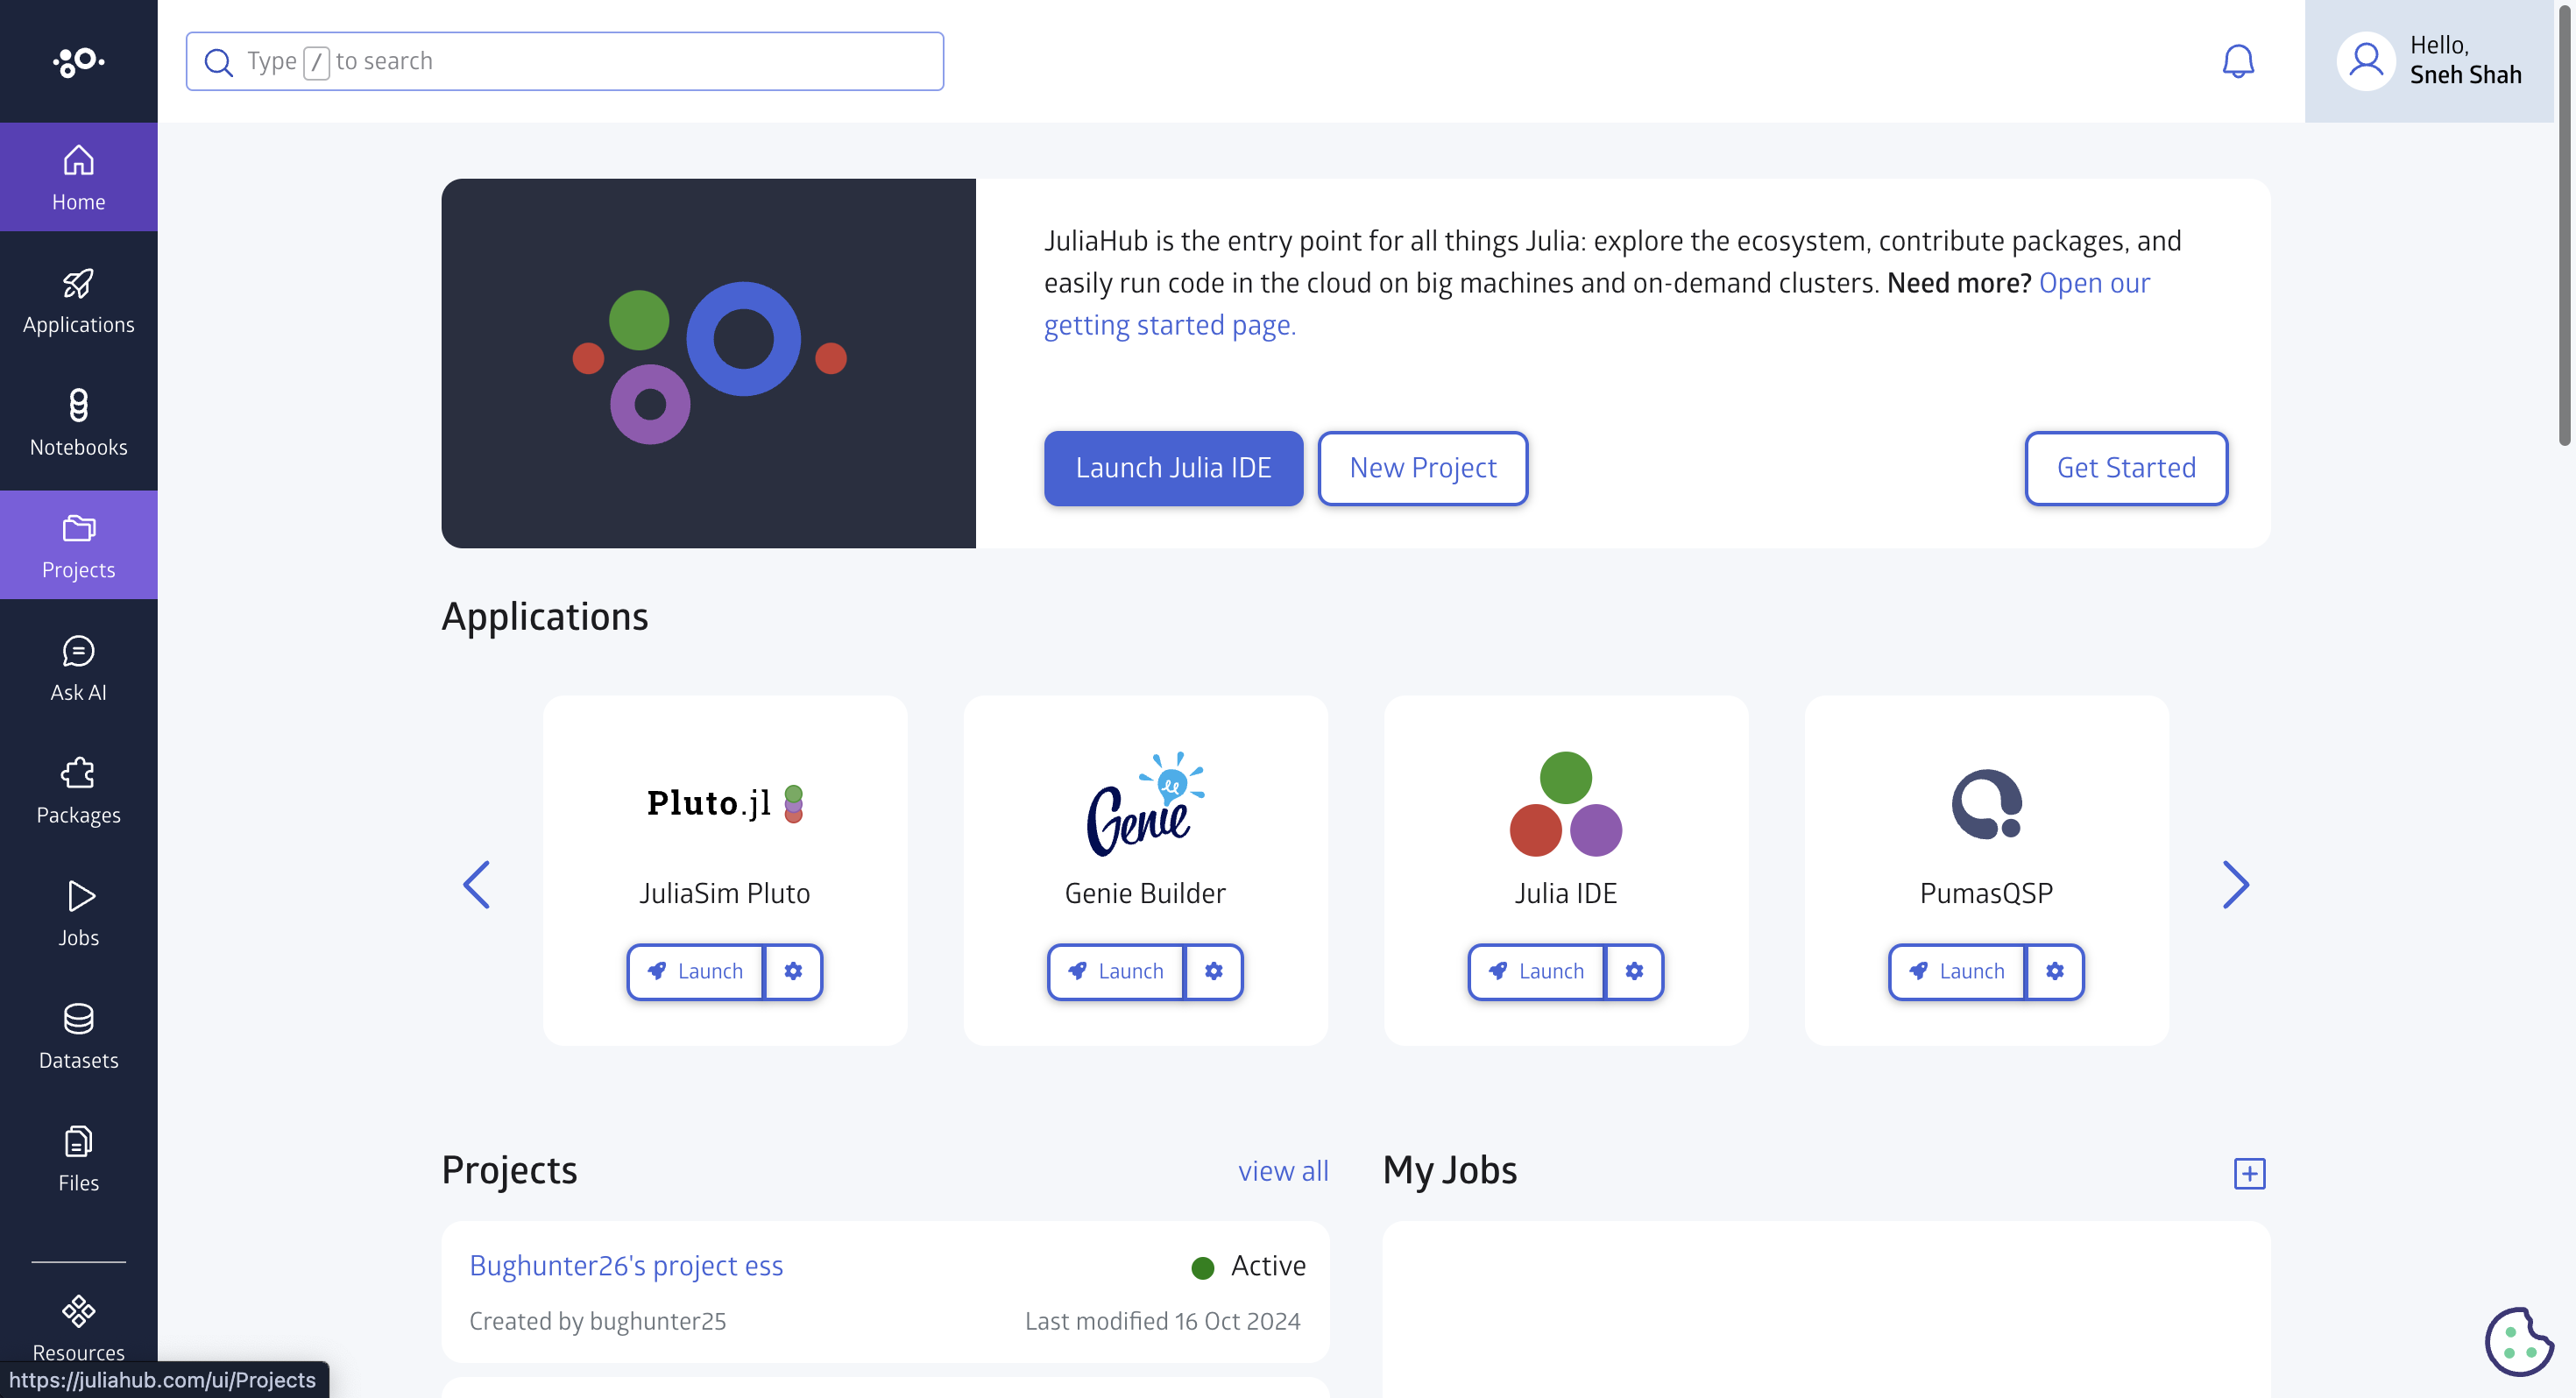
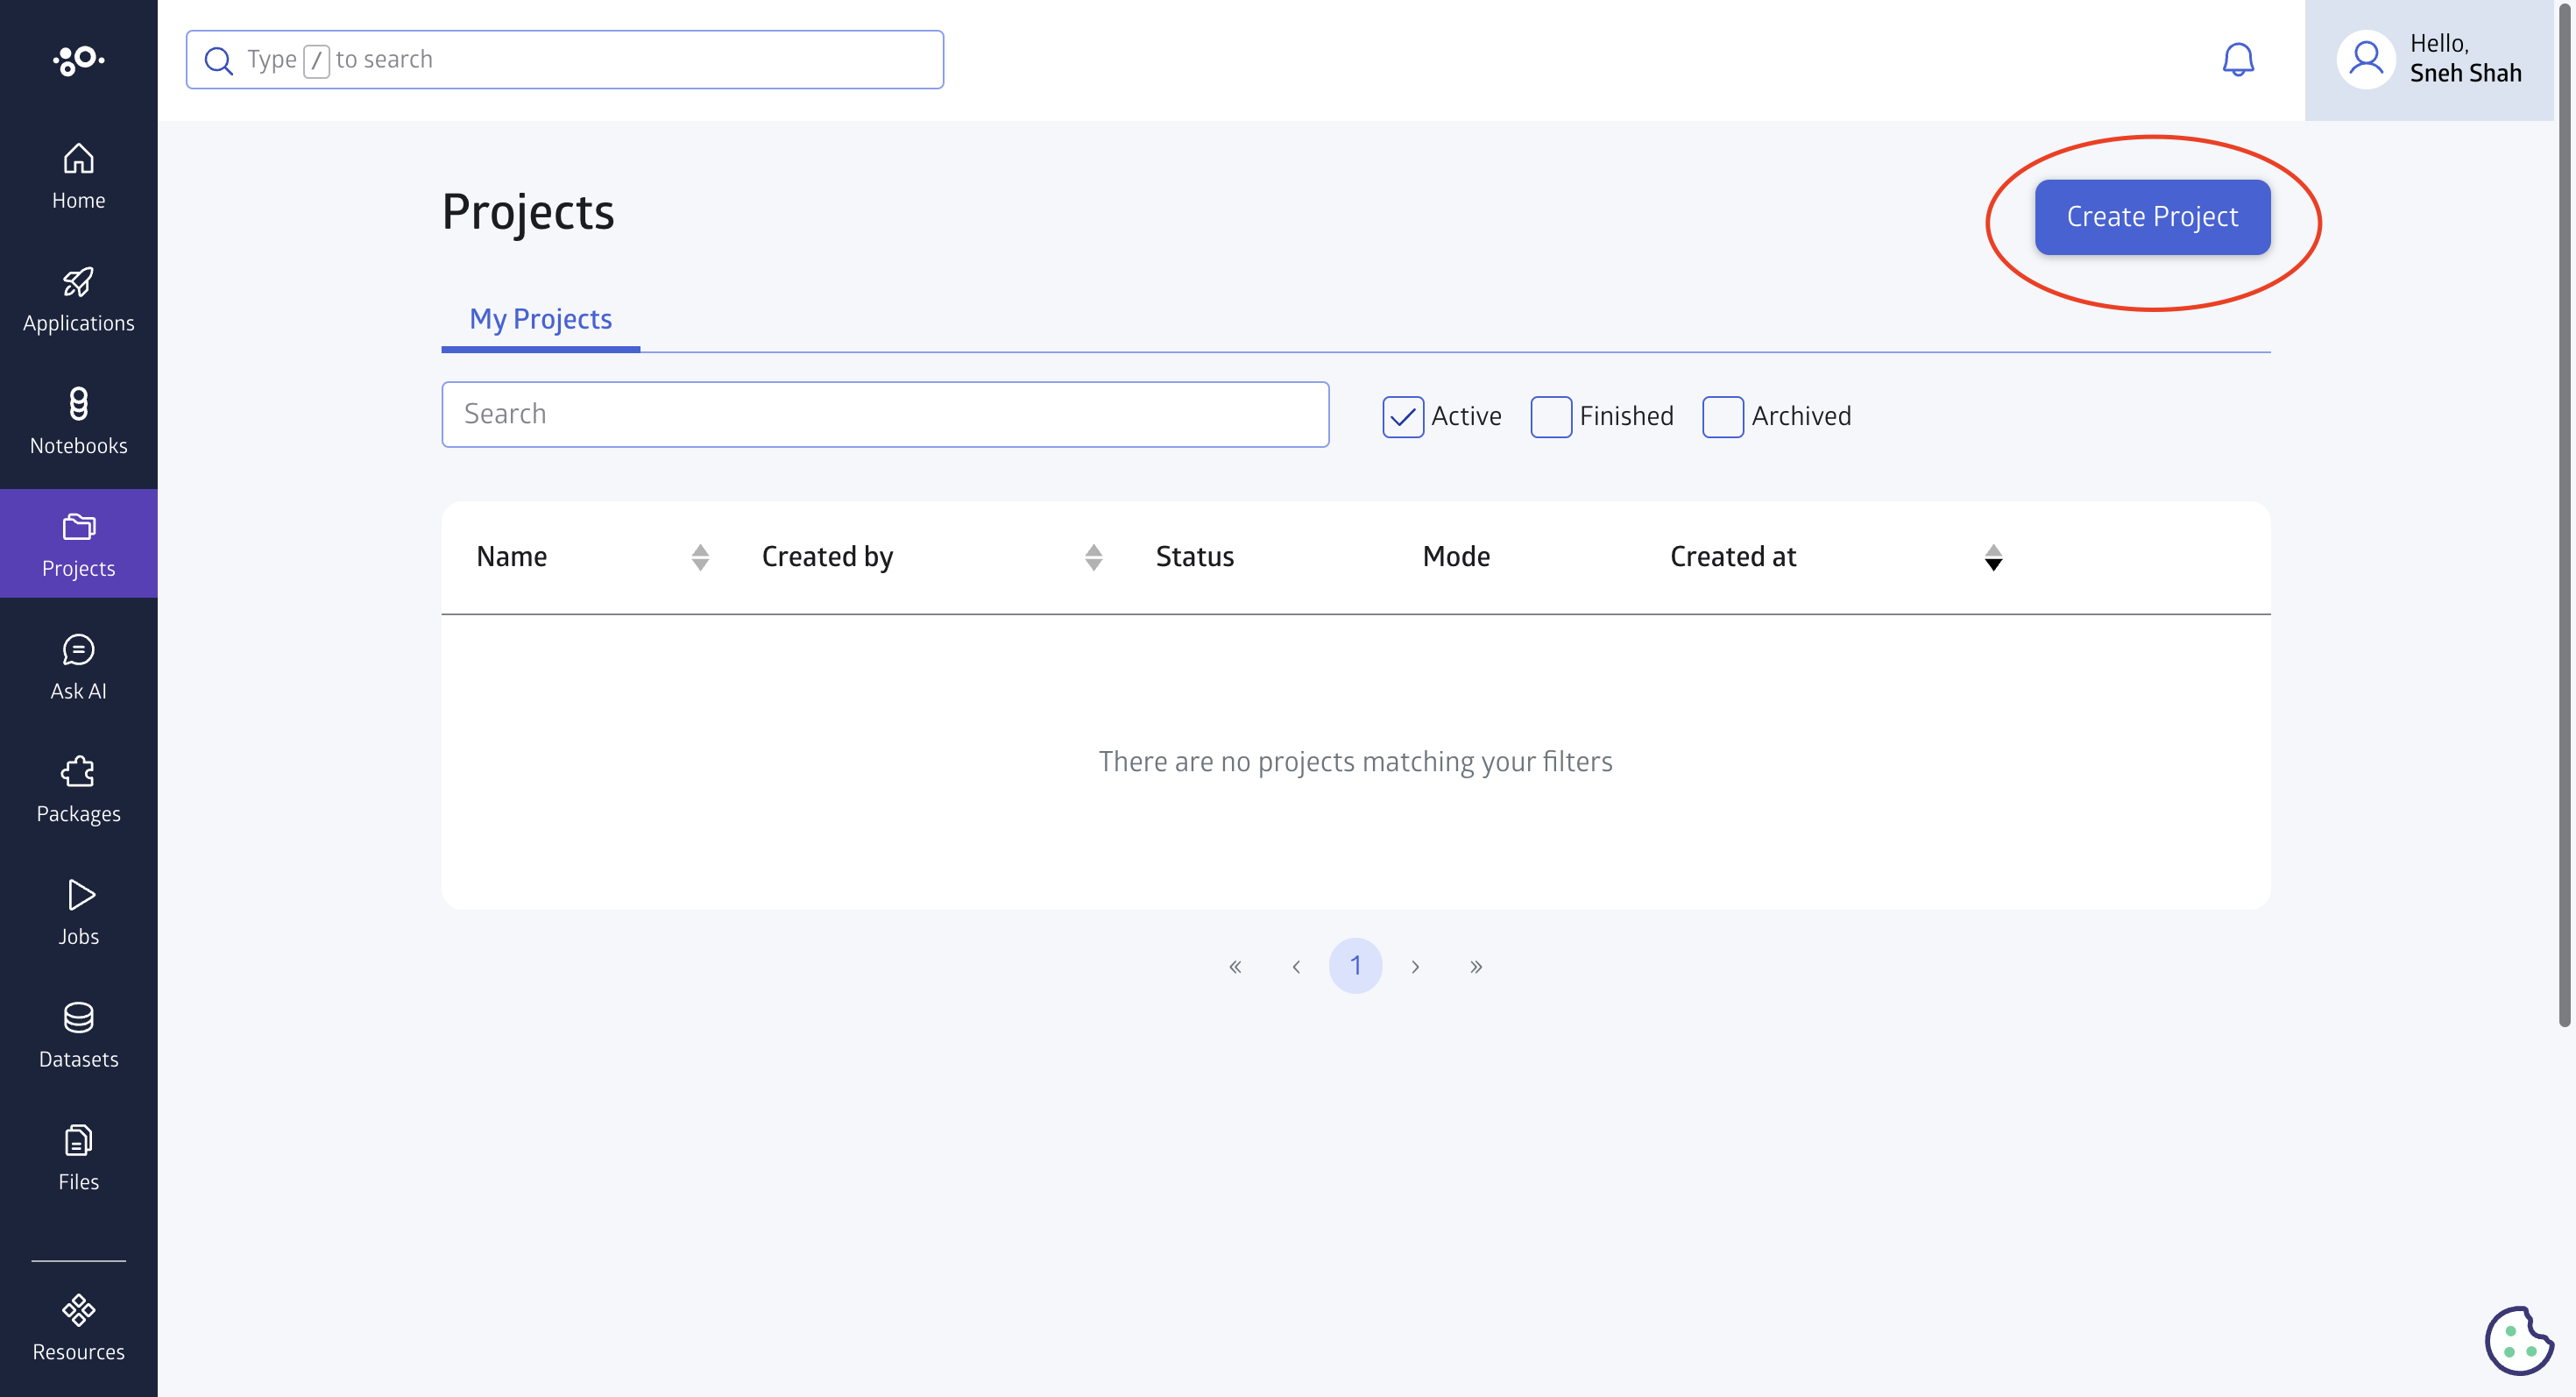
Once you are in the projects section click the 'Create project' button.
From the given templates select the 'Web Application' template.
In the next step, you will be required to provide the name of your project and give it a description. You can also provide tags and choose the default application. You will also need to select the workflow type if you want Group Editing or Exclusive Editing.
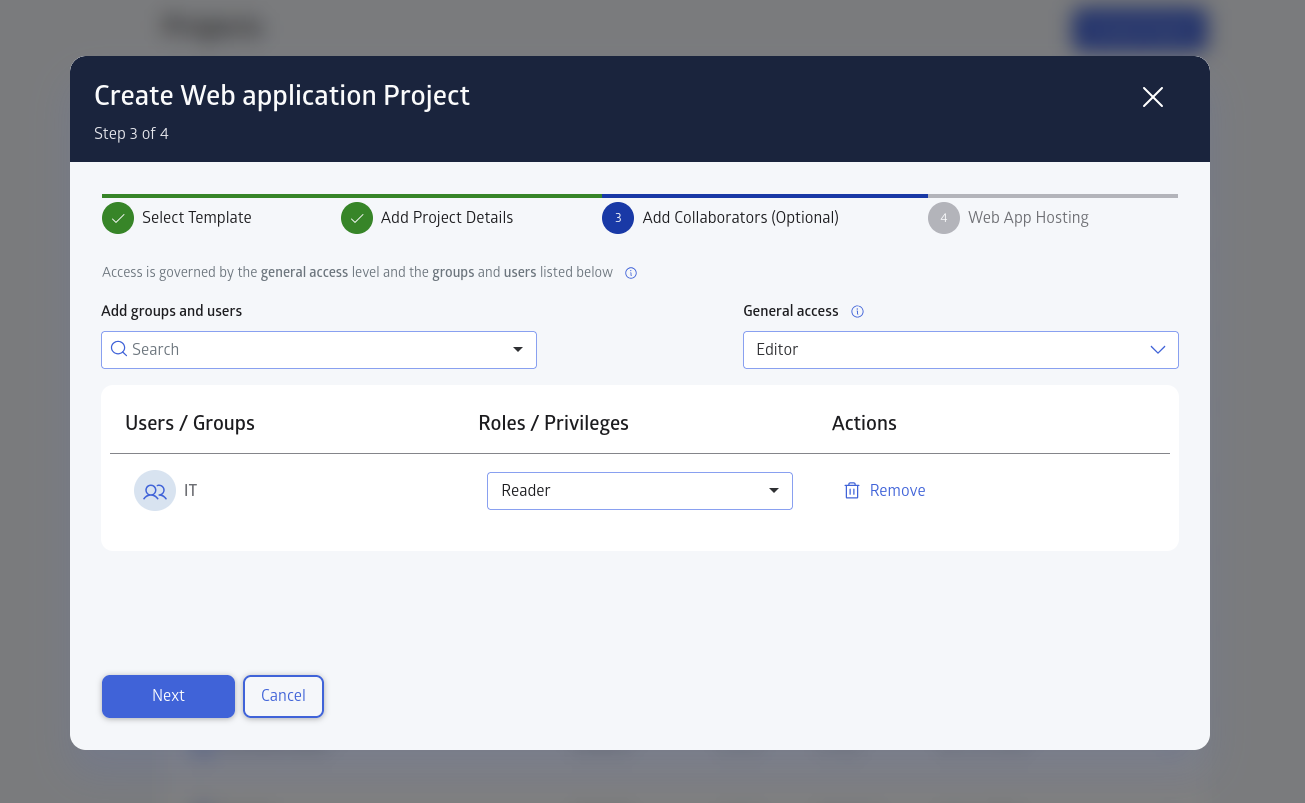
In the third step of the setup, you can add collaborators such as groups or a single user and grant them different access levels.
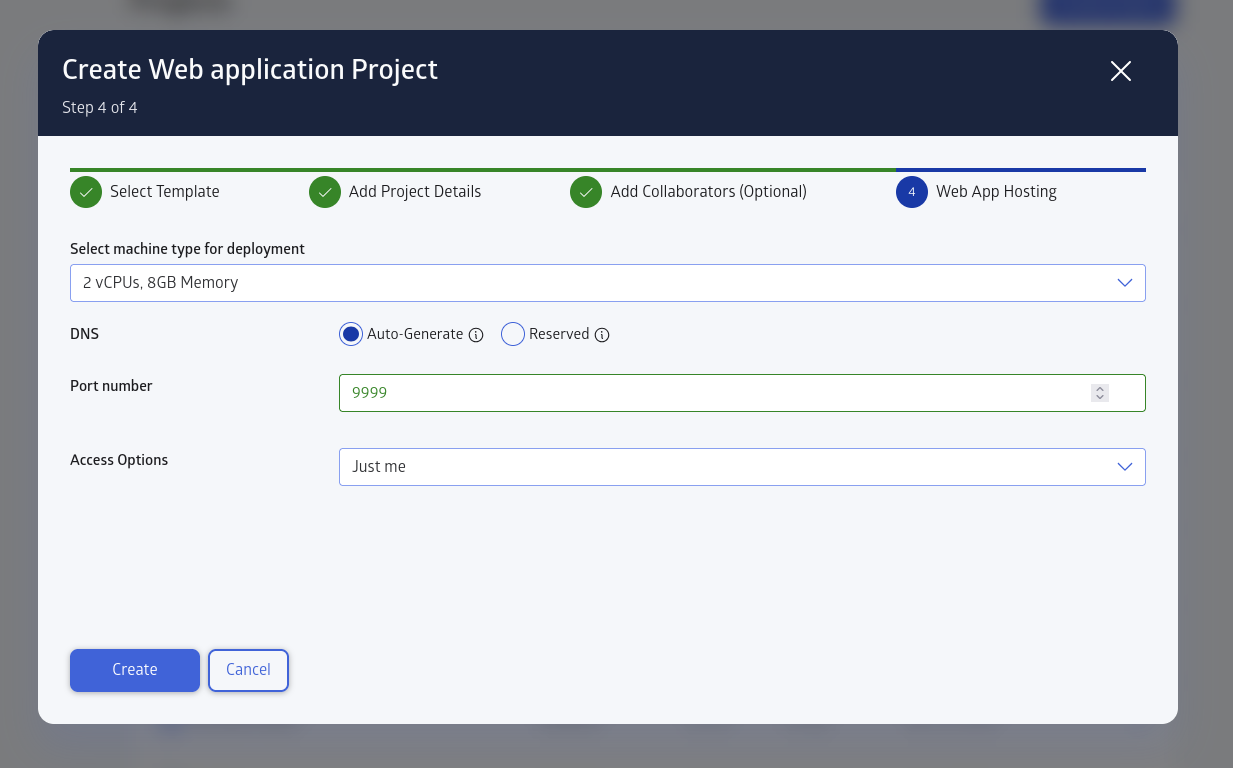
Configure the hosting options for your deployments. At this stage, the options are only saved. The instance will only be started only when you deploy your project via the "Deploy" button later.
- Select machine type for deployment: Select the size of machine indicated by number of CPUs and size of RAM.
- DNS: Select whether you want the domain name for the project deployment to be auto-generated or reserved. If you selected auto-generate, a different domain name will be generated for each deployment. If you selected "Reserved", then you get to choose from your list of reserved domain names.
- Port number: The port number that will be proxied and exposed.
- Access Options: Select the access option for your project deployment. If you selected "Just me", only you are allowed to access the deployment. If you selected "Logged in users", any user logged in to JuliaHub can access your project through the selected domain name. Choose password protected if you want to enforce a password to access your deployment. Finally "Totally public" disables authentication for the project deployment.
You can edit these settings later via the Deploy button dropdown and selecting "Settings".
[!IMPORTANT] A deployed app exposes every HTTP route it serves. Anyone in the access group you choose can reach every HTTP route your application serves at its URL — including routes registered by the packages it depends on, not just the routes you wrote. Some web and development packages register administrative routes (for evaluating code, browsing or editing files, or opening a REPL) when run in their default development configuration. Before deploying — especially with the fully public option — make sure your application does not load development or debugging tooling, and if the framework you use has a production setting, enable it. Never hard-code credentials or API tokens in a publicly accessible app; use JuliaHub's encrypted secrets instead. Prefer a restricted access option unless the app is genuinely meant for the open internet.
Once you have completed this stage, you will see the project added to your projects.
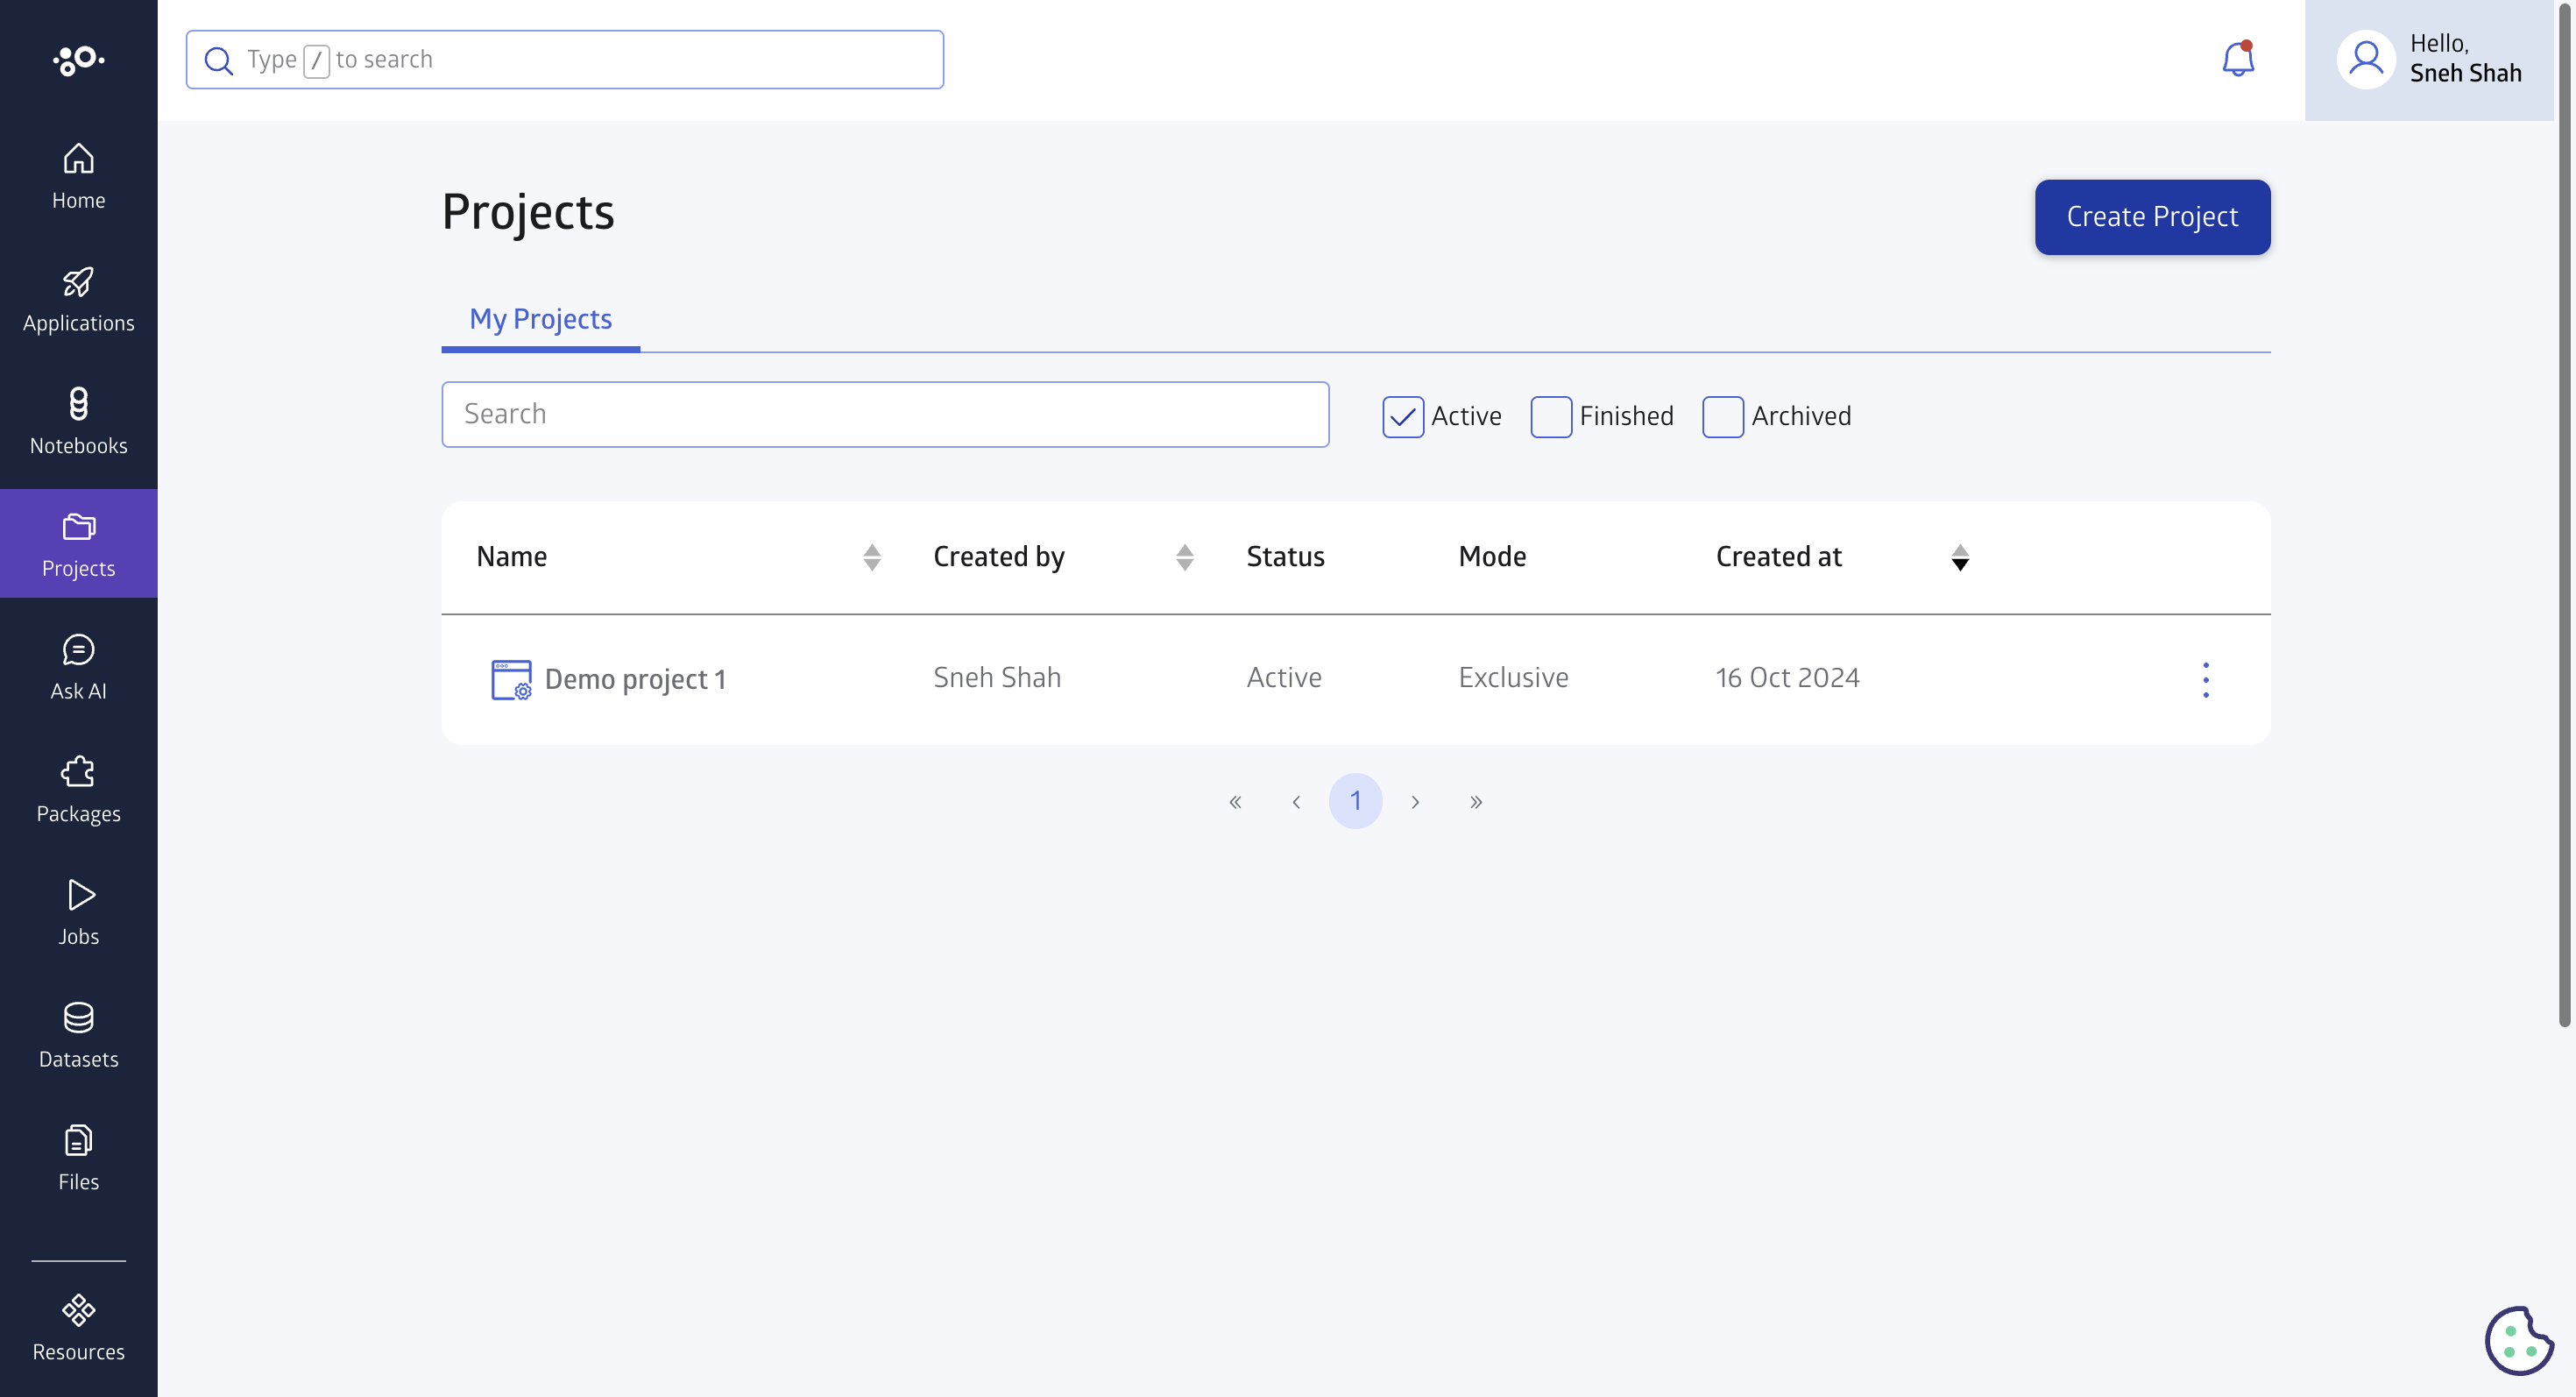
Click on the project to see the details of the project.
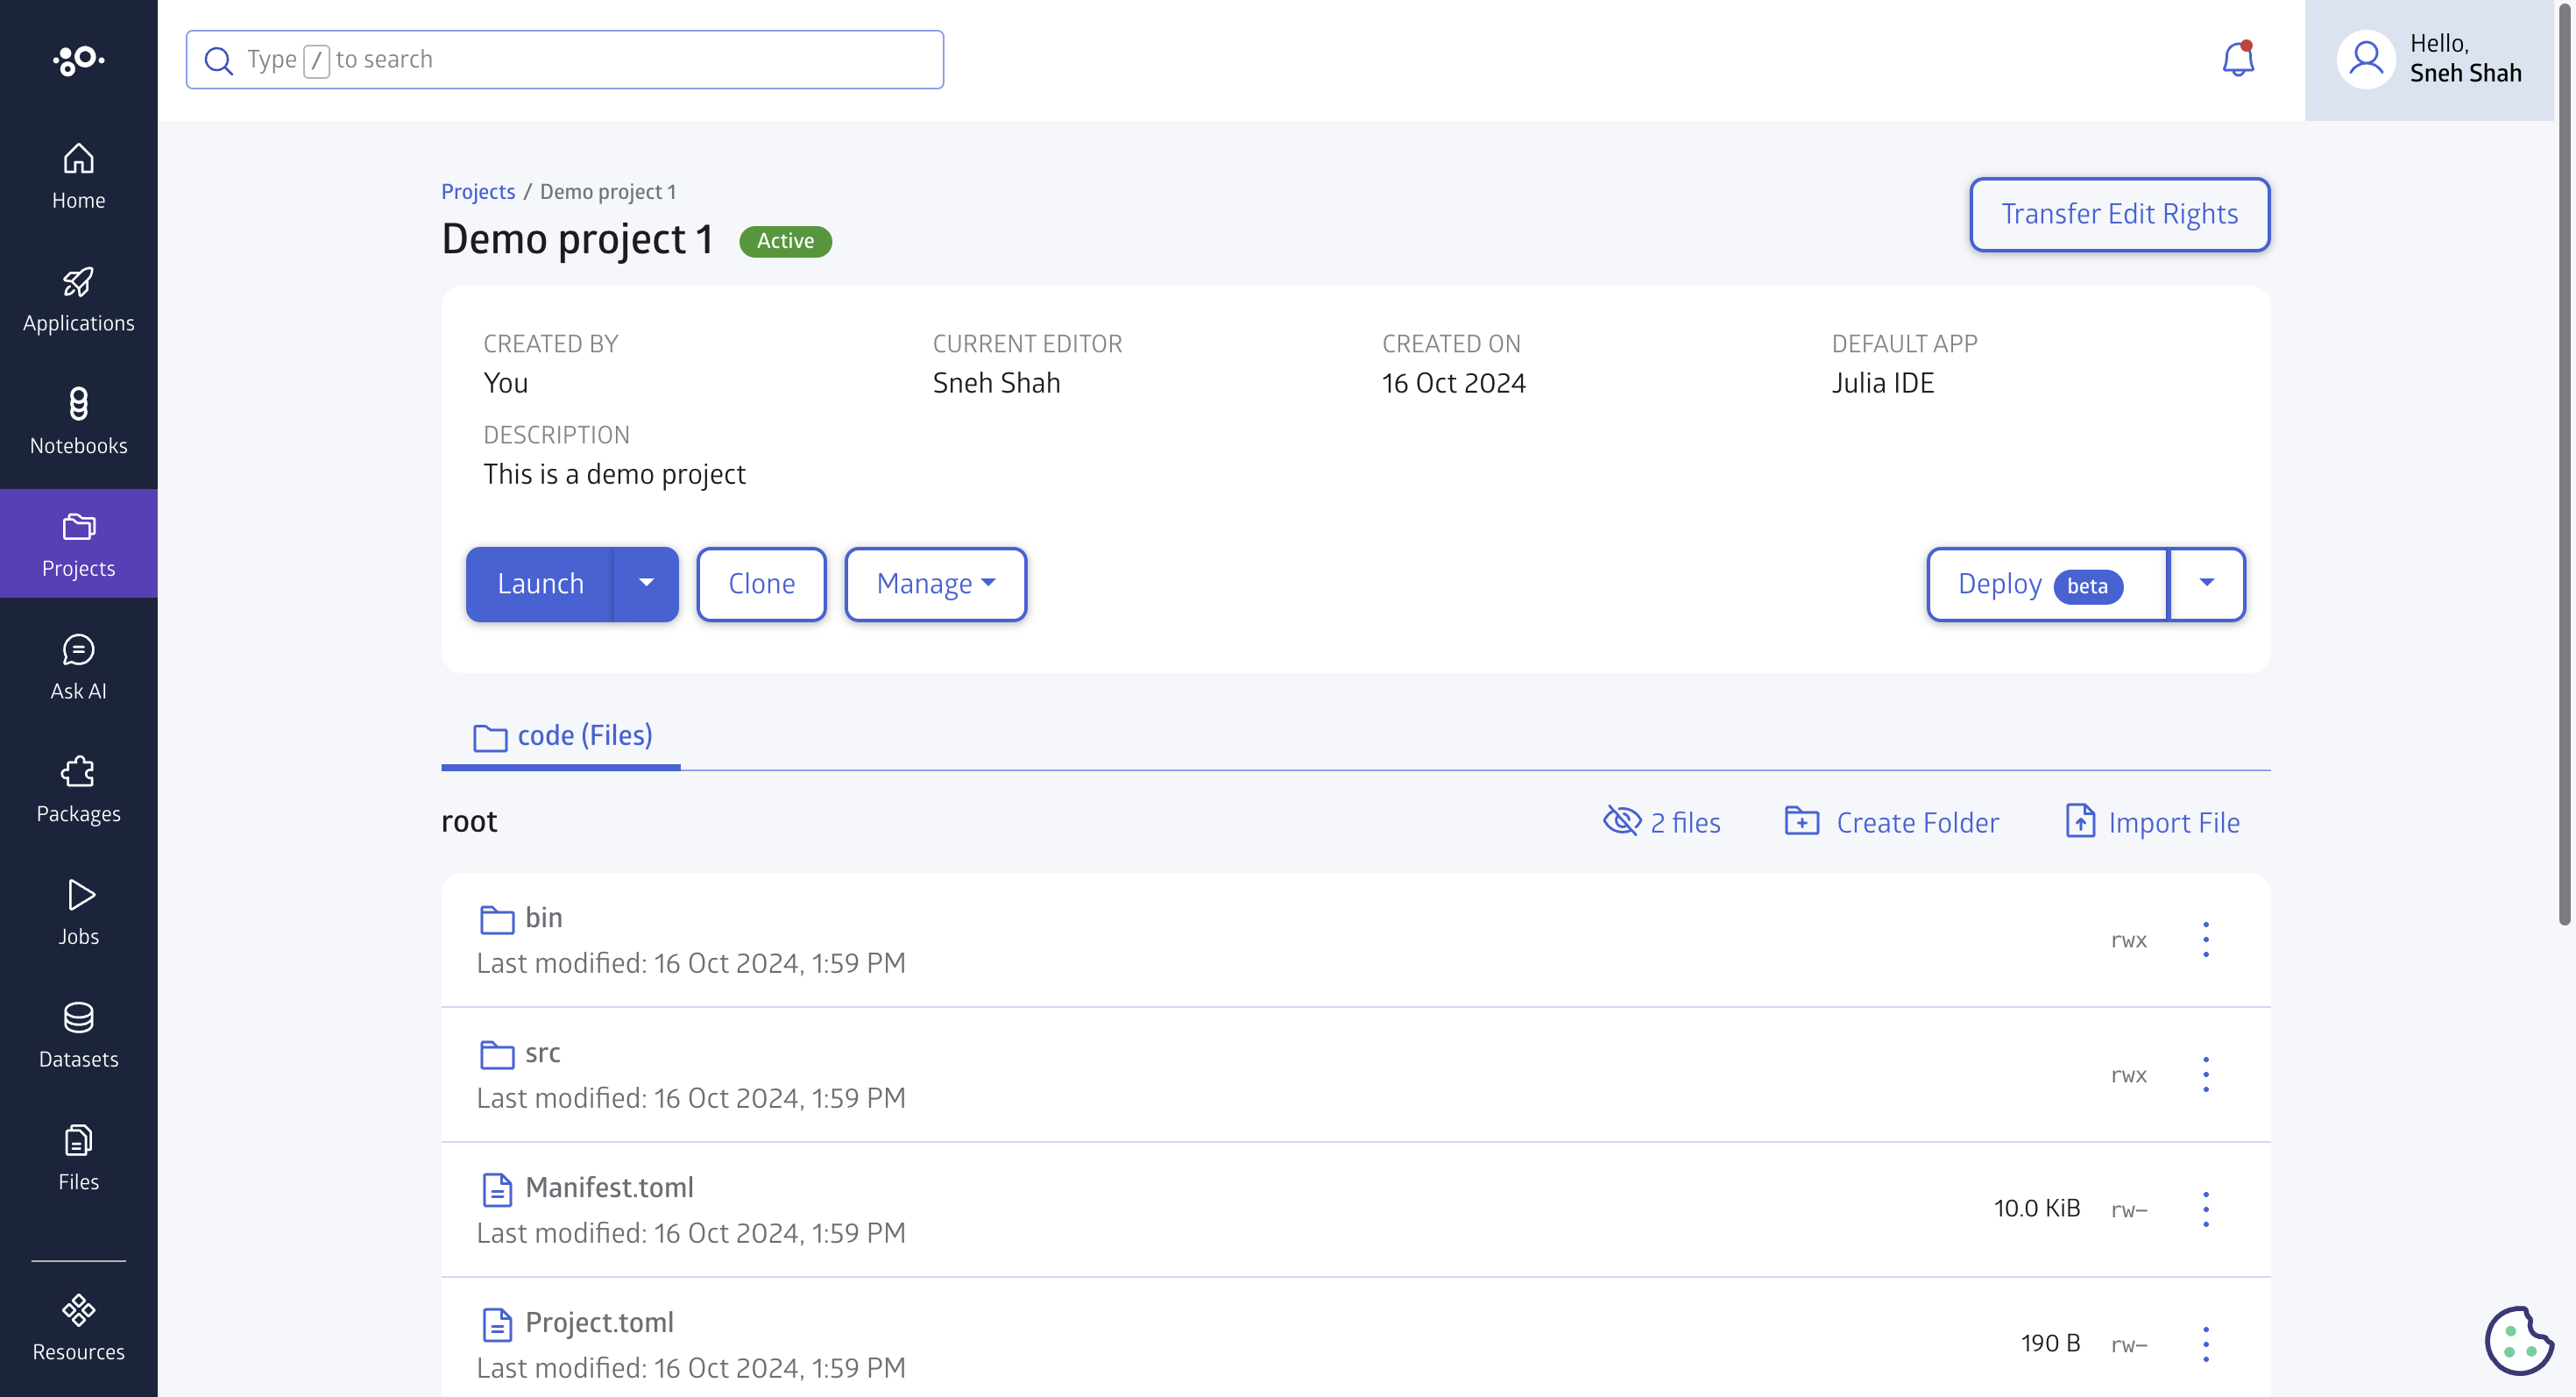
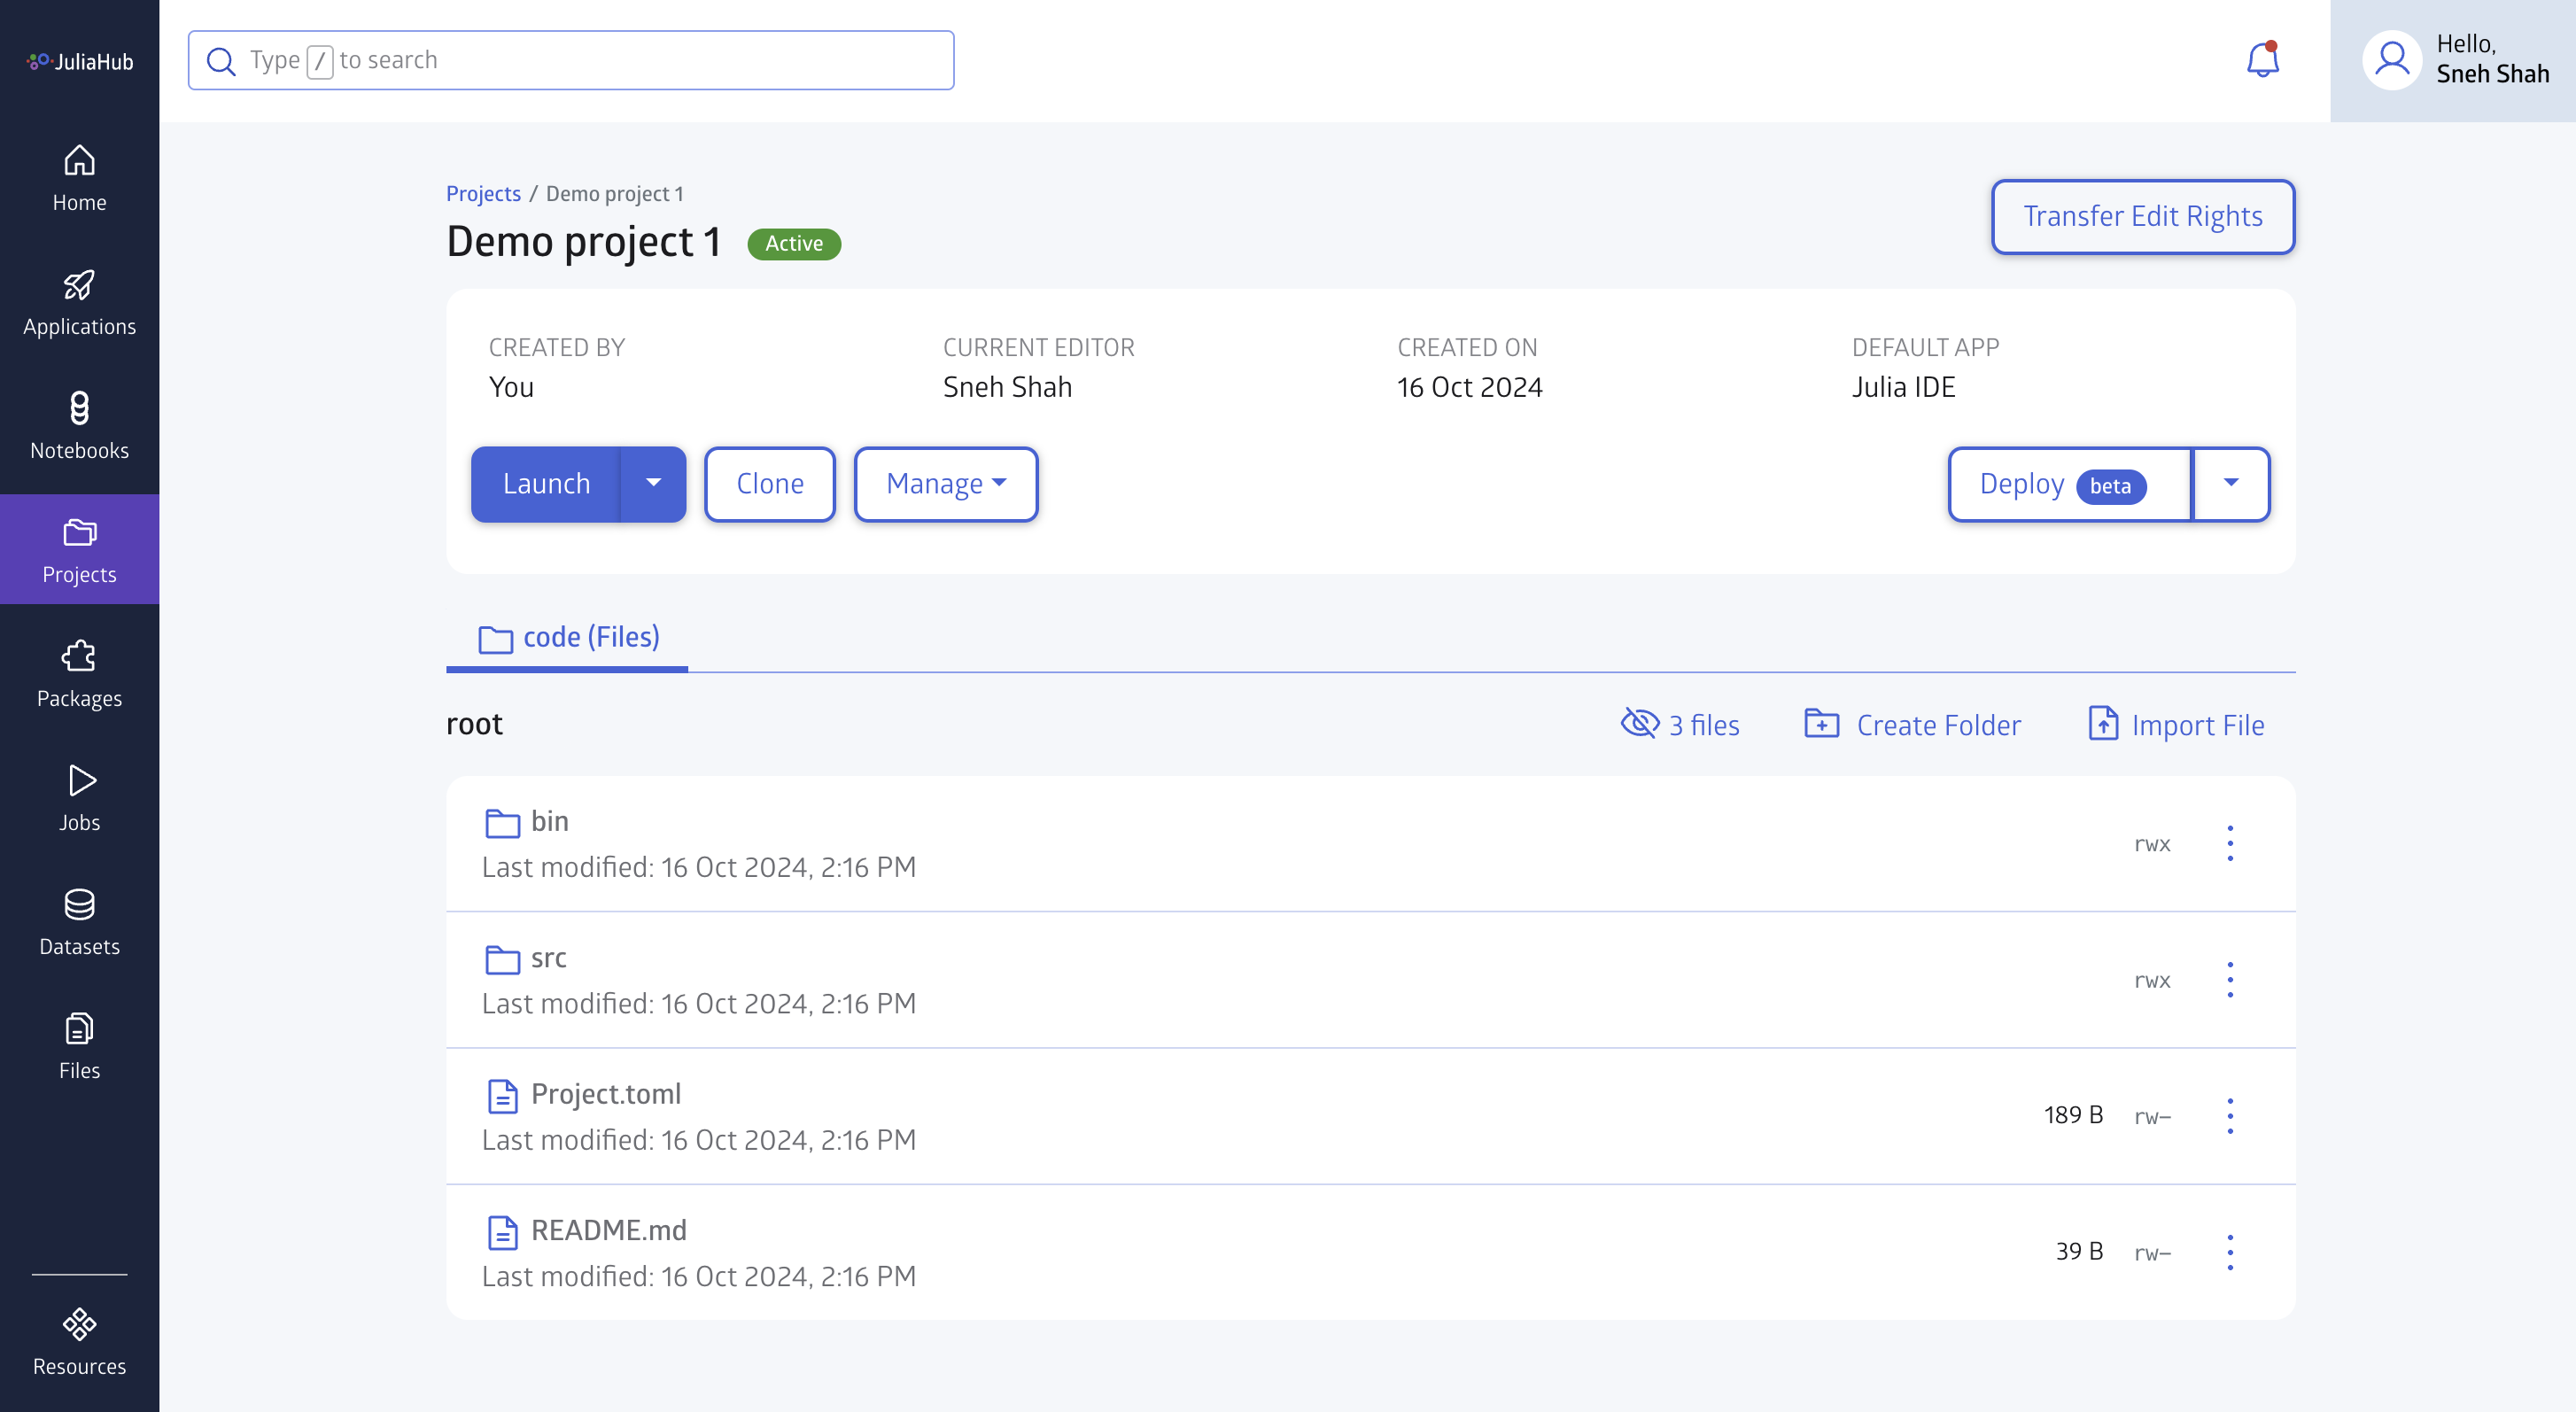
You now need to populate your web application project with files in order to deploy and launch your application. You can import files by clicking the 'Import file' button.
To deploy your web application, you will need a Manifest.toml file. If your project does not have Manifest.toml generated, follow the next steps.
Click the 'Launch' button to start an editor session. You will be then redirected to a VS Code tab automatically once the editor is ready.
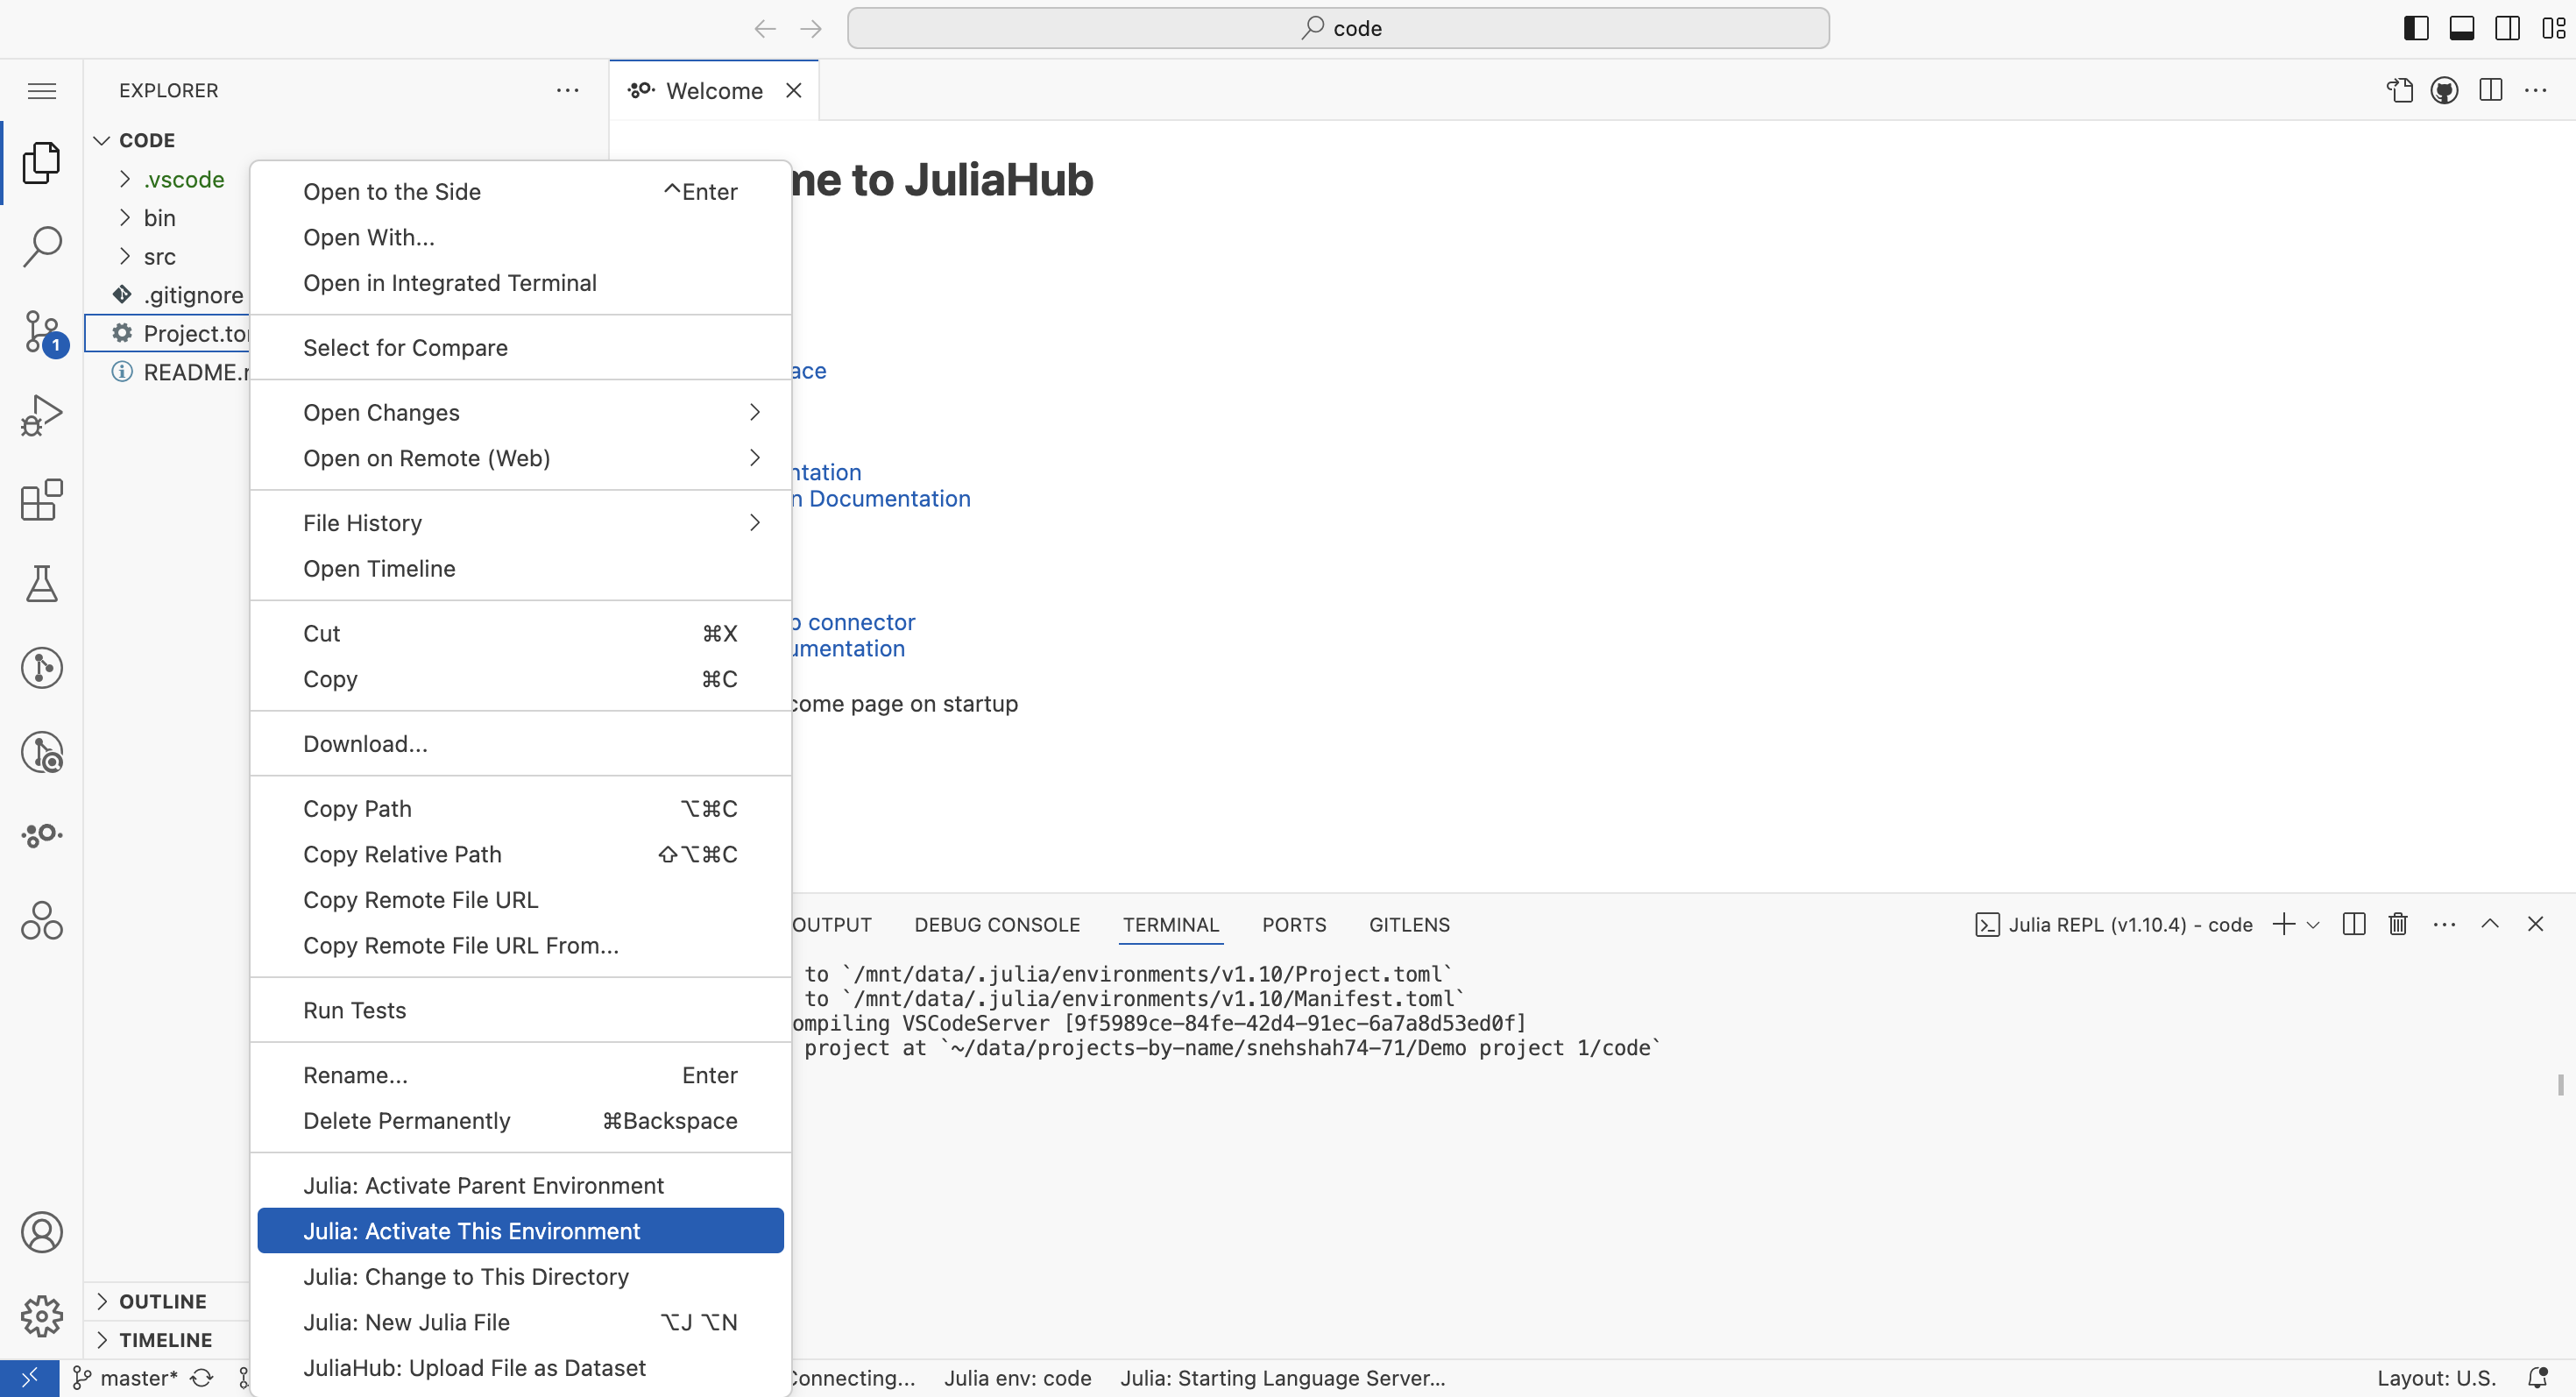
In VS Code, right click the 'Project.toml' file and then click 'Julia: Activate this Environment' in the dropdown menu.
After that in the Julia terminal type: ] to enter package mode and insert 'instantiate' and press the Enter key.
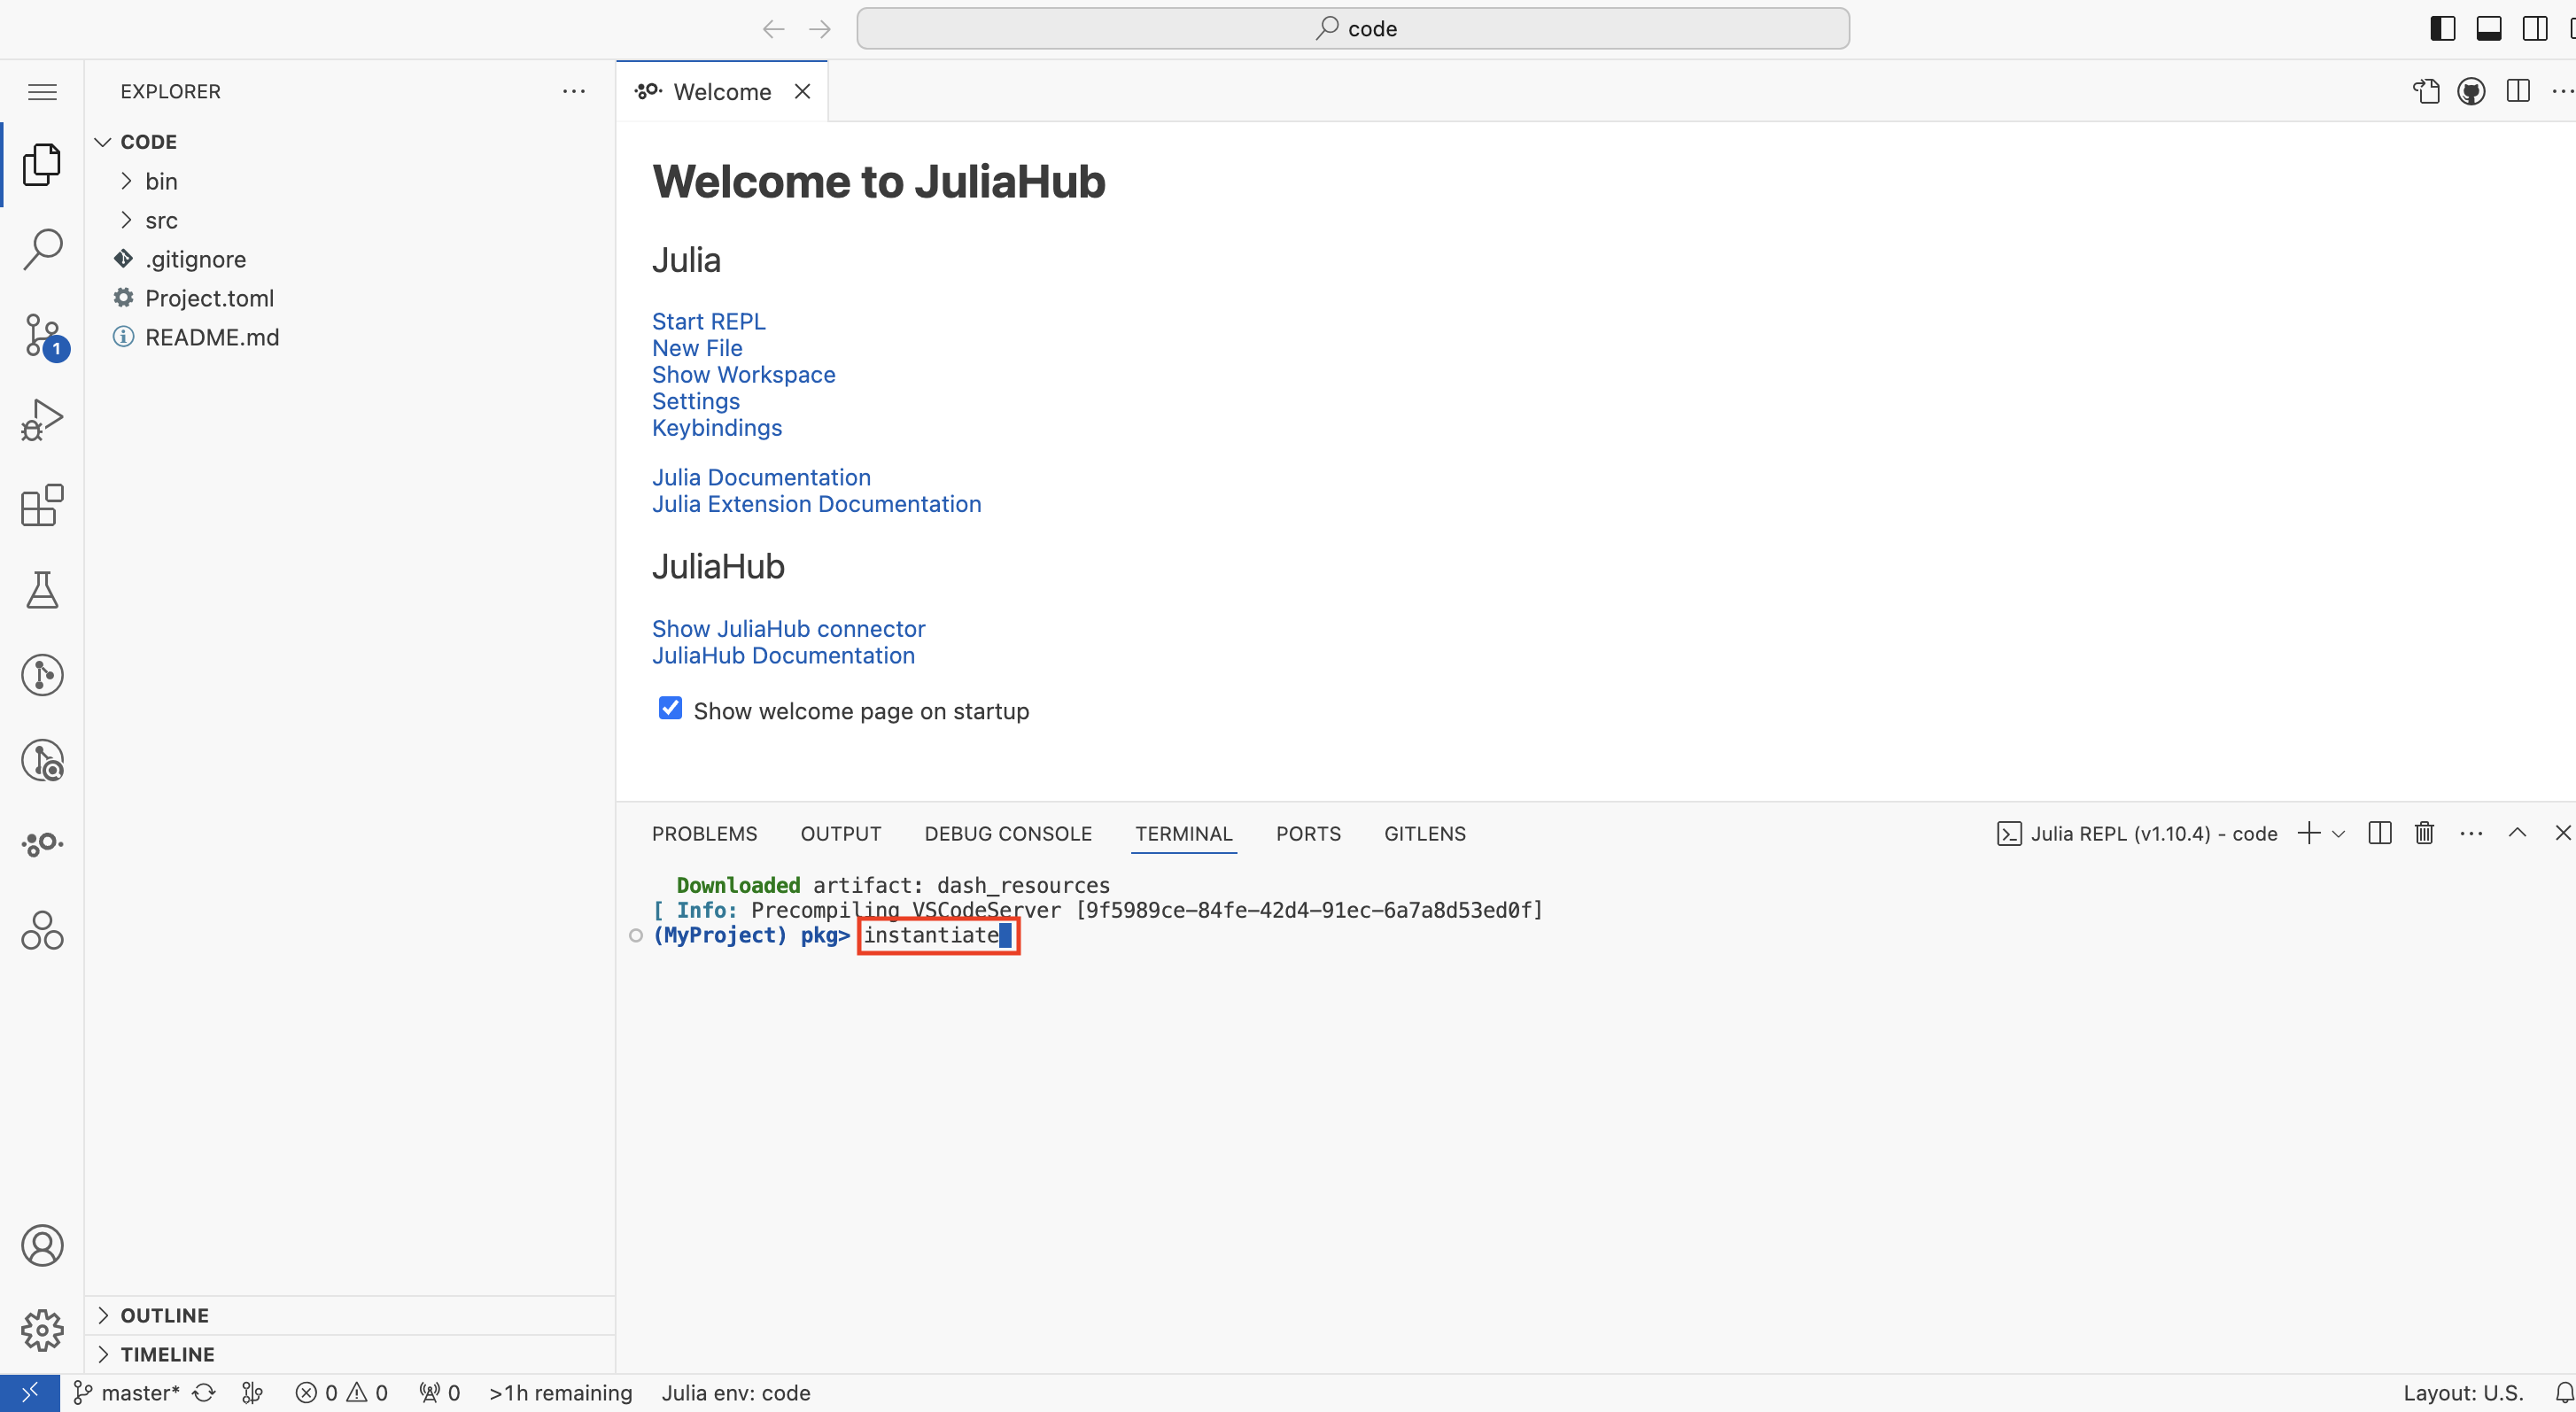
You will see a Manifest.toml file is generated. After that go to source control and commit changes.
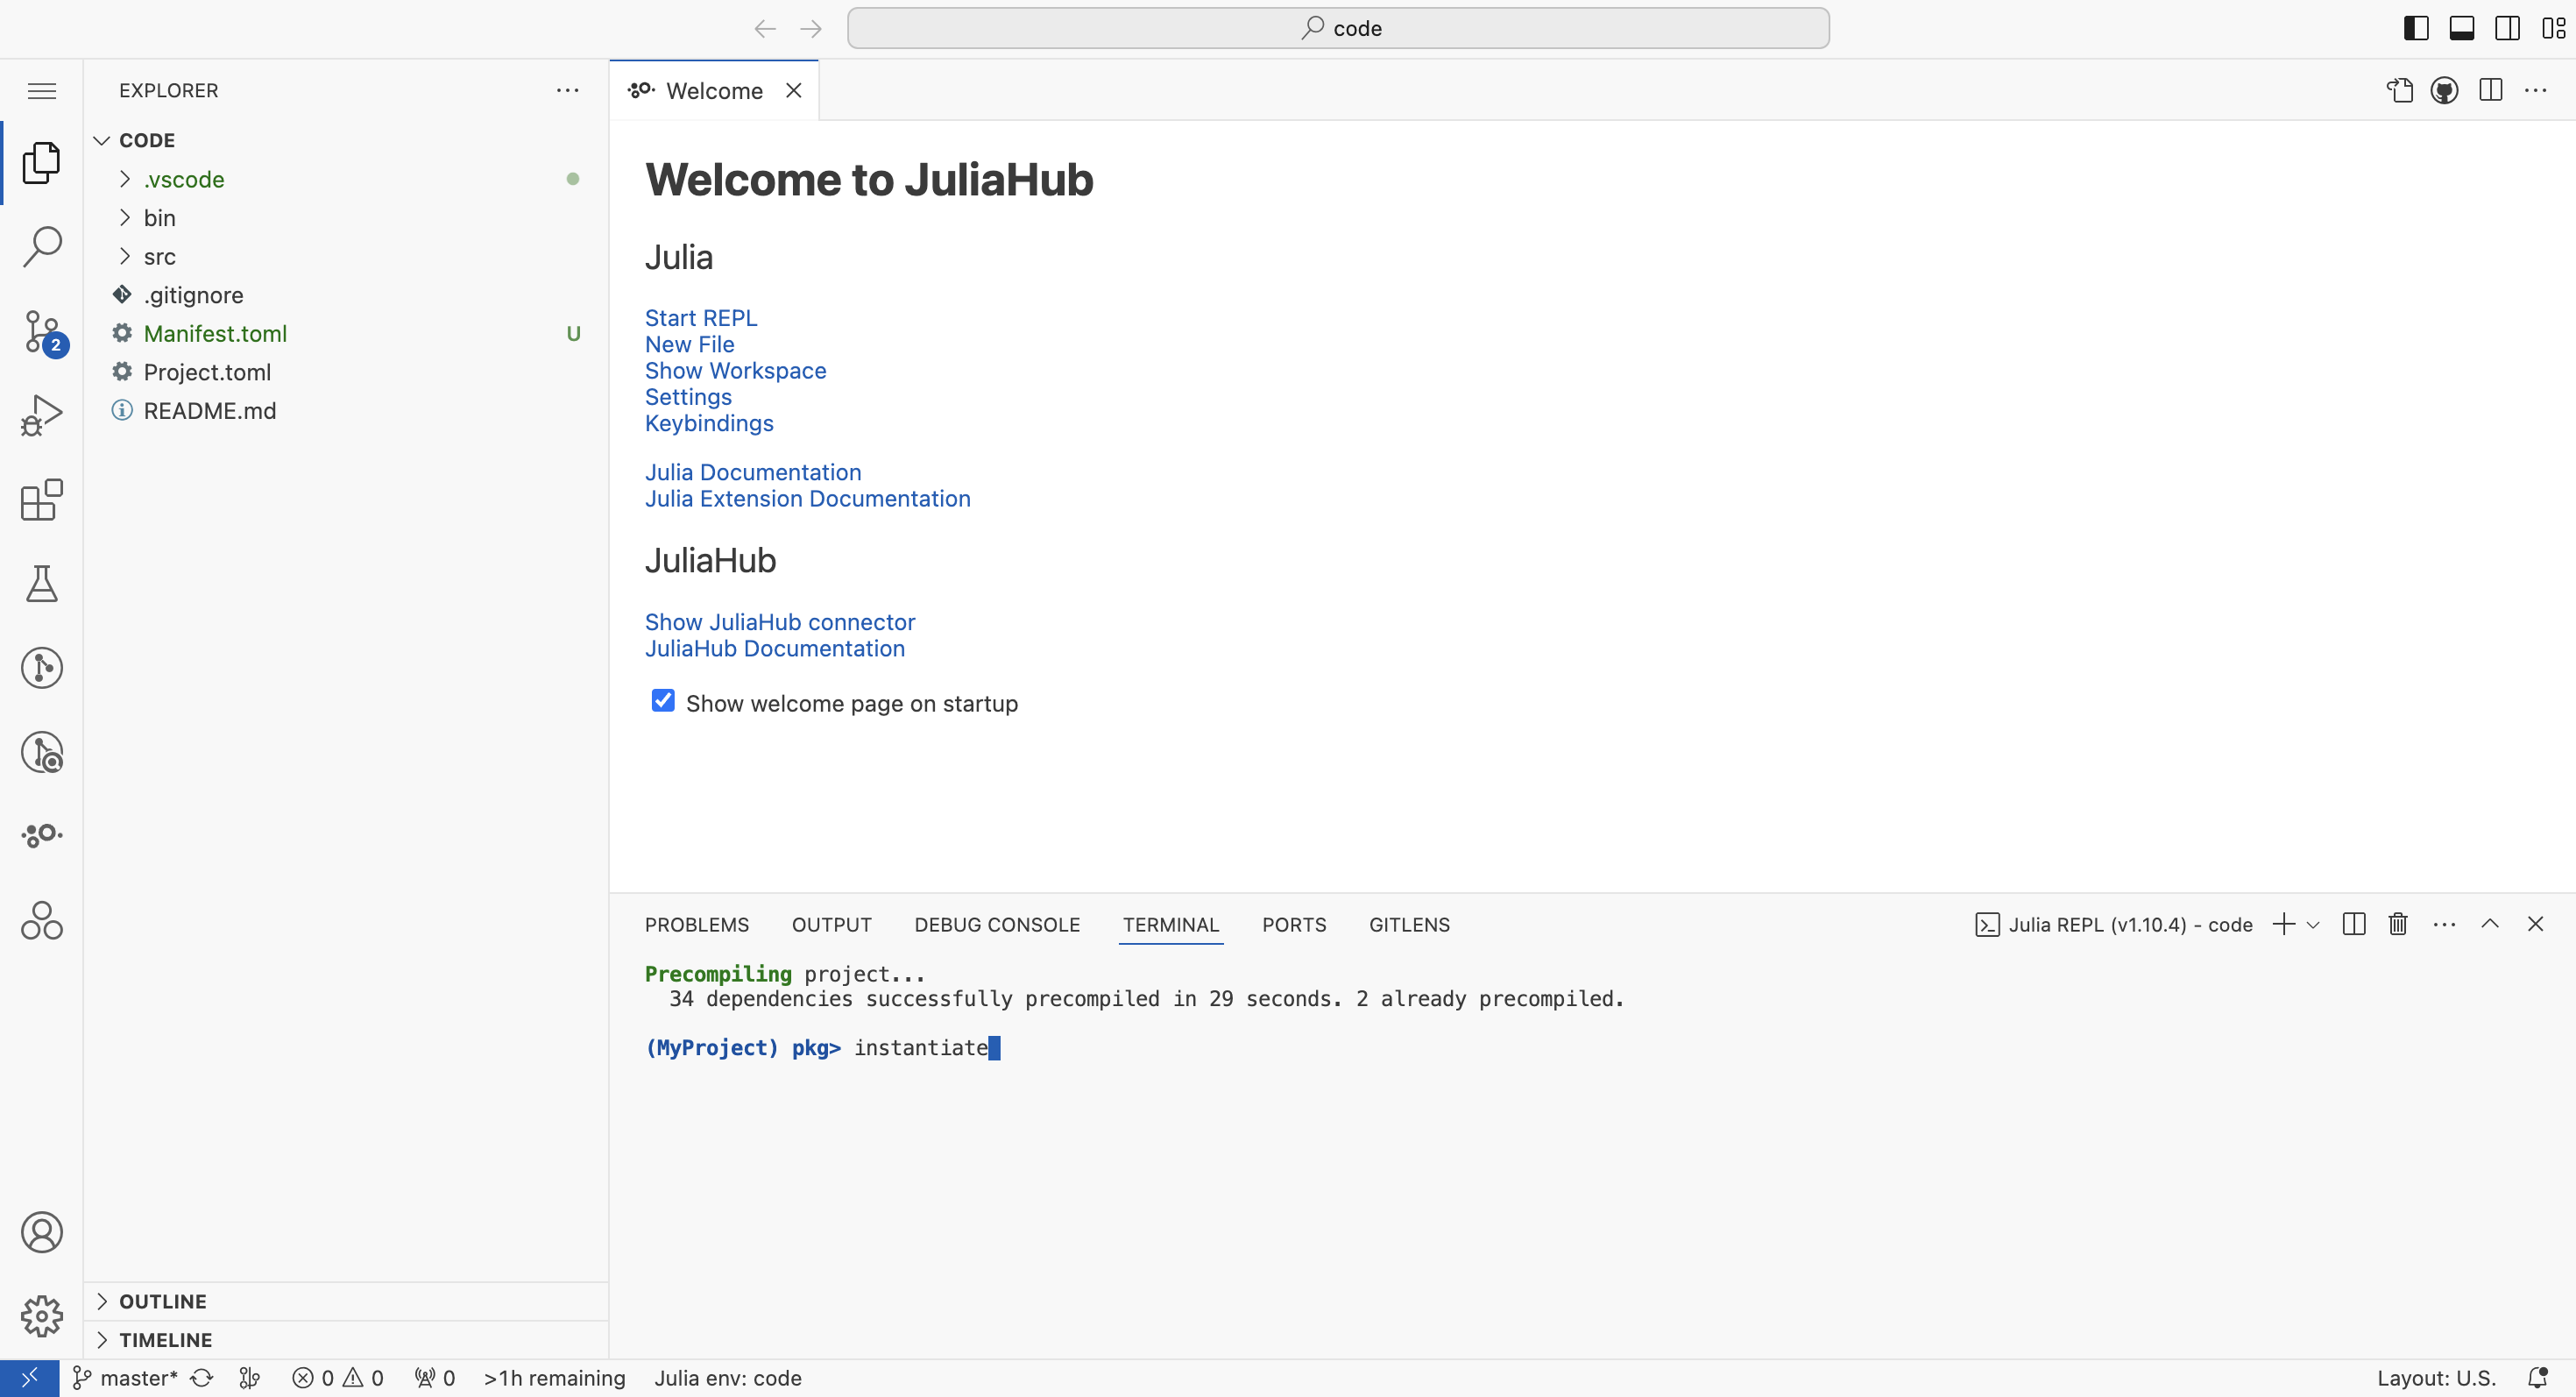
Go back to your JuliaHub project page. If you created a Group editing project click the 'Publish' button to pull your new Manifest.toml file. If you created an Exclusive editing project you don't have to do anything at this stage.
Now click the 'Deploy' button. If you created a Group editing project the Deploy button is made available in the 'Source' tab.
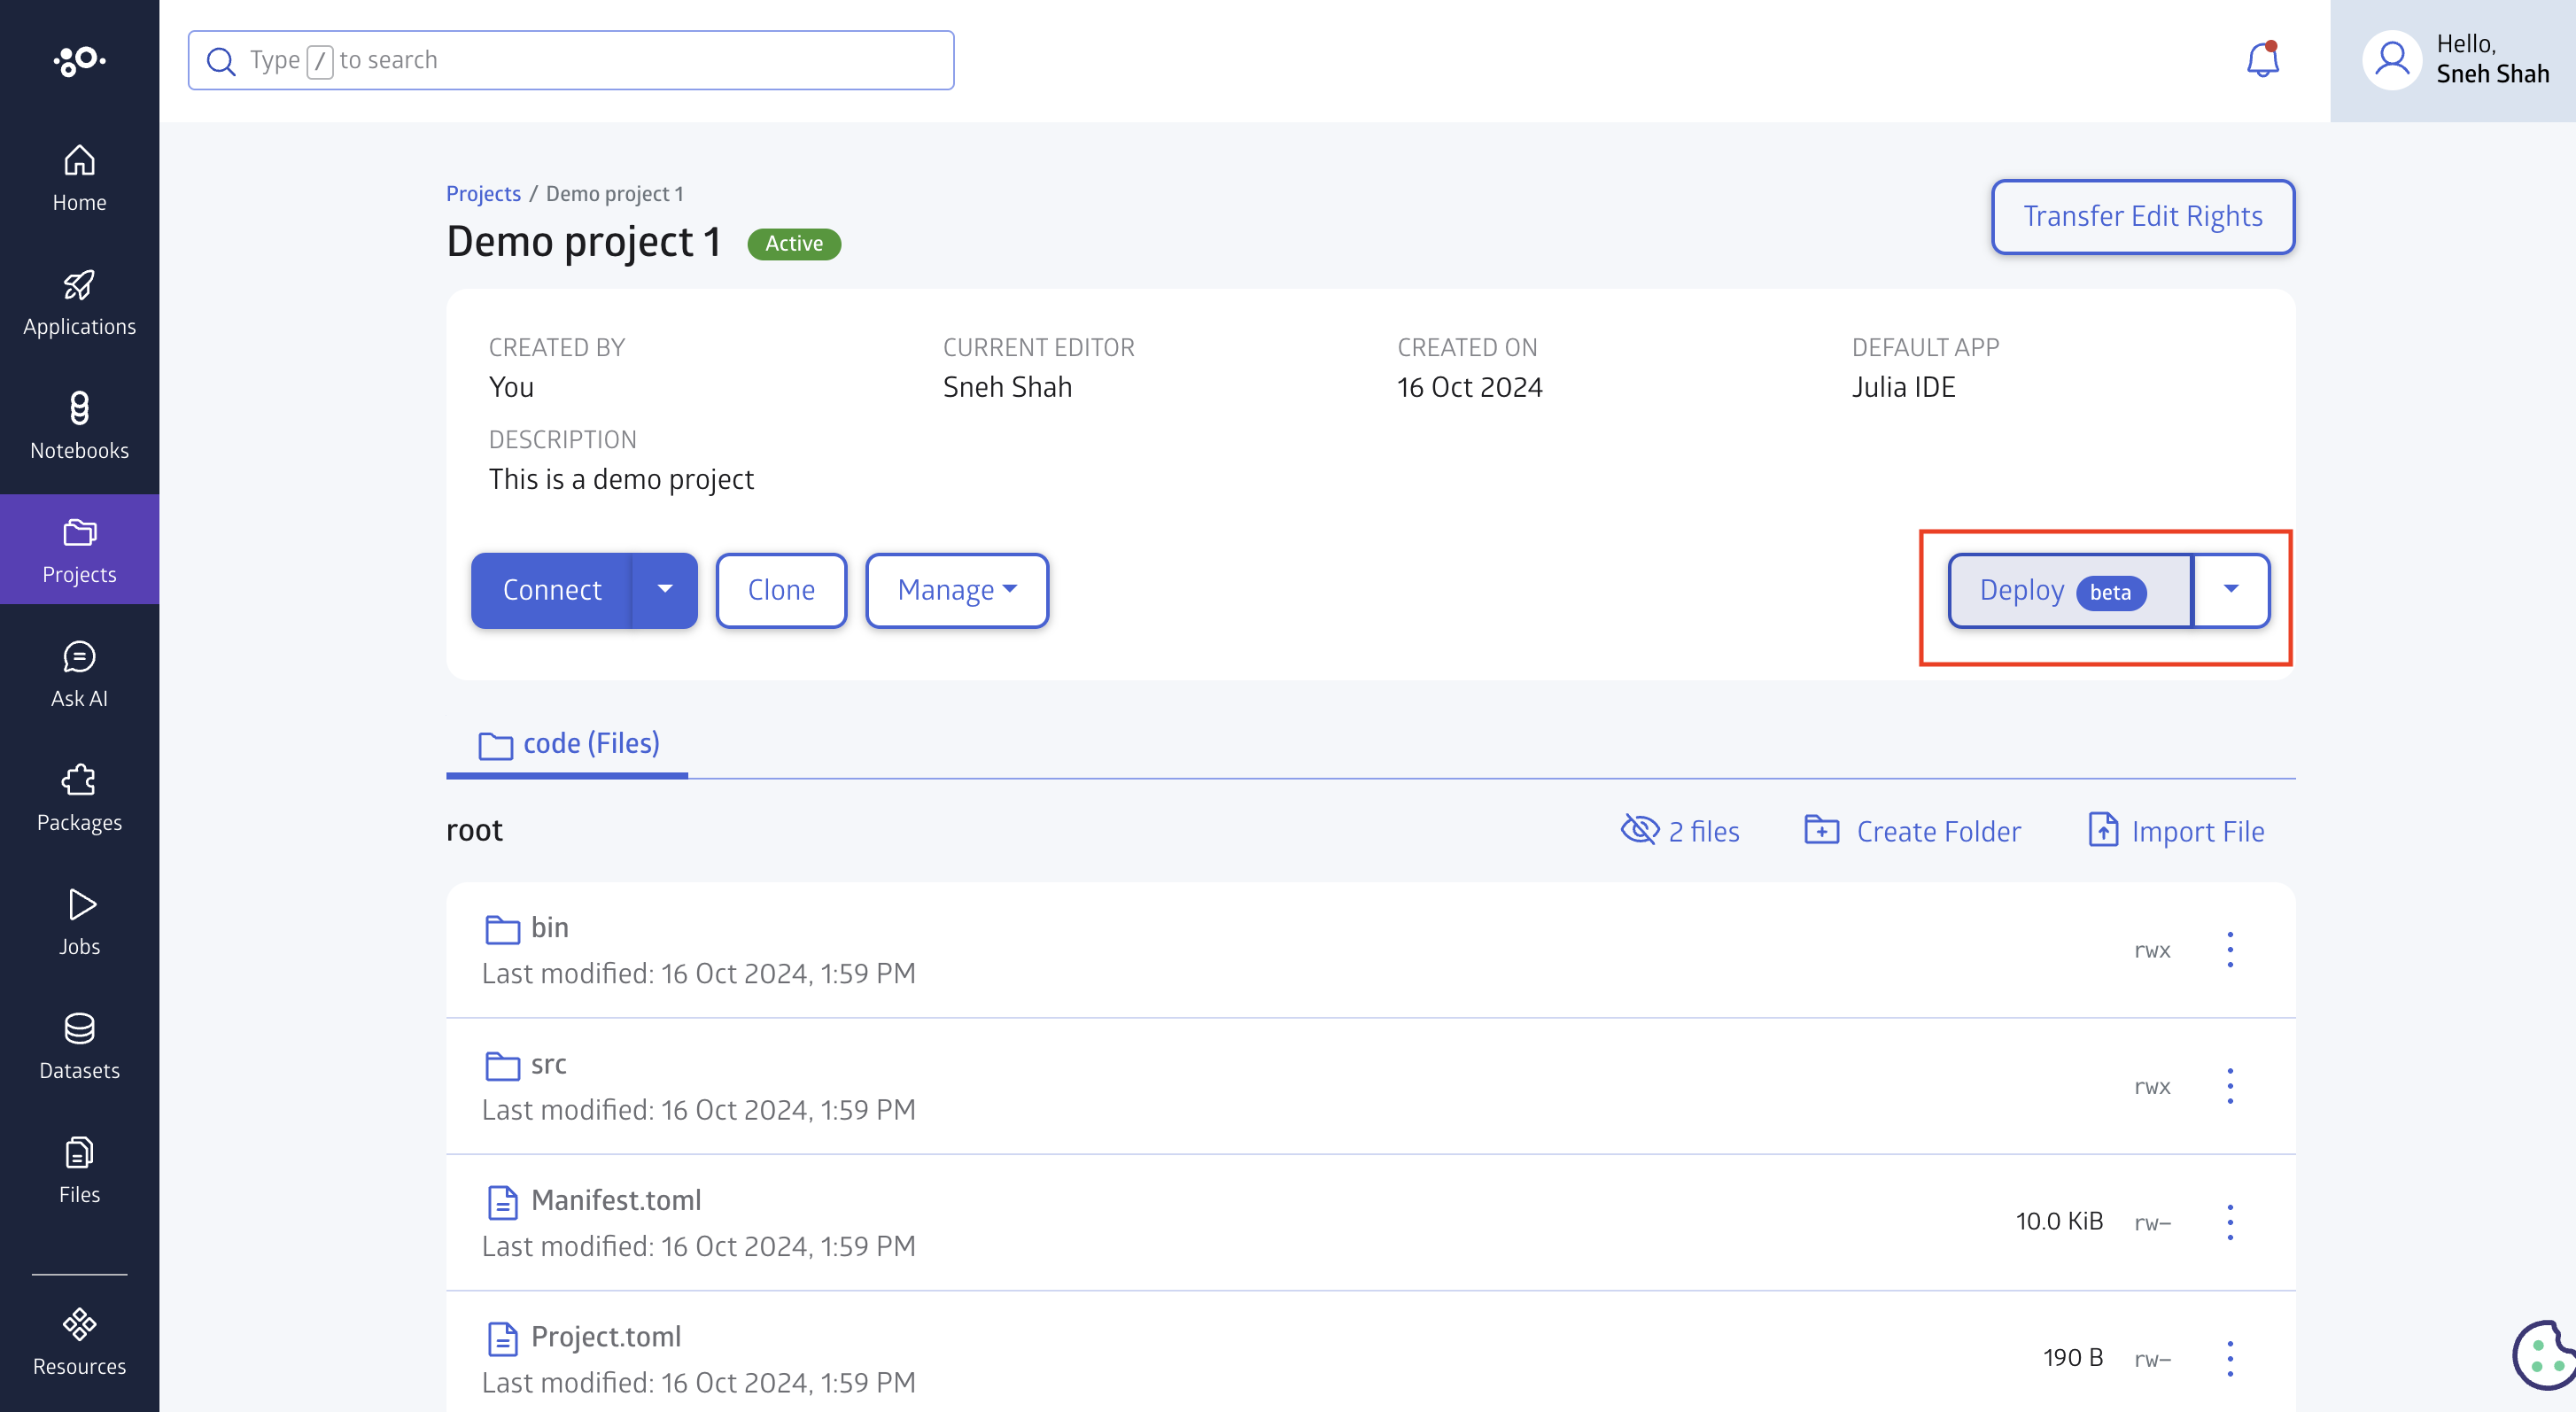
Your deployed application will be opened in a new tab automatically when it's ready. The 'Deploy' button will also change to 'Connect' at this point, so you can also click this button.
Congrats! You now have a web application deployed on JuliaHub.
Other Features
We present a selection of useful features that can be used to maintain your web application project:
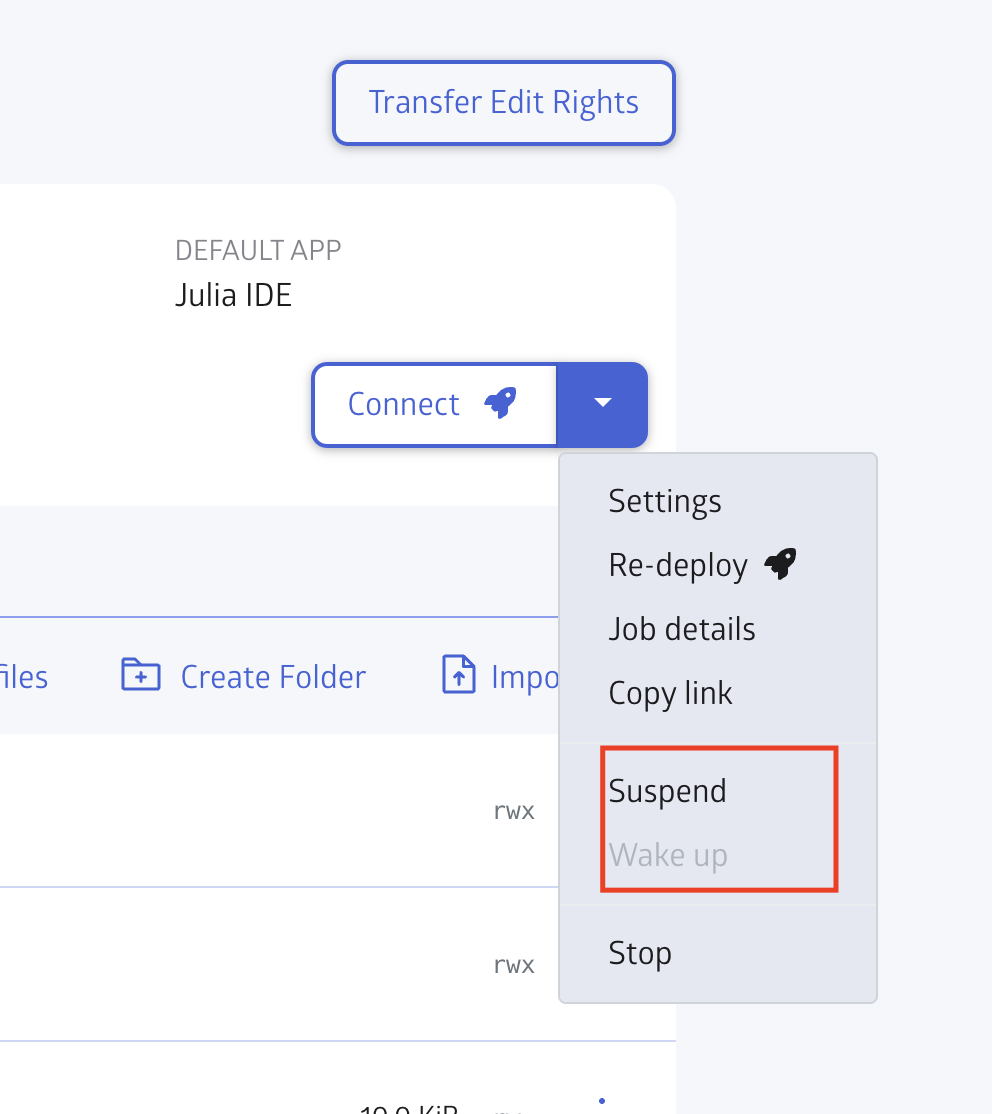
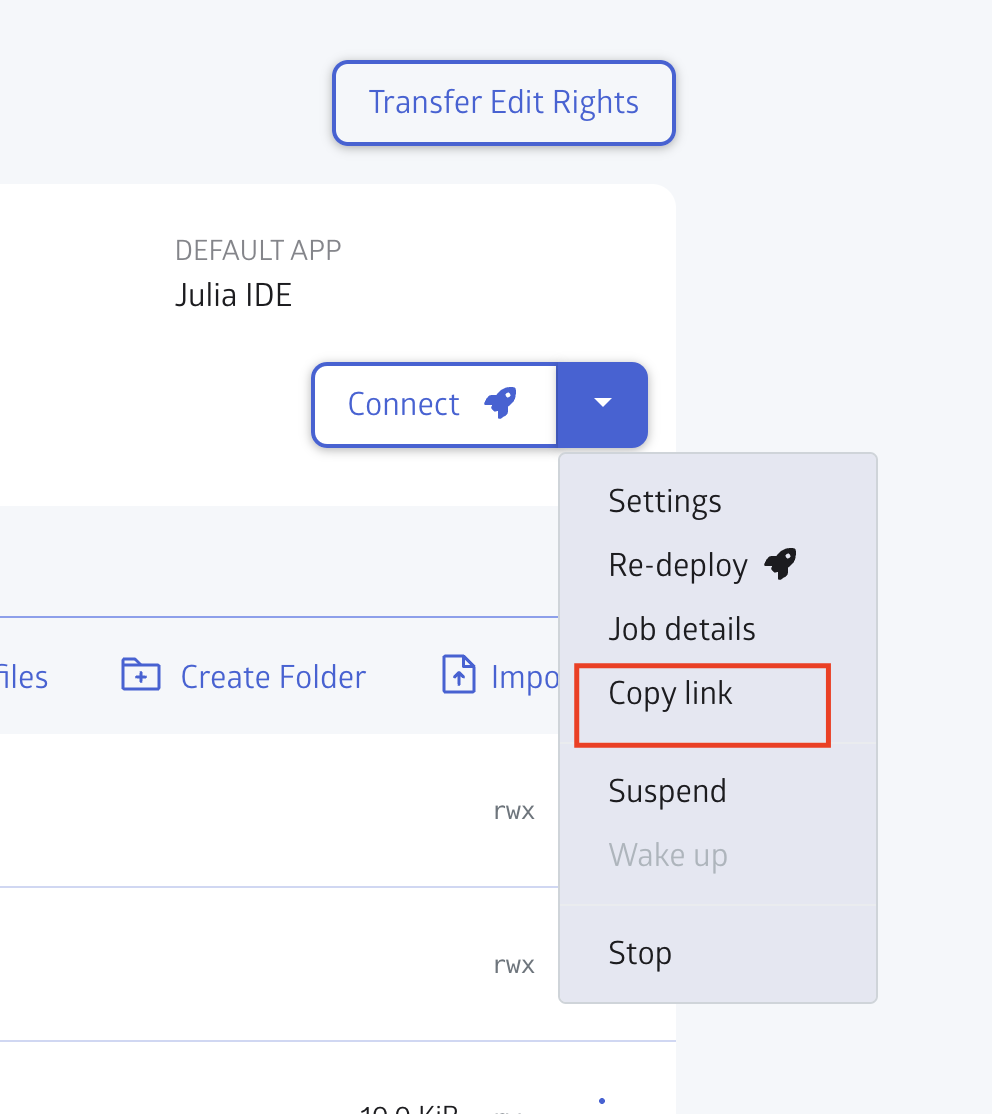
- Autoscaling for project deployments: Project deployments can now scale up or down automatically. A project deployment will scale down to 0 containers if it was not visited in the last 3 hours. A scaled down project deployment will scale back up to 1 container when visited. Scaling can also be controlled manually using the "Suspend" and "Wake up" drop down items in the Deploy button:
- Copy link code: You can click on the "Copy link code" option to get a HTML snippet that can then be pasted on your web pages. This snippet will render as a button that links back to your web application.
Developing with JuliaHub IDE
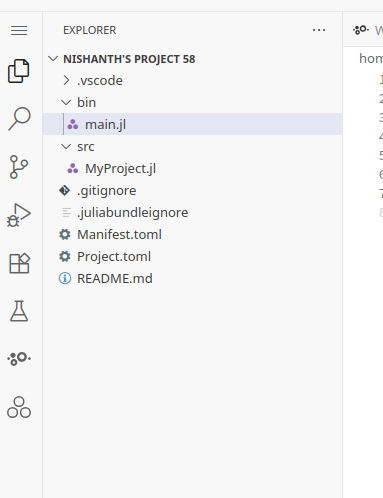
Click on the main.jl file in the file menu:
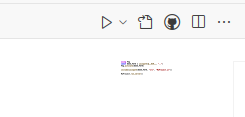
Activate the environment by selecting "Julia: Activate this environment" from the ... menu. Thereafter, run the script by clicking the play button:
Once you run this script in the JuliaHub IDE, you should see the following dialog on the bottom right side of the screen:
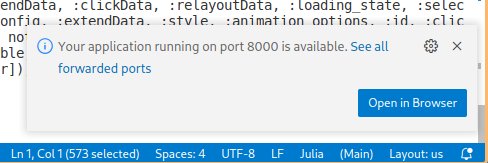
Once you click on "Open in Browser" you should see your web application correctly rendered.
[!IMPORTANT] By default, JuliaHub IDE proxies requests. Make sure your server listens on
Sockets.localhost(not0.0.0.0) so it responds correctly through the proxy.